Drywall Over Plaster. Learn when drywall over plaster is a sound option, what to inspect first, and how Mrwalls drywall & painting can assess your walls.
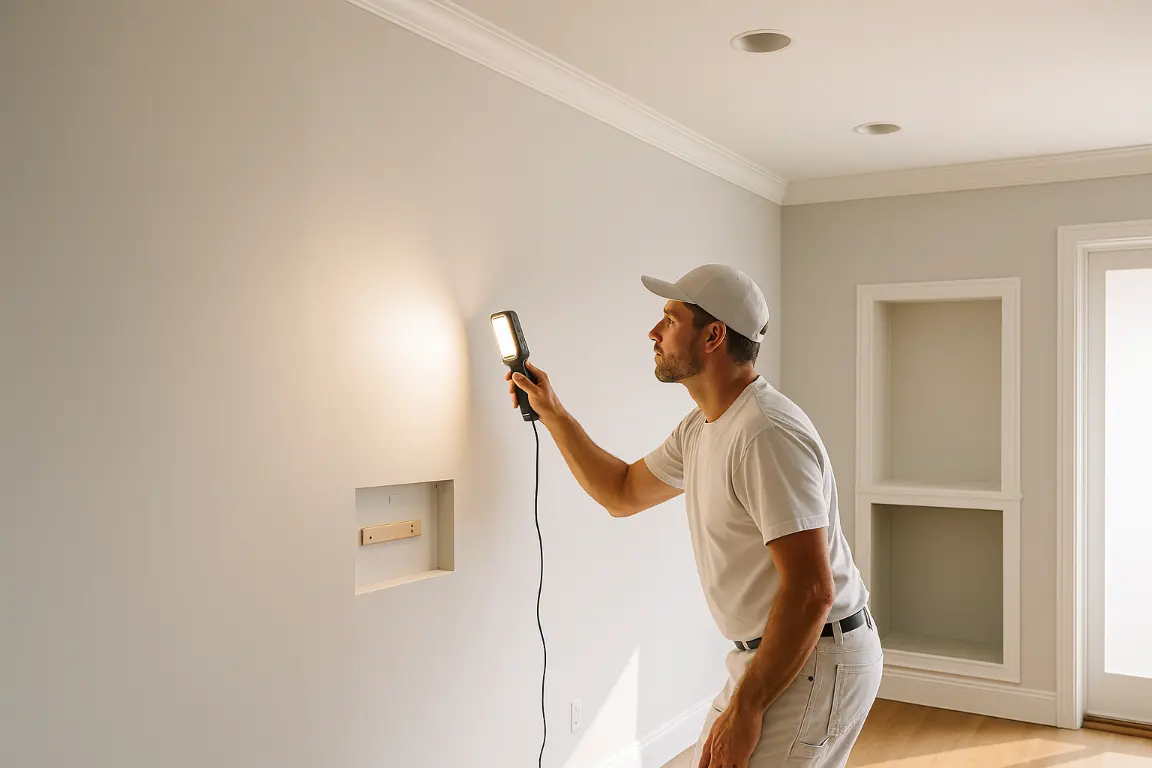
Installing drywall over plaster can be a smart way to refresh cracked, uneven walls without the mess and cost of full demolition. The key is making sure the existing plaster is dry, reasonably secure, and free of hidden issues such as leaks or widespread failure. This guide explains when an overlay makes sense, how to assess your walls, and what to consider before choosing drywall thickness and installation methods.
Drywall over plaster can refresh cracked or uneven walls without full demolition, but only when the existing plaster is dry, secure, and structurally sound. A proper assessment identifies loose lath, moisture, movement, framing issues, and trim or electrical adjustments caused by added thickness. When removal is preferable, new drywall installed at the studs offers a flatter, serviceable surface for insulation and updates.
Installing drywall over plaster can be a practical, durable answer when older interior walls are sound enough to remain in place but too cracked, uneven, or patchworked to restore economically. Rather than demolishing the existing surface, an overlay creates a clean, paint-ready plane while containing the dust, debris, and uncertainty that often come with full plaster removal. It is especially useful in homes where the plaster has widespread hairline cracking, outdated textures, or previous repairs that no longer blend well.
That said, drywall over plaster is not a shortcut for every wall problem. Before recommending it, a qualified contractor should check for moisture damage, loose plaster, failing lath, active foundation movement, and electrical or trim details that will be affected by the added thickness. A wall that is bulging, detached, or damp needs its underlying issue addressed first. Covering it may only conceal a problem that will return.
When conditions are right, modern drywall solutions can make an older room feel newly finished without unnecessarily stripping away the home’s structure. Proper fastening, careful shimming where needed, and thoughtful adjustments around outlets, windows, doors, and baseboards are what separate a lasting installation from a cosmetic cover-up. Mrwalls drywall & painting evaluates the wall as a complete system, helping homeowners choose the repair or overlay approach that best suits the room, budget, and long-term condition of the plaster.
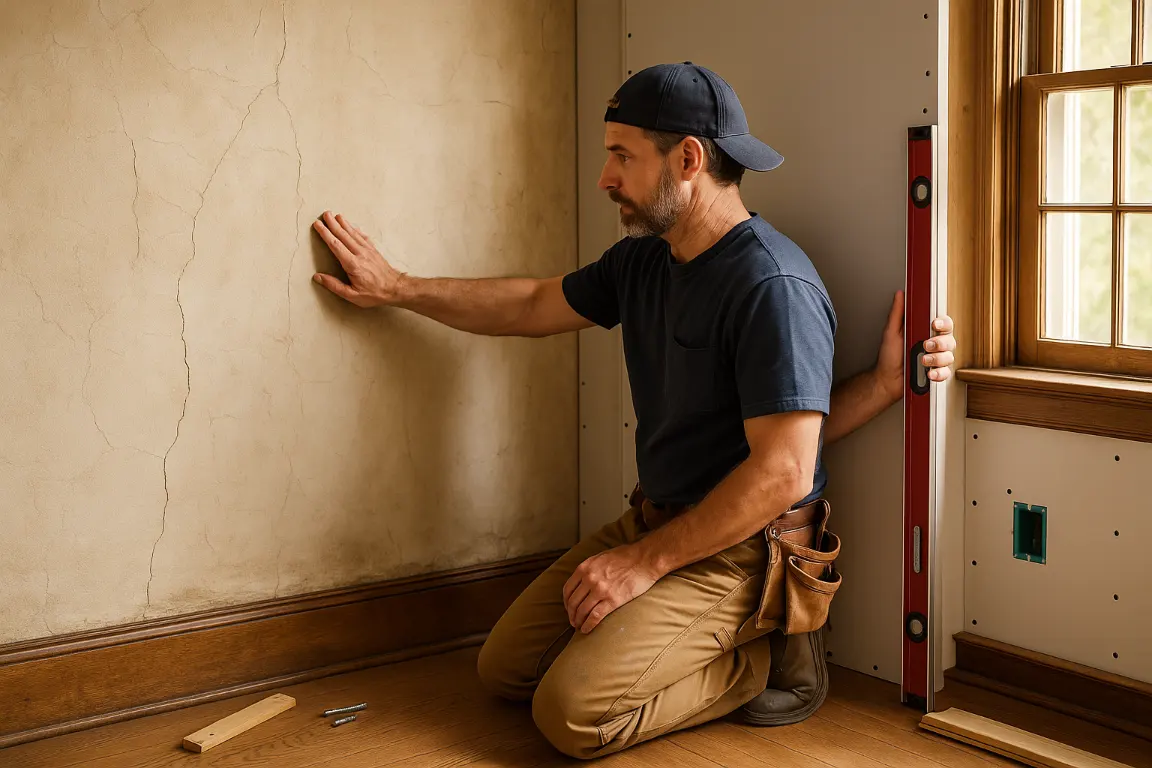
Before drywall installation begins, Mrwalls drywall & painting evaluates the existing surface, framing, and underlying structure. Plaster is often durable, but age, moisture, movement, and previous plastering work can affect the plan. A careful assessment helps determine whether installation can proceed cleanly or whether repairs should come first.
Not every plaster wall needs to be removed before new drywall is installed. Sound, firmly bonded plaster can sometimes serve as a stable surface for an overlay, provided the wall is reasonably flat and there are no hidden moisture issues. The concern is plaster that has separated from its lath, crumbles at the edges, shows spreading cracks, or feels hollow when lightly tapped.
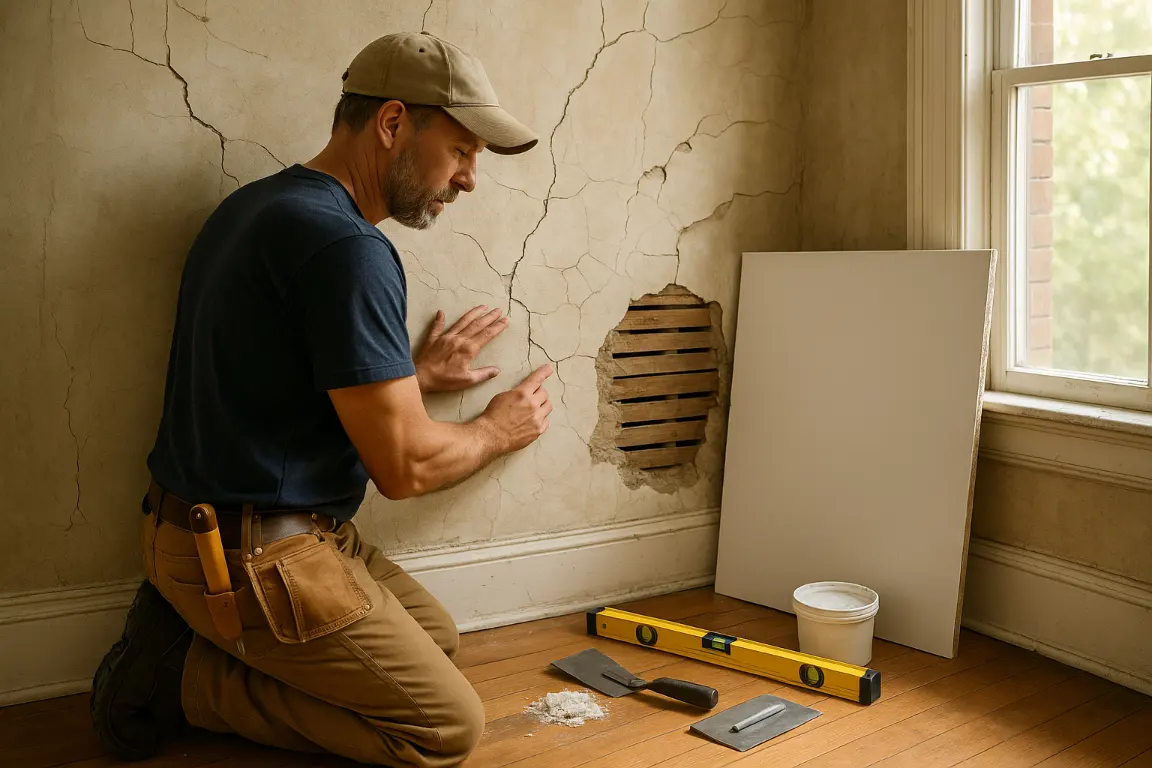
In those cases, drywall repair or stabilization should happen before installation. A qualified plaster contractor may be the right choice when the goal is to preserve original finishes, repair ornamental details, or address traditional lime-based plaster. For more straightforward damaged areas, Mrwalls drywall & painting can remove loose material, reinforce weak sections, patch openings, and prepare the wall for a dependable new surface.
We also look beyond cosmetic cracking. Stains, soft areas, and recurring failures can point to leaks or framing movement that must be corrected first. Setting drywall over an unresolved problem only conceals it temporarily. Once the substrate is secure, appropriate joint compounds and finishing methods create a smooth transition ready for paint.
The right drywall depends on the room, framing, moisture exposure and required fire resistance. Standard half-inch board suits most walls; ceilings, garages and shared walls may call for thicker or specialized panels. A careful drywall installation plan also accounts for sheet layout, electrical openings, insulation and finishing access before work begins.
Clean finishing starts before the last sheet is hung. During installation, note where baseboards, crown molding, cabinetry, wall-mounted TVs and light fixtures will sit. Accurate backing and properly placed seams keep fasteners secure and help trim lie flat without telegraphing joints or uneven framing.
Drywall texturing should complement the home’s existing surfaces and the level of repair work. A smooth finish offers a crisp, contemporary appearance, but it requires precise joint treatment and controlled lighting during sanding. Orange peel, knockdown and other sprayed textures can blend more easily with established walls, provided the pattern is matched in scale and sheen.
Before painting, inspect corners, patches and ceiling transitions in raking light. Prime new drywall and repaired areas so the finish coat absorbs evenly, then use a quality paint suited to the room. Mrwalls drywall & painting plans these details early, helping the completed surface look intentional rather than newly repaired.
| Detail to Plan | What to Check Before Finishing | Why It Matters |
|---|---|---|
| Trim and cabinetry backing | Confirm backing and seam placement where baseboards, crown molding and cabinetry will be installed. | Helps fasteners hold securely and allows trim to lie flat without showing joints or uneven framing. |
| Wall-mounted fixture locations | Note planned locations for wall-mounted TVs and light fixtures before the final drywall sheets are installed. | Supports secure attachment and avoids finish disruptions around mounted items. |
| Texture selection and matching | Choose a smooth, orange peel, knockdown or other sprayed texture that matches existing walls in pattern scale and sheen. | Creates a consistent appearance between repaired areas and established surfaces. |
| Smooth finish preparation | Use precise joint treatment and controlled lighting during sanding. | Supports the crisp appearance expected from a smooth, contemporary finish. |
| Surface inspection | Inspect corners, patches and ceiling transitions in raking light before painting. | Reveals imperfections that may be visible after the finish coat is applied. |
| Priming and paint selection | Prime new drywall and repaired areas, then select quality paint suited to the room. | Helps the finish coat absorb evenly and provides an appropriate painted surface. |
When walls are open to the studs, installing new board directly to stud framing is usually the cleanest, most dependable route. Proper framing drywall work starts with checking that studs are straight, securely fastened, and spaced consistently; even excellent drywall can telegraph a bowed stud or uneven blocking. Sheets should be hung with the long edge perpendicular to ceiling joists where applicable, joints staggered, and screws set just below the paper surface without breaking it. Mrwalls drywall & painting also looks for backing at corners, openings, and transitions so every edge has solid support.
The principal advantage is a durable, serviceable wall cavity. It allows homeowners to add or improve insulation before the board goes up, update electrical or plumbing, and correct framing issues that would otherwise remain hidden. It also produces a flatter surface than many older wall assemblies. The tradeoff is that a full tear-out creates more disruption than a surface repair, and it may expose related work such as insulation, vapour control, wiring, or trim adjustments.
Older homes can present a different decision. Traditional insulation plaster systems may be worth preserving when they are sound, historically significant, and only locally damaged. In other cases, drywall over plaster can save demolition time while creating a fresh, paint-ready plane, but it adds thickness, can complicate window and door trim, and requires secure fastening through to framing. The right choice depends on wall condition, access, desired insulation performance, and how much of the room is already being renovated.
Installing new drywall over, or in place of, older plaster calls for a measured approach. At Mrwalls drywall & painting, we begin by assessing the wall’s condition, checking for loose plaster, moisture concerns, uneven framing, and areas where repairs may be needed before new material is installed. This early inspection helps us recommend drywall solutions that suit the room rather than applying a one-size-fits-all method.
When removal is appropriate, our crew protects adjacent surfaces, carefully takes down compromised plaster, and prepares the underlying structure for a secure drywall installation. In other situations, sound plaster can remain in place and serve as a stable base for an overlay, provided the wall is properly fastened and the added thickness works with trim, outlets, and door casings. We explain the practical trade-offs before work begins.
From there, we install panels with clean seams, reinforce corners, and tape and finish joints for a smooth, durable surface. If drywall repair is needed alongside the installation, we address it as part of the preparation, not as an afterthought. Once the finish is ready, we can tailor drywall texturing to match the home’s character or create a refined smooth-wall look. Our plaster contractor experience also informs how we blend transitions around original details. The final step is careful priming and painting, leaving walls that look cohesive, crisp, and ready for everyday life.
Yes, if the plaster is firmly bonded, reasonably flat, and free of moisture damage. Loose, bulging, hollow, or crumbling plaster should be repaired or removed first so the new drywall has a stable base.
An overlay adds wall thickness, which can affect outlet boxes, window and door casings, baseboards, cabinetry, and fixtures. It also does not solve hidden leaks, failing lath, or structural movement, so inspection is essential before installation.
Covering sound plaster can reduce demolition, dust, and cost. Removal is often better when walls have major damage, moisture issues, uneven framing, or when electrical, plumbing, insulation, or structural repairs are needed inside the wall cavity.