
A Step-by-Step Guide to Fixing Stress Cracks in Your Drywall Ceiling
A Step-by-Step Guide to Fixing Stress Cracks in Your Drywall Ceiling
DRYWALL INSTALLATIONDRYWALL REPAIR
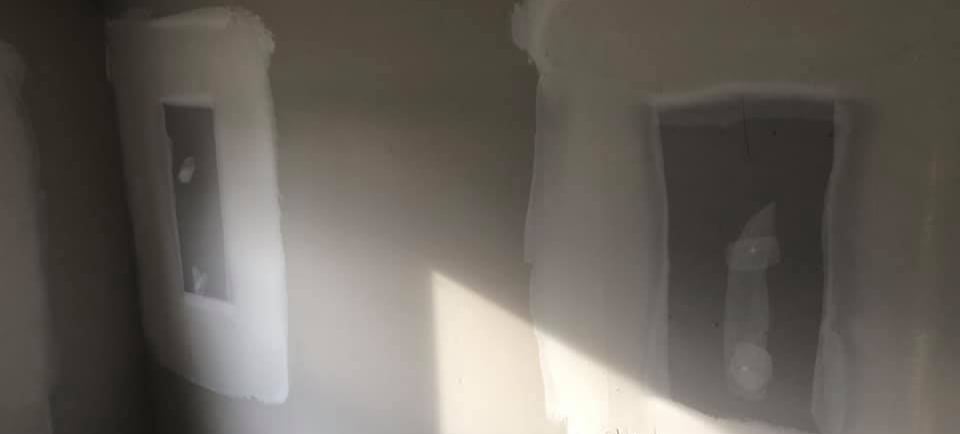
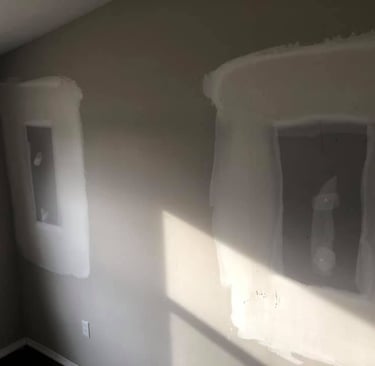
Understanding Stress Cracks in Drywall Ceilings
Stress cracks are common in drywall ceilings, especially in older homes in regions like Northampton, Springfield, and Longmeadow, Massachusetts. These cracks can result from various factors, including house settling, temperature fluctuations, and moisture variations. I would like you to understand the cause before proceeding with a repair.
Materials Needed for Repairing Stress Cracks
Before you start fixing stress cracks, it's crucial to gather the right materials. Here’s a list you’ll need for the project:
Drywall tape (mesh or paper)
Joint compound
Putty knife
Sandpaper or sanding block
Paint (to match your ceiling)
Drop cloths (to protect floors)
With these materials at hand, you can move on to the application and repair process.
Step-by-Step Repair Process
Follow these steps to fix the stress cracks effectively:
Prepare the Area: Start by moving furniture away from the work area and laying down drop cloths to protect your flooring. Could you clean the crack to remove any loose debris or dust, ensuring a smooth surface for application?
Apply Drywall Tape: Cut a piece of drywall tape slightly longer than the crack. Center the tape over the crack and press it gently into place. If you're using paper tape, apply a thin layer of joint compound first to help it stick.
First Coat of Joint Compound: Using a putty knife, apply a thin layer of joint compound over the tape, feathering it out to blend with the surrounding surface. Take care to cover the tape completely.
Drying Time: Allow the joint compound to dry completely, which may take a few hours or overnight, depending on humidity. Once dry, please check for any imperfections.
Sanding: Lightly sand the area with sandpaper to smooth out any rough spots. Be gentle to avoid removing too much compound. Ensure it feels flush with the ceiling surface.
Second Coat of Joint Compound: Apply a second coat of joint compound, repeating the feathering technique. Once dry, check for any remaining cracks or imperfections and sand as needed.
Final Touches: Once the last coat is dry and sanded smooth, repaint the fixed area to match the existing ceiling color. Touching up the paint will help ensure the repair blends seamlessly with your drywall ceiling.
In conclusion, fixing stress cracks in drywall ceilings is a manageable task that can enhance the appearance of older homes in Western Massachusetts. With some patience and the right materials, you can restore your ceiling to its original state. Regular maintenance can also help prevent these cracks from recurring. Please stay tuned to keep your home looking its best.
MrWalls Drywall & Painting Services the towns of: Easthampton, Northampton, Amherst, Belchertown, Granby, Hadley, Hatfield, Huntington, Middlefield, Pelham, Plainfield, South Hadley, Southampton, Ware, Westhampton, Williamsburg, Worthington, Agawam, Chicopee, Holyoke, Palmer, Springfield, West Springfield, Westfield, Blandford, Brimfield, East Longmeadow, Granville, Hampden, Holland, Longmeadow, Ludlow, Monson, Montgomery, Southwick, Tolland, Wales, Wilbraham