Learn when ceiling water damage can be repaired, when replacement is needed, and how MrWalls restores drywall, texture, primer, and paint.
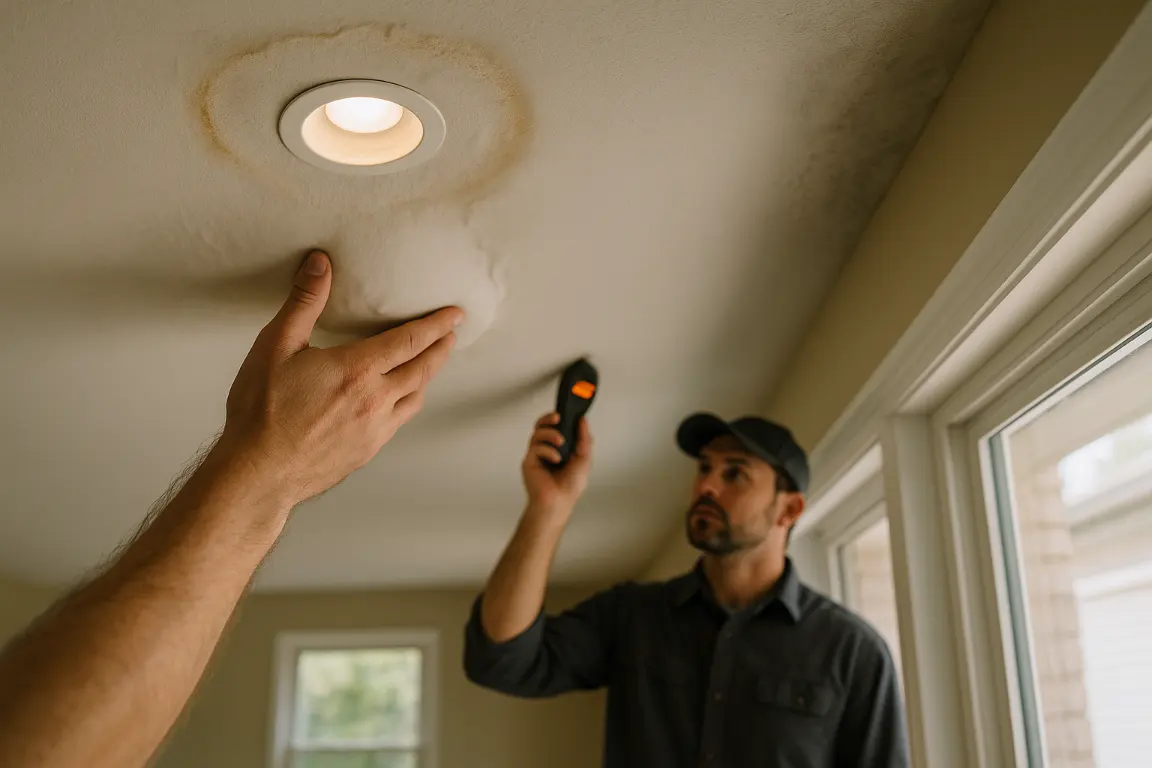
To repair ceiling water damage so the finish truly blends in, start with the leak, not the stain. Yellow rings, peeling paint, soft drywall, or a sagging ceiling can point to roof, plumbing, or upstairs-bathroom moisture, and each needs attention before cosmetic work begins.
Once the area is dry and the source is fixed, many ceilings can be restored with careful patching, stain blocking, texture matching, and repainting. But widespread softness, mold, or structural sagging may call for replacement and a qualified professional.
A water-damaged ceiling rarely begins with a dramatic collapse. More often, the first signs are subtle: a yellow-brown ring near a light fixture, a soft spot that gives slightly under pressure, bubbling paint, or a section of texture that looks darker than the surrounding ceiling. These clues deserve prompt attention. Even a small stain can point to ongoing water damage above the visible surface, where wet insulation, framing, or drywall may continue to deteriorate.
Start by noting the affected area and whether the damage changes after rain, a shower, laundry use, or running an upstairs fixture. A stain directly below a bathroom may suggest a supply line, drain, toilet seal, or shower leak. Damage along an exterior wall or near a roofline can indicate a roofing, flashing, gutter, or attic ventilation issue. Condensation from poorly insulated pipes or HVAC equipment can also leave persistent moisture marks.
Do not assume the source sits directly above the stain. Water can travel along joists, pipes, wiring pathways, and drywall seams before it finds a low point in the ceiling. That is why a clean-looking surface after drying does not necessarily mean the problem is resolved. If the ceiling is sagging, actively dripping, or located near electrical fixtures, keep clear of the area and arrange for professional assessment before attempting repairs.
MrWalls Drywall & Painting helps homeowners distinguish cosmetic ceiling damage from conditions that require deeper restoration. Once the moisture source has been stopped and the structure is properly dried, damaged materials can be removed, repaired, and finished so the repaired area blends naturally with the rest of the room.
A stained, sagging, or dripping ceiling calls for calm, prompt action. Protect people first, limit further water damage where possible, and arrange professional water removal and restoration services before moisture spreads into framing, insulation, or adjoining rooms. MrWalls Drywall & Painting can help assess the ceiling and plan lasting repairs.
Do not treat ceiling damage as a cosmetic issue while water is still present. Move people, pets, electronics, furniture, and valuables away from the affected area. If water is near a light fixture, ceiling fan, outlet, or electrical panel, avoid touching it. Turn off power to the affected room only if you can safely reach the breaker without crossing wet flooring; otherwise, contact an electrician or emergency service provider. Never remove a light fixture or probe a wet ceiling yourself.
For an active leak, place a bucket beneath the drip and protect nearby surfaces with towels or plastic sheeting. If the ceiling has developed a visible bulge, it may be holding a substantial amount of water. Keep clear of the area: wet drywall can lose strength quickly and collapse without much warning. Do not climb a ladder, press on the sagging material, or puncture the ceiling unless directed by a qualified water-damage professional. A controlled release may sometimes be appropriate, but it requires an assessment of the ceiling’s condition, wiring, and the leak source.
If water is flowing heavily, has come from a sewage backup, or follows a roof failure or burst pipe, shut off the relevant water supply when safe and call for urgent help. Photograph the water damage from a safe distance for insurance documentation, then arrange a professional inspection. The goal is to stop the source, dry hidden materials thoroughly, and determine whether the ceiling can be repaired or needs replacement.
A drywall ceiling can often be restored when moisture exposure was brief and the board remains firm, flat, and clean. Once a water-damaged ceiling sags, crumbles, stains through repeatedly, or develops compromised seams, replacement is usually the sounder damage repair. A small drywall patch may work for a contained area, but the patch and joint must blend seamlessly with surrounding surfaces.
Water damage above a ceiling is rarely limited to the visible stain. Wet insulation can hold moisture against framing and drywall long after a leak appears resolved, creating conditions where mold may develop out of sight. That is why MrWalls Drywall & Painting begins by identifying and correcting the moisture source before recommending repair, removal, or replacement.
If mold is present, simply painting over the affected ceiling is not a repair. The damaged material may need controlled removal, cleaning, drying, and appropriate mold remediation before new drywall is installed. The extent of the damage matters: a small, isolated issue may be addressed locally, while widespread saturation or recurring leaks can call for opening a larger section to inspect insulation, framing, and adjoining surfaces.
Older ceiling materials deserve additional caution. Textured finishes, including popcorn ceilings, should be assessed before they are scraped, sanded, or disturbed, particularly in homes built before modern material standards. Professional testing can determine whether special handling is required.
With the area properly dried and cleared, new drywall can be installed, taped, finished, primed, and painted to restore a clean, consistent ceiling plane. Careful preparation protects both the appearance of the repair and the health of the space below.
| Condition observed | Why it matters | Typical next step |
|---|---|---|
| Active or unresolved moisture source above the ceiling | Repairs may fail if the leak or moisture source continues. | Identify and correct the moisture source before repair, removal, or replacement. |
| Wet insulation behind the ceiling | Insulation can retain moisture against framing and drywall after a leak appears resolved, creating conditions for hidden mold. | Inspect the affected area and dry, remove, or replace materials as needed. |
| Visible mold or mold-affected ceiling material | Painting over affected areas does not address the damaged material or underlying moisture. | Use controlled removal, cleaning, drying, and appropriate mold remediation before installing new drywall. |
| Small, isolated ceiling damage | The issue may be limited to one localized area. | Address the damage locally after the area is dry and the moisture source is corrected. |
| Widespread saturation or recurring leaks | Moisture may have affected insulation, framing, and adjoining surfaces beyond the visible stain. | Open a larger section for inspection and address affected materials before restoring the ceiling. |
| Older textured or popcorn ceiling material | Scraping, sanding, or disturbing older finishes may require special handling. | Have the material assessed and consider professional testing before disturbing the texture. |
A homeowner can repair ceiling water damage when the leak has been permanently fixed, the affected area is fully dry, and the damage is small, firm, and limited to the surface. A faint stain or a shallow dent may need only careful cleaning and painting; soft drywall, a spreading stain, sagging material, or a ceiling joint that has opened calls for a closer assessment. Before bringing out tools, press lightly around the damaged spot. If the board gives way, seams are separating, or moisture remains, do not cover it with a quick patch, remove compromised material and identify why it stayed wet.
For minor staining, use a mild detergent or a simple cleaning solution of equal parts water and vinegar. Apply it with a light spray, then clean with a soft cloth without soaking the ceiling again. Let the surface dry completely before stain-blocking primer and painting. For a small, dry hole or cutout, fit a properly supported drywall patch, then apply mesh drywall tape across the edges. Cover the tape with thin, smooth coats of joint compound, allowing each coat to dry before sanding and repainting.
The limits matter. Do not attempt DIY work near electrical fixtures, on a textured ceiling that may contain older materials requiring testing, or where water has affected insulation, framing, or a broad section of drywall. Recurrent leaks and brown rings are also signs that the visible damage is only part of the problem. MrWalls Drywall & Painting recommends treating cosmetic repairs as the final step, not the first, so the repaired ceiling remains clean, sound, and consistent with the rest of the room.
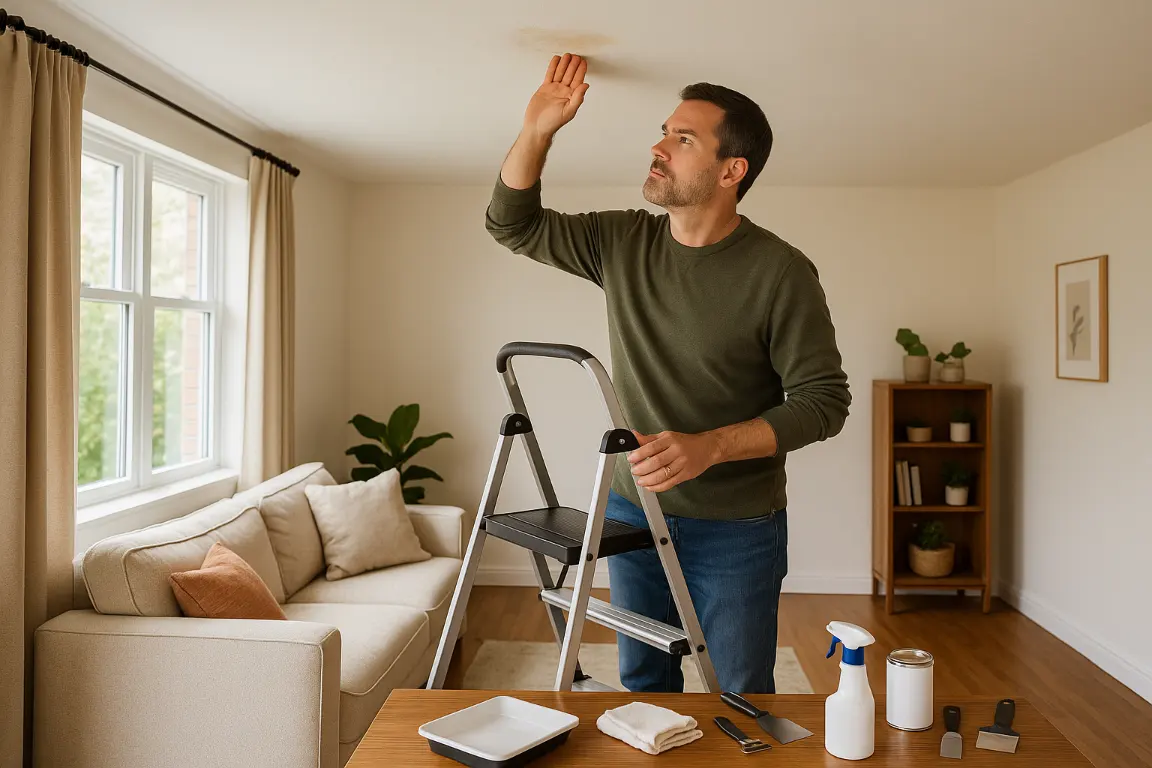
A ceiling repair should disappear into the room, not announce itself with visible seams, uneven texture, or a paint sheen that catches the light differently from every angle. At MrWalls Drywall & Painting, we approach ceiling work as a complete finish system: identify the source of the problem, stabilize the affected area, rebuild the surface correctly, and apply a finish that feels consistent with the rest of the home.
Water damage demands particular care. Before any drywall patch is installed, the moisture issue must be resolved and the area properly dried. We then remove compromised material, reinforce the opening as needed, and build the repair in controlled layers. Joint compound is feathered well beyond the patch so transitions remain imperceptible once the ceiling is painted. This wider blending process is what prevents a repaired area from reading as a square outline overhead.
Texture matching matters just as much. Whether your ceiling has a smooth modern finish, a subtle hand texture, or requires popcorn ceiling removal before refinishing, our team works to create a uniform plane from wall to wall. We inspect under changing light, address ridges and seams, and prepare the surface carefully before painting begins.
For the final coat, the right paint and application method make a measurable difference. A professional spray application can provide a clean, even finish across broad ceiling areas, while precise cutting and protective masking keep surrounding surfaces orderly. The result is a ceiling that looks renewed rather than repaired: smooth where it should be smooth, consistent in color and sheen, and ready to hold up beautifully in daily life.
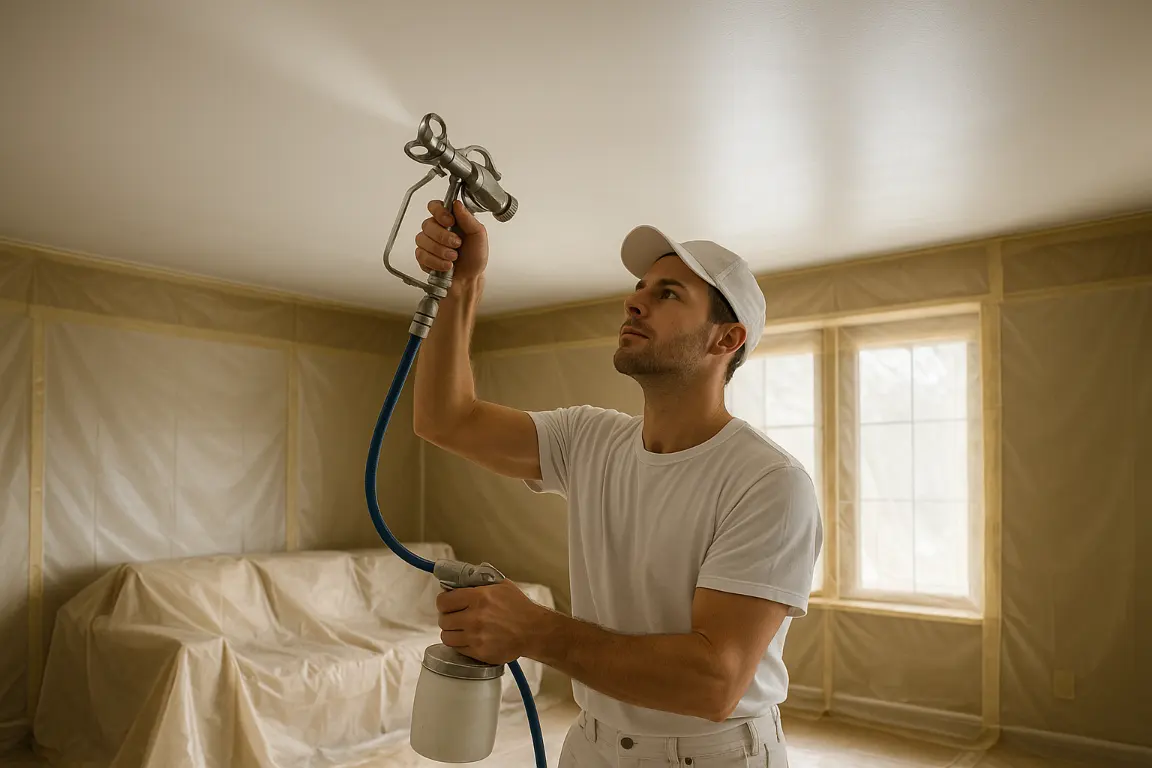
Moderate ceiling water damage repair cost runs widely because the source, affected materials and extent of hidden moisture all matter. MrWalls Drywall & Painting provides careful damage repair and restoration services, from targeted patching to full replacement, restoring a water-damaged ceiling with a clean, cohesive finish.
Can a water-damaged ceiling be repaired? Often, yes. Once the water source is fixed and the area is fully dry, a professional can assess whether the ceiling needs staining treatment, drywall repair, texture matching or replacement. Soft, sagging, crumbling or mold-affected material generally requires removal rather than a surface-only repair.
How quickly should I address water damage? As soon as possible. Water can travel beyond the visible stain, weakening drywall, insulation and fasteners overhead. If the ceiling is bowed, dripping, or shows a growing brown ring, protect the area below and arrange an assessment promptly. Do not puncture or disturb a ceiling that appears unstable.
Will insurance cover the damage? Coverage depends on the policy and cause. Sudden, accidental events such as a burst pipe may be covered, while long-term leaks or deferred maintenance may not be. Take dated photos, retain repair invoices and contact your insurer before major work begins when possible.
What happens during an assessment? MrWalls Drywall & Painting reviews the visible damage, identifies repairable versus replaceable materials, and discusses the finish needed to blend the ceiling with the surrounding room. You will receive a clear scope for repair ceiling water damage, including preparation, restoration and painting considerations.
Request an assessment when the area is dry or after emergency water mitigation is underway. A timely professional review helps prevent a small ceiling issue from becoming a larger repair.
Common signs include yellow-brown stains, bubbling paint, darker patches, soft drywall, opened seams, dripping, or a sagging bulge. Track whether the area changes after rain or using plumbing fixtures, since this can help identify the source.
It can be. A sagging ceiling may contain trapped water and can collapse. Water near light fixtures, fans, outlets, or electrical panels also creates an electrical hazard. Keep people clear, avoid touching wet fixtures, and seek professional assessment for active leaks or structural damage.
Only after the leak has been fixed and the ceiling is completely dry. Clean minor surface staining, apply a quality stain-blocking primer, then repaint. Painting before correcting the moisture source can allow stains to return and hidden damage to worsen.
No. Water can travel along joists, pipes, wiring paths, insulation, and drywall seams before appearing at a low point. A professional inspection can help trace the actual source, which may be a roof, plumbing, HVAC, condensation, or an upstairs bathroom issue.
Small areas may be repaired if the drywall is firm, flat, dry, and free of contamination. Replacement is often preferable when drywall is soft, sagging, crumbling, repeatedly stained, mold-affected, or separated at seams. Wet insulation and framing may also need inspection.
Drying time depends on the amount of water, ventilation, insulation, and hidden moisture. The ceiling should not be patched, primed, or painted until the leak is resolved and affected materials are verified dry. Moisture trapped above the ceiling can cause recurring damage.
Coverage depends on the policy and cause of loss. Sudden accidental events, such as a burst pipe, may be covered, while long-term leaks or neglected maintenance may not be. Photograph damage safely, document the suspected cause, and contact your insurer promptly.