Water damaged ceiling repair starts with one priority: stop the leak before you fix the stain, sagging drywall, or peeling paint. A ceiling can hold more water than it appears to, so acting early helps limit damage and protect your home.
This guide explains what to do first, when a damaged ceiling may be unsafe, and how to find the water source so repairs last.
Act quickly when a ceiling leak appears: keep people and belongings clear, shut off nearby electricity if water may be present, contain drips, and dry the area thoroughly. Never poke or stand beneath a sagging or bulging ceiling. Find and fix the water source, often plumbing, roofing, or an upstairs fixture, before repairs. Once dry, assess whether damage is cosmetic or requires drywall replacement.
When a ceiling leak appears, quick, calm action protects your home and makes water damaged ceiling repair more manageable. I recommend stopping the water source first, then assessing the damage before any repair work begins.
Before you touch a wet ceiling, move people, pets, furniture, and electronics out of the area. Water can make drywall heavy and unstable, especially if the ceiling is sagging, stained, or bubbling. If you see a bulge, do not stand beneath it or try to puncture it yourself.
Shut off power to nearby lights or outlets if water may have reached them. Place towels or containers below active drips, then use fans and a dehumidifier to help the room dry. Open windows only when outdoor air is less humid. In my experience, drying the home thoroughly is the most important first step; repairing drywall before moisture is gone can lead to mold, stains, and a failed finish.
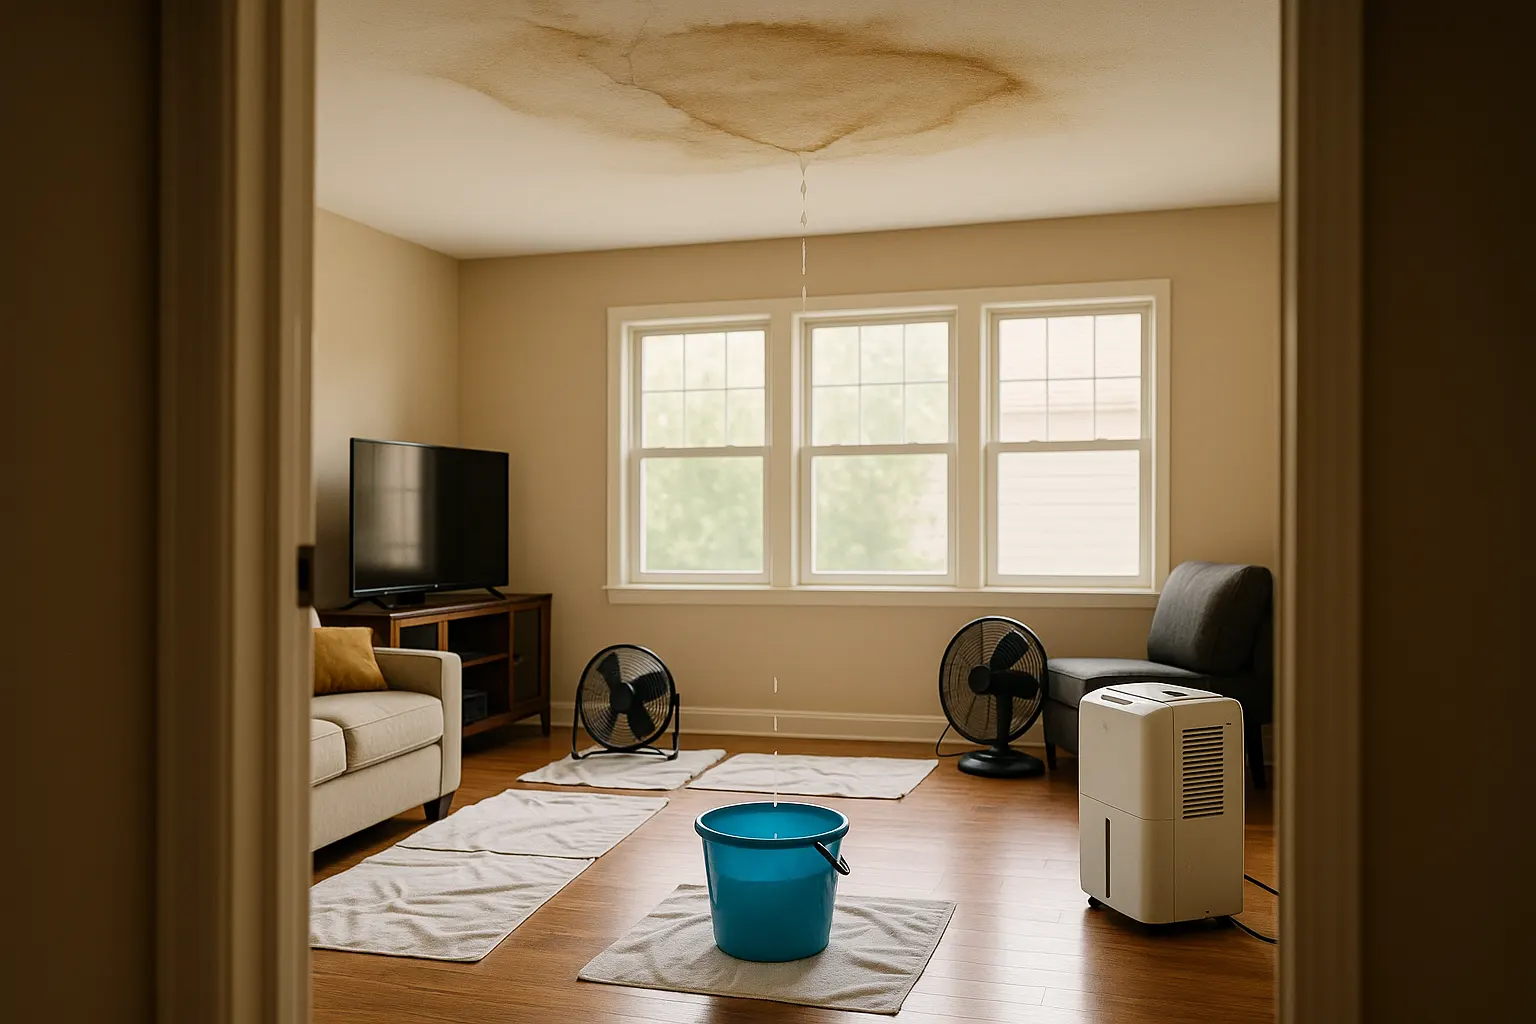
A water-damaged ceiling is not always safe to touch. As a drywall contractor, I check for softness, sagging, staining, and loose material before getting close. A damaged ceiling may have hidden structural concerns, trapped moisture, or weakened drywall that can fall without warning.
A ceiling leak becomes an emergency when water is actively dripping, the ceiling is bulging, or drywall feels soft and unstable. Keep people and furniture away from the area, especially beneath a swollen section. Do not poke, cut, or press on it; a water-filled ceiling can release suddenly.
Turn off electricity to nearby lights or outlets if you can do so safely, then stop the water source when possible. A plumbing leak, roof failure, or overflowing fixture needs prompt attention. At Mrwalls Drywall & Painting, we recommend drying the area fully before repair so hidden moisture does not lead to mold, staining, or another damaged section later.
Before we repair a ceiling leak, we find and stop the water at its source. Covering wet drywall without fixing the leak source only leads to stains, soft spots, and more expensive damage later.
Start directly above the damaged area, but remember that water can travel along framing before it appears on the ceiling. In a one-story home, inspect the attic for wet insulation, dark roof decking, pipe drips, or signs of a roof leak around vents and chimneys. In a two-story home, look at the bathroom, laundry room, or kitchen above. A loose toilet seal, shower pan issue, overflowing tub, or supply-line leak are common sources.
Check nearby areas after rain and again while fixtures are running. If you cannot identify the source safely, Mrwalls Drywall & Painting recommends calling a plumber or roofer before drywall repairs begin.
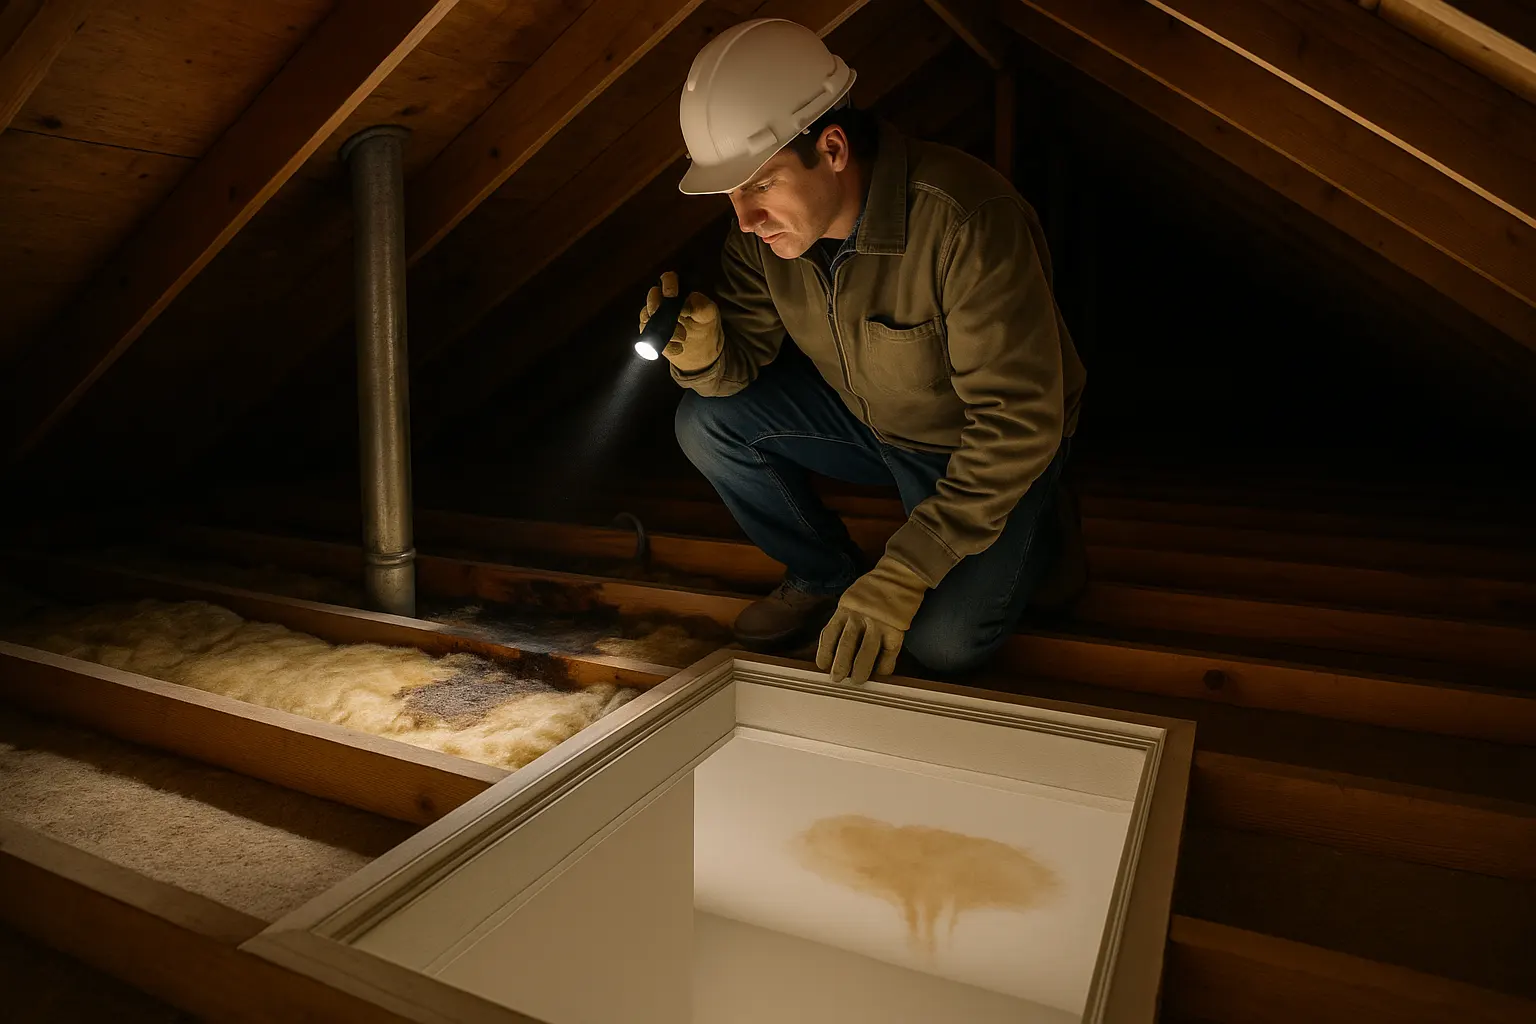
Before I repair a damaged ceiling, I look beyond visible stains. Water damage can be limited to the surface, or it may point to a continuing leak, weak drywall, or damage above the ceiling that needs attention first.
A water stain does not always mean the ceiling needs to come down. If the drywall is dry, firm, and free of sagging, the issue may be cosmetic once the leak is fixed. I check the stain’s edges, press gently for softness, and look for peeling paint, bubbles, or a musty smell.
Soft drywall, cracking seams, or a ceiling that bows under its own weight call for prompt repair. Those signs can mean moisture has weakened the board or affected framing above it. At Mrwalls Drywall & Painting, we identify the source of the damage first, then recommend a repair that restores a clean, solid surface.
| What you notice | What it may indicate | Recommended next step |
|---|---|---|
| Dry, firm drywall with no sagging | The stain may be cosmetic after the leak is fixed. | Monitor the area and repair the surface as needed. |
| Water stain with defined edges | A visible sign of past or current water exposure. | Identify and fix the leak, then assess whether the drywall remains dry and firm. |
| Soft drywall when pressed gently | Moisture may have weakened the board. | Arrange prompt assessment and repair. |
| Peeling paint or bubbles | Water may be affecting the ceiling surface. | Check for the moisture source and assess the drywall condition. |
| Musty smell | Moisture may still be present. | Investigate the source and assess the affected area promptly. |
| Cracking seams or a ceiling that bows under its own weight | Moisture may have weakened the board or affected framing above it. | Seek prompt repair. |
As a drywall contractor, I tell homeowners that the right choice depends on what is happening above and below the ceiling, not just how the damage looks on the surface. Small dents, nail pops, minor cracks, and limited water stains can usually be completed with ceiling repair. With proper water mitigation and paint matching, many drywall ceiling repairs can restore the ceiling without replacing all of the drywall. However if there is insulation behind the drywall that can't be replaced from the attic, the drywall will usually have to be removed to properly dry the ceiling cavity.
Replacing the drywall makes more sense when the drywall is sagging, soft, insulation isn't accessible, or the ceiling is damaged across a large area. If water has soaked the insulation and injection drying techniques are not used, we also need replace the drywall. Once the ceiling is open It is important to find and fix the source of the water before closing anything back up. Mold is another important consideration, surface water spots may be manageable, but if mold had started to grow, it calls for a more careful inspection and removal plan. At Mrwalls Drywall & Painting, we look at the full condition of the ceiling so we can do a repair that lasts, or a quality replacement job when repairs would only cover up the problem.
Water damaged ceiling repair takes more than just covering a stain. At Mrwalls Drywall & Painting, we find any areas with moisture, dry them out, and assess repair the damage, completing the restoration in the right order. A good repair restores your home permanently without leaving hidden damage that can cause problems down the road. To avoid missing anything, we have developed a system when dealing with water damaged walls and ceilings.
Its important to begin the drying process right away. Before any repairs begin, the leak must be found and fixed. Then we dry the wet areas completely using airflow, dehumidifiers, and daily moisture checks until the materials are completely dry. Painting or taping over damp material will trap moisture and lead to mold, sagging, and a failed finish.
Once the dehumidifiers and fans are setup, we begin removing drywall that is soft, swollen, stained through, or pulling away from the framing. Cutting back to solid material with clean edges. Next we monitor the insulation and framing moisture levels until everything is dry. If we have any concerns about mold the framing and plywood is treated with an antimicrobial liquid. Areas with visible mold get a more thorough treatment along with hepa vacuuming.
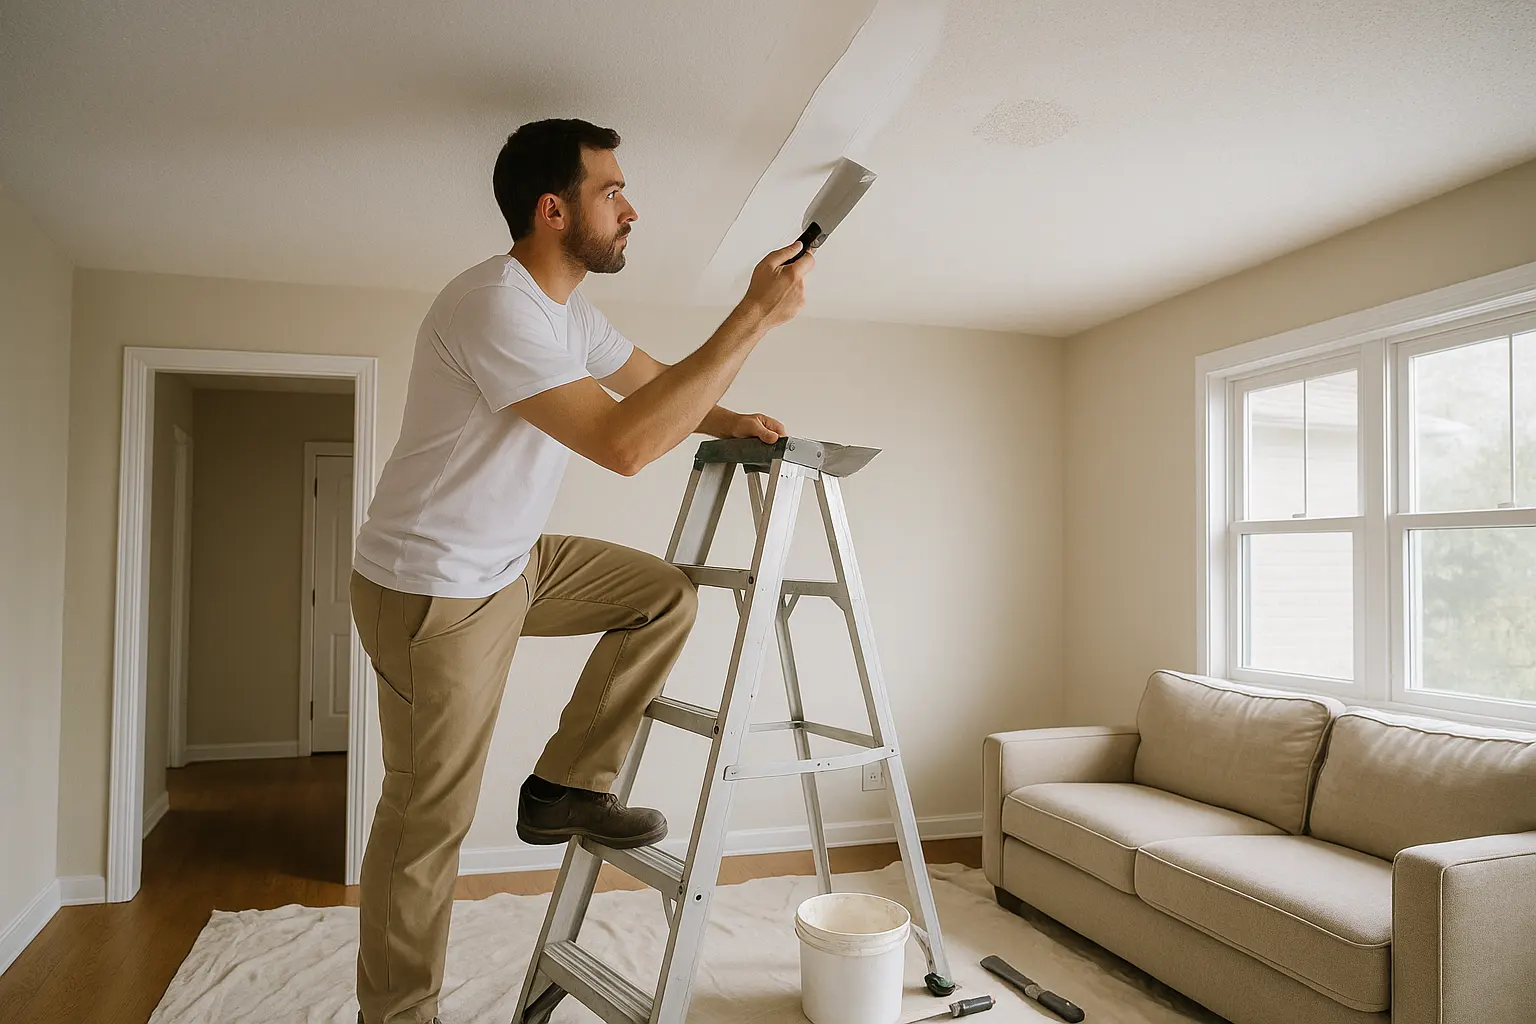
Next we replace any insulation that was removed. Drywall is loaded into the jobsite and the hangers replace any drywall that was removed. We securely fasten the new Sheetrock boards with course thread drywall screws, making sure to use screws that are long enough to penetrate the wood framing by 3/4". For 1/2" drywall 1-1/4" screws are used, for 5/8" drywall 1-1/2" or 1-5/8" screws are used. Next the drywall finishers tape the seams, corners, butt joints, and any patches. Corner bead is installed on outside corners and the countersunk screws are covered with a coat of compound. We continue and apply two more coats of joint compound in thin coats. Each coat is wider than the last and must dry overnight before another coat is added. Any lines or blemished are sanded with a special power sander that is connected to a hepa filtered dust extractor.
After the sanding is done and the compound is blended into the surrounding surface, we restore any ceiling texture such as knockdown or swirl. If the original ceilings had popcorn texture, we offer to leave that step out and finish the ceilings flat to a smooth painted finish. Stain-blocking primer is important to seal any water stains before the ceilings are painted to avoid the brown from bleeding through. Finally, we paint the whole ceiling with Sherwin Williams quality paint. The finished result should be seamless ceilings with non of the compound work visible through the paint. The best drywall finishers are like magicians, they make all of the seams disappear.

I tell homeowners not to treat a water stain like a problem that can be fixed with paint. Paint may hide visible stains for a week, but the mark will often bleed back through if moisture, mold, or drywall damage is still present and a proper stain blocking primer wasn't used. First, find and repair the source of water, a roof leak, plumbing drip, condensation issue, or overflowing plumbing fixture. Then let the area dry completely. Depending on the leak and airflow in the room, drying can take several days or longer.
Once the ceiling or wall is dry, check whether the drywall feels firm and flat. Soft, swollen, crumbling, or sagging material should be removed and replaced rather than covered. For sound drywall, I seal stains with a quality stain-blocking primer designed for water marks, then apply two finish coats that match the surrounding surface. This extra step keeps the repair looking clean and helps prevent the same stain from becoming visible again.
Ceiling repair takes a many years of experience because flaws overhead are easy to notice in direct sunlight. At Mrwalls Drywall & Painting, we repair cracks, water stains, loose tape, holes, and sagging areas while matching the finish around the damaged ceiling. A smooth ceiling needs precise drywall taping, sanding, and priming so the repaired area disappears instead of showing as a dull patch. Textured ceilings require us to recreate the existing pattern with the right materials and application method. For popcorn finishes, we first check the condition of the surrounding texture and address any moisture problem before making the repair. Homeowners can handle very small touch-ups, but larger damage often points to movement, a leak, or weakened drywall above. We identify the cause, make a durable repair, and finish the surface so it looks consistent from wall to wall.
As a drywall contractor, I tell homeowners to slow down when a wall looks like more than simply worn. A musty smell, dark spotting, soft drywall, or paint that bubbles after a leak can point to hidden mold and water damage. Mold often grows behind walls or ceilings where materials stayed wet long after the visible moisture disappeared. Do not cover these signs with fresh paint or new drywall until the source of the moisture is fixed and the area is fully dry. Electrical concerns deserve the same caution. If an outlet feels warm, lights flicker, breakers trip, or you see staining near a switch, keep the area dry and call a qualified electrician. Water can travel through framing and affect wiring well beyond the obvious damage. At Mrwalls Drywall & Painting, we inspect the affected area before repair so homeowners can make safe, informed decisions about what needs to be removed, dried, and rebuilt.
Small dents, nail holes, and minor scuffs are often manageable for a careful homeowner with the right patching tools. But when damage spreads, keeps returning, or affects more than the surface, it is time to call for professional drywall repair services. At Mrwalls Drywall & Painting, we recommend getting help when you see sagging seams, soft wallboard, wide cracks, mold staining, or a water damaged ceiling. These signs can point to a leak, moisture trapped behind the wall, or weakened framing, not just a cosmetic issue. Restoration work is especially important after plumbing leaks, roof damage, or flooding, since wet drywall may need to be removed and the area fully dried before repairs begin. We can assess what is salvageable, identify the likely source of damage, and make clean, lasting repairs that blend with the surrounding wall or ceiling. Calling early can prevent a smaller problem from becoming a larger restoration project.
After water damage, good documentation protects you before any repair begins. At Mrwalls Drywall & Painting, we recommend taking clear photos of the affected ceiling, walls, flooring, and the source of the leak if it is visible. Save receipts for emergency plumbing, drying equipment, and temporary protection. Your insurer may ask for these details when reviewing the claim.
Repair costs depend on more than the size of the stain. We look at whether insulation is wet, drywall has lost strength, mold is present, texture must be matched, or paint needs to blend across a larger area. A written quote should explain the scope: removal of damaged material, drying, replacement drywall, taping, texture, priming, and painting. If you plan to do some work yourself, we can help you understand which steps are safe to handle and which repairs need a professional finish.
Move people, pets, furniture, and electronics away from the area. Catch active drips with containers, shut off nearby electricity if it is safe, and find the leak source. Do not begin ceiling repairs until the water source is stopped and the area is fully dry.
It can be. Sagging, bubbling, soft, cracked, or bulging drywall may be holding water and could fall unexpectedly. Stay out from underneath the damaged area, avoid touching or puncturing it, and contact a qualified professional when the ceiling appears unstable.
No. A water-filled ceiling can release suddenly, damaging the room and creating an injury risk. Keep the area clear, control the leak source, and have a professional assess the swollen drywall safely.
Yes, if the leak has been fixed and the drywall is completely dry, firm, and free of sagging or deterioration. Stains may be sealed and repainted after drying. Soft spots, peeling material, cracks, or bowed drywall usually require removal and repair.
Check directly above the damaged area, while remembering that water can travel along framing. Inspect attic insulation, roof decking, vents, chimneys, plumbing lines, bathrooms, kitchens, laundry rooms, and upstairs fixtures. A plumber or roofer can help when the source is unclear.
Drying time depends on the amount of water, airflow, humidity, and materials affected. Use fans and a dehumidifier, and repair only after the ceiling and the space above it are fully dry. Repairing damp drywall can cause recurring stains, mold, and finish failure.
Call for help when water is actively dripping, the ceiling is sagging or bulging, electrical fixtures may be affected, the leak source is unknown, or drywall feels soft and unstable. Prompt assessment can limit further damage and support a lasting ceiling repair.