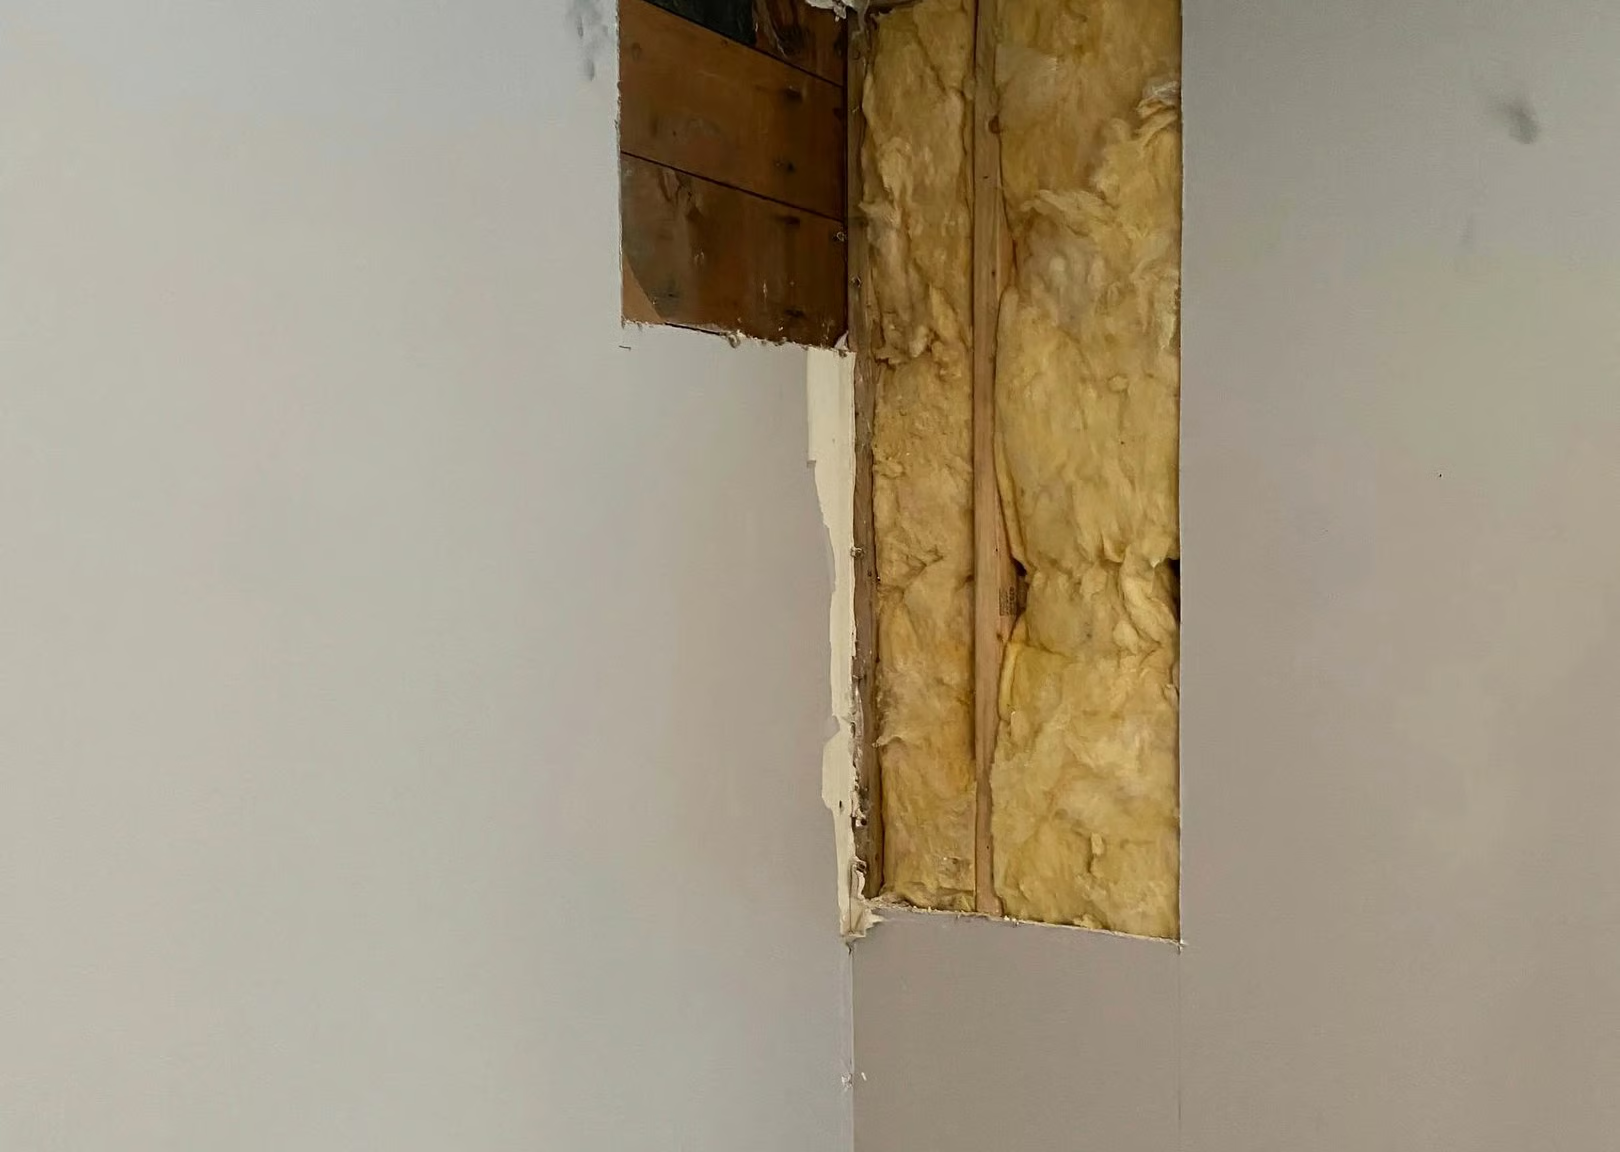
We get called in to fix a lot of drywall work that was already "fixed" once. Almost every time, the original repair wasn't wrong in concept, patch the hole, tape the seam, paint it, it was wrong in execution, and the small shortcut that seemed harmless at the time is exactly why we're back out there redoing it.
None of these mistakes are about skill you don't have. They're about steps that get skipped because they seem optional. They aren't.
The six mistakes that cost the most
Skipping primer before painting
Joint compound and the surrounding wall absorb paint differently. Skip primer, and the patch shows through as a slightly different sheen or shade, even with an exact color match, a problem known as flashing.
The fix: prime the patched area, and ideally the full wall if the paint is more than a couple years old, before topcoating.
Using the wrong mud with mesh tape
Mesh tape needs setting-type joint compound to hold properly. Paired with regular premixed mud, it looks fine for a few months, then cracks right along the seam once the wall sees a normal season of movement.
The fix: use setting-type compound for the first coat over mesh tape, or switch to paper tape if that's what's on hand.
Patching over an active leak
This is the one that turns can make a small repair into a moldy mess. If the moisture source isn't fixed first, new drywall gets saturated the same way the old drywall did, sometimes within weeks, and now there's mold risk and a second repair on top of the first.
The fix: confirm the leak is not leaking after repairing it. Let the area fully dry, watch for new moisture when it rains or around plumbing joints if that was the problem. Don't assume because the repair tech said its fixed that it was done right. Never repair over active moisture. We ask before we repair if your sure the leak is repaired. We are not at your home during all conditions to monitor before our start date so we trust that you have checked when we ask.
Sanding instead of feathering
A visible ridge around a patch usually means the mud wasn't feathered out wide enough before it dried, then got aggressively sanded to compensate, which often causes a ramp where the compound meets the existing wall.
The fix: apply mud in thin coats, feathered several inches beyond the repair, sanding lightly between coats rather than forcing one thick coat flat.
Fixing the crack, not the fastener
If a crack is tied to a boards that are not secured properly, fixing the crack without resetting or replacing the loose fasteners means the same crack reopens once the framing shifts again next season.
The fix:Check to make sure the board is solid against the studs by pushing on it before taping. If the drywall board moves before touching the stud you need to re-screw both sides of the crack into solid framing before mudding over it.
Using standard drywall in a wet area
Standard drywall in a bathroom, laundry room, or near a kitchen sink absorbs moisture and breaks down faster, leading to a repeat repair sooner than it should.
The fix: use moisture-resistant board in these areas, it costs a little more upfront and saves a redo down the line. See: What drywall to use in bathrooms?
When a small mistake becomes a big bill
The jump in cost almost always happens when a compromised repair has to be removed before the real fix can start. Undoing a poorly taped seam, cutting out mold-affected drywall, or stripping a patch that was never primed all add labor on top of the repair that should have happened the first time.