Learn how to assess ceiling damage, handle small drywall repairs, spot urgent warning signs, and know when to call a professional.
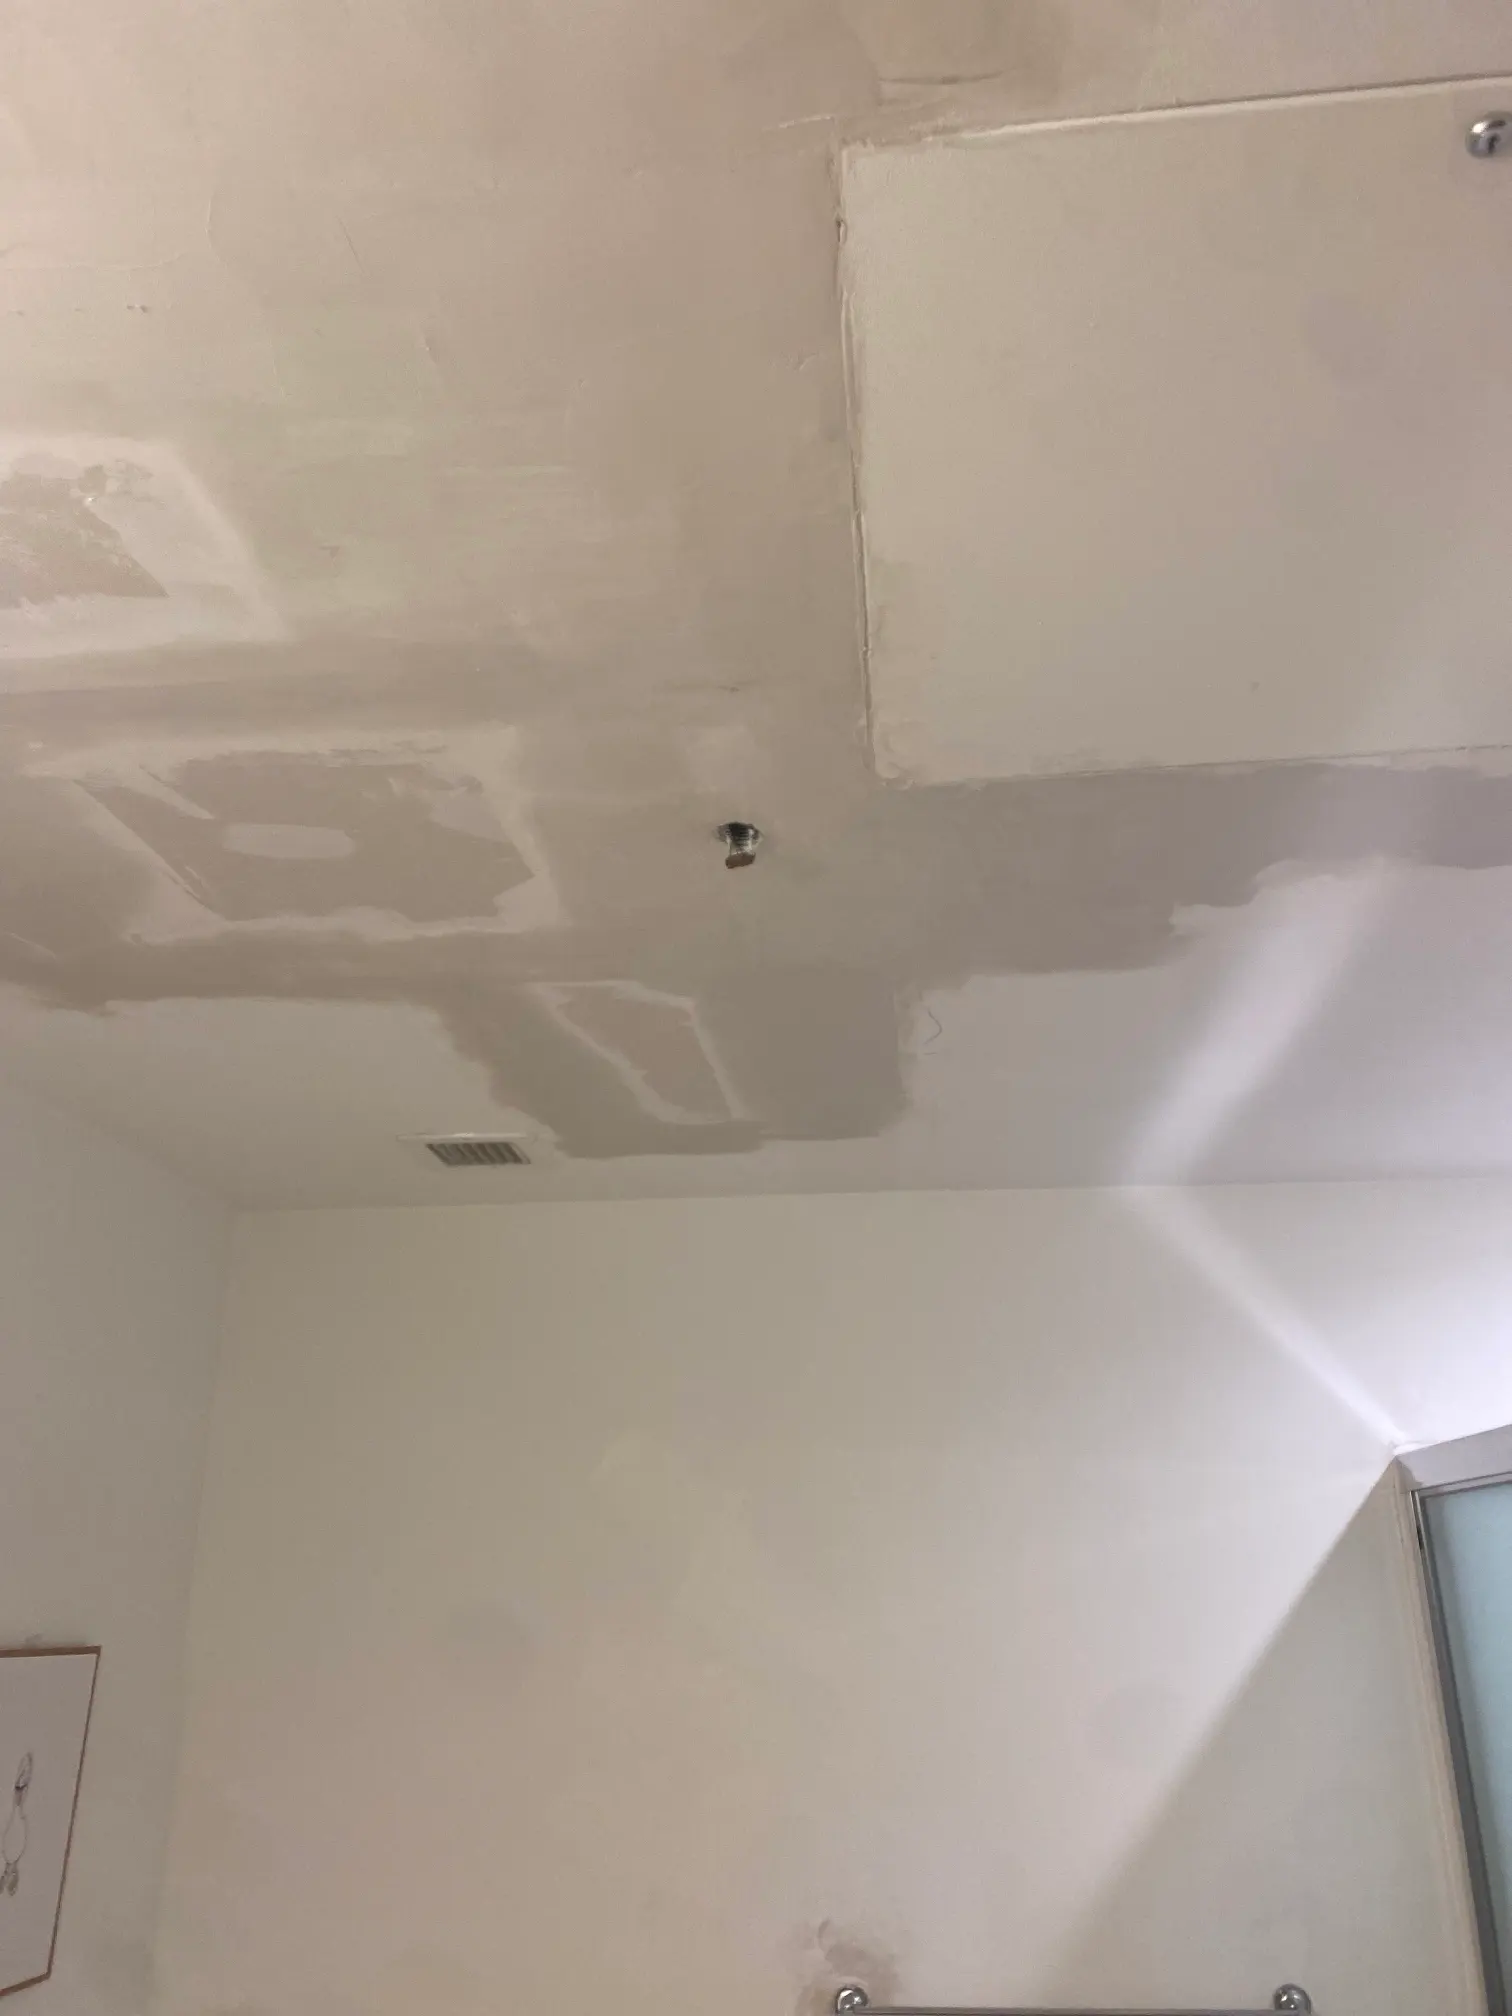
Ceiling repair starts with knowing what caused the damage, not just covering the stain, crack, or hole. A small drywall patch may be a straightforward DIY job, while water marks, sagging areas, or recurring cracks can point to leaks or structural movement. Learn how to assess the problem, make the right repair, and know when to call a local professional.
Ceiling repair starts with finding the cause, whether it is water intrusion, movement, loose plaster, or aging drywall. Small stable cracks may be suitable for DIY fixes, but sagging, stains, recurring damage, and textured ceilings often need professional assessment. Proper repairs address underlying issues, stabilize damaged material, match texture, and finish seamlessly for a durable result.
Ceiling repair is never just a cosmetic task. A stain, sagging seam, or hairline break can point to moisture, framing movement, aging plaster, or a failed prior repair. Before patching a ceiling, the source of the ceiling damage should be understood. Water can travel well beyond the visible mark, while ceiling cracks may reflect normal settling, or a condition that deserves closer attention. MrWalls Drywall & Painting approaches each interior repair with that distinction in mind, helping protect the home from overlooked issues. We assess the affected area, look for signs of active damage, and recommend a repair scope that fits the home rather than covering evidence of a larger issue. Once the cause is addressed, the ceiling can be restored with the right materials and finish work, whether that means drywall repair, plaster repair, stain blocking, or a smooth surface after popcorn ceiling removal. The goal is a clean, durable result that feels original to the interior, not a temporary patch that calls attention to itself.
| Visible sign | Possible cause | What to check before repair |
|---|---|---|
| Ceiling stain | Moisture or water traveling beyond the visible mark | Look for signs of active moisture damage and identify the source before stain blocking or patching. |
| Sagging seam | Moisture, framing movement, or a failed prior repair | Assess the affected area for active damage and determine whether the underlying issue has been addressed. |
| Hairline break or ceiling crack | Normal settling, framing movement, or a condition needing closer attention | Check whether the crack appears related to settling or signs of a larger issue before repairing the surface. |
| Damaged or uneven ceiling surface | Aging plaster or a failed previous repair | Evaluate the condition of the existing material and select the appropriate drywall or plaster repair approach. |
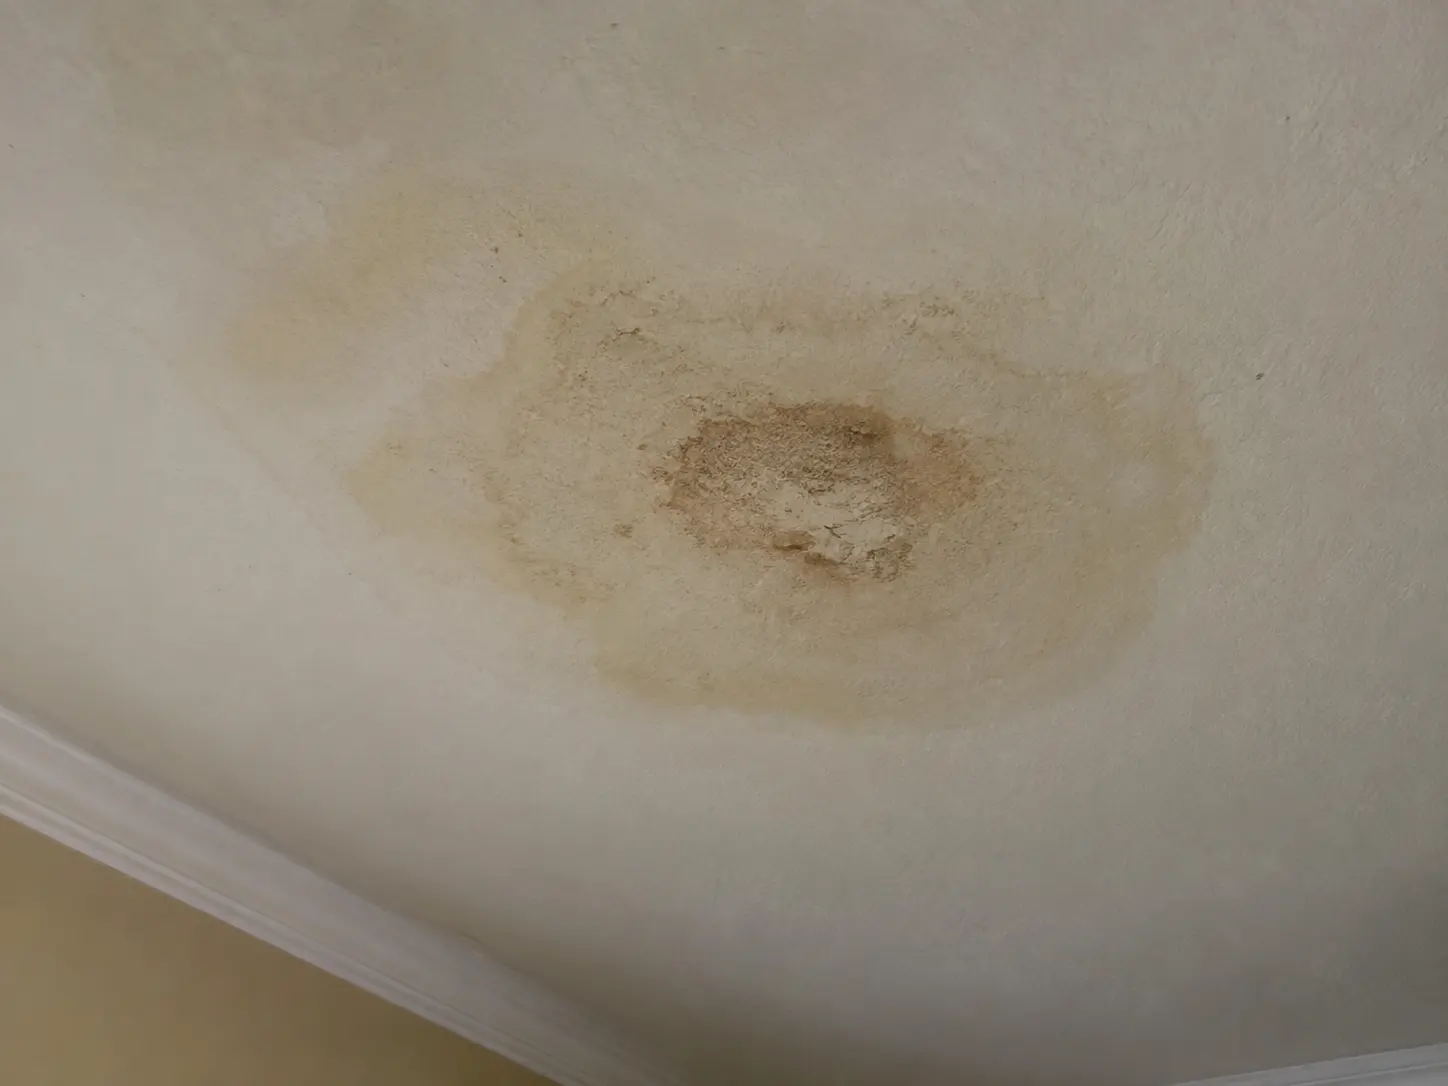
Water damage on a ceiling is rarely just a cosmetic problem. Before scheduling a repair, protect the room, identify the source, and make sure the area is safe to enter. Move furniture, rugs, and electronics away from the affected area, then place a bucket beneath any active drip. If the ceiling is sagging, bubbling, or visibly damaged, avoid touching it; saturated drywall or plaster can lose strength unexpectedly. Turn off electricity to nearby light fixtures if water may have reached the wiring, and contact an electrician if there is any concern. Next, stop the water at its source, whether it is a plumbing leak, roof issue, or overflow from an upstairs bathroom. Photographs can help document the damage for insurance purposes. Once the leak is controlled, ventilation and professional drying services can limit mold and hidden deterioration. MrWalls Drywall & Painting can assess the affected ceiling and recommend the appropriate restoration and repair plan.
Effective ceiling repair begins with identifying the material, source of damage and finish. From targeted drywall repair to careful texture work and painting, MrWalls Drywall & Painting delivers repairs that restore a clean, cohesive ceiling.
Ceiling patching is more involved than filling a visible mark. For minor ceiling cracks, nail pops and small holes, the affected drywall is secured, cleaned and reinforced before compound is applied in thin, controlled layers. This helps prevent a rushed repair from flashing through after paint.
Larger damage may require cutting back compromised ceiling drywall and fitting a properly supported replacement piece. Joints are taped, feathered well beyond the patch and sanded smooth to blend with the surrounding surface. Where cracks suggest movement, the underlying framing or fasteners should be addressed before cosmetic work begins. Proper installation techniques, drying time and finish preparation make the difference between a short-lived touch-up and drywall work that disappears into the ceiling.
Loose plaster needs attention beyond the damaged surface. Hollow, crumbling or detached areas are carefully assessed, stabilized or removed, then rebuilt with compatible materials to create a sound base for repair. Simply coating loose material can leave the ceiling vulnerable to renewed cracking or failure.
Texture matching is equally important, particularly when repairing a popcorn ceiling. The goal is to blend the repaired section into the existing popcorn texture without creating an obvious smooth border, heavy patch or mismatched pattern. After repairs cure, careful priming and painting help unify sheen and colour across the ceiling. If water damage caused the issue, the moisture source must be corrected first; otherwise, staining, sagging and newly damaged finishes can return. MrWalls Drywall & Painting can also advise when widespread popcorn removal offers a cleaner long-term result.
Some ceiling repair projects are well within reach of a careful homeowner. A small nail pop, hairline crack, or shallow ding can often be handled with basic tools, patching compound, sanding, and touch-up paint. The deciding factor is not simply the size of the damage, but what may be causing it. If the ceiling is dry, stable, and free of staining, a modest DIY drywall repair may be a sensible weekend task for your home.
Call a handyman or professional when repairs involve water stains, sagging drywall, recurring cracks, loose plaster, textured finishes, or a large affected area. These conditions can point to a roof leak, plumbing issue, structural movement, or hidden mold, problems that should be resolved before cosmetic work begins. Safety matters, too: overhead repairs require secure ladders, dust control, and confidence working above shoulder height. MrWalls Drywall & Painting can assess the source of ceiling damage and deliver durable repairs that blend cleanly with the surrounding surface.
A professional ceiling repair service should do more than cover a visible crack or apply a fresh coat of paint. At MrWalls Drywall & Painting, the process begins with a careful interior assessment to identify whether the issue is isolated drywall damage, failed plaster, moisture staining, or a larger water-related concern. From there, the repair should include sound surface preparation, replacement or stabilization of compromised material, precise taping and finishing, and a texture match that blends naturally with the surrounding ceiling. If water damage is involved, the source must be addressed before cosmetic work begins; otherwise, even a beautifully finished repair can fail prematurely. Proper priming and painting are equally important, especially where stains, patched areas, or aged finishes can show through. The best services leave the room clean, the repaired area seamless in normal light, and the ceiling ready to perform as well as it looks. That standard of care protects both the appearance and long-term condition of your home.
Ceiling repair costs depend on more than the visible crack, stain, or sag. The scope may be as straightforward as a small drywall patch and painting, or it may involve tracing water damage, removing compromised material, drying the area, and matching an existing ceiling texture. Size matters, too: pricing often reflects the affected square foot area, access requirements, ceiling height, and the extent of preparation needed for a seamless repair. A localized repair near an easy-to-reach fixture generally takes less time than work around vaulted ceilings, plaster details, or an active leak. Installation of replacement drywall, insulation, or new texture can also shape the final cost. At MrWalls Drywall & Painting, we build each estimate around the actual condition of the ceiling, not a one-size-fits-all number. After an on-site review, we can identify the needed repair steps, explain what is driving the costs, and provide a clear timeline for completing the work with minimal disruption to your home.
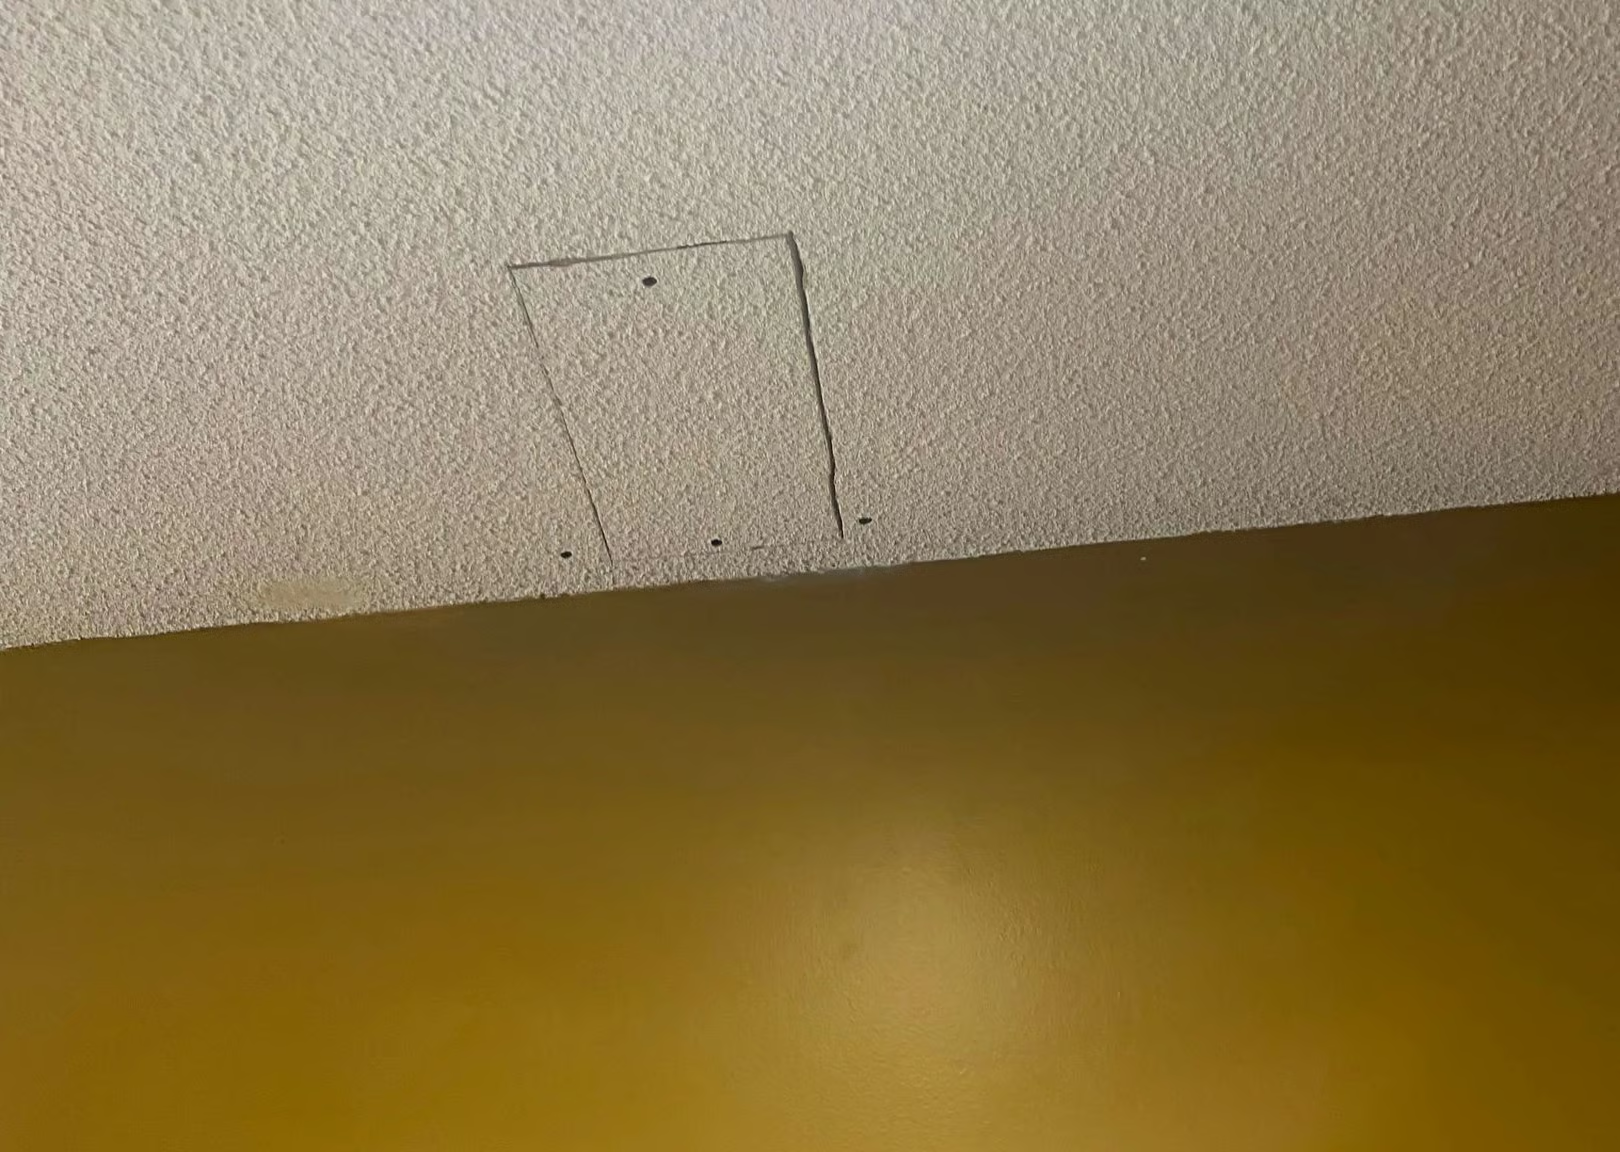
A solid repair should do more than make a damaged ceiling look presentable again. Before repainting or restoring texture, identify how water reached the area: a roof leak, plumbing issue, condensation, or an upstairs overflow can each call for a different fix. Addressing that source promptly helps protect nearby ceilings, insulation, framing, and finishes throughout the home.
Simple habits also matter. Check bathrooms, kitchens, attic spaces, and appliance connections for slow leaks; maintain roof drainage; and use adequate ventilation where humidity collects. After any incident, allow materials to dry fully before scheduling cosmetic repair. Painting over residual moisture can lead to staining, peeling, or renewed ceiling damage.
Request a professional assessment when the ceiling is soft, sagging, cracked, visibly stained, or affected across a broad area. A trusted service can determine whether drywall, plaster, or texture needs targeted restoration and whether hidden moisture remains. MrWalls Drywall & Painting approaches each repair with the practical goal of restoring a clean finish while helping you avoid the same problem returning.
Ceiling damage can result from plumbing or roof leaks, humidity, settling, framing movement, loose fasteners, aging plaster, or an earlier repair that did not address the underlying issue. A professional assessment can determine whether the problem is cosmetic or needs further investigation.
An active leak, sagging area, bubbling finish, or water near a light fixture needs prompt attention. Move belongings away, place a container under drips, avoid touching weakened material, and turn off nearby power if wiring may be affected. The leak should be stopped and the area dried before repair.
Yes, provided the moisture source is corrected first. Damaged drywall or plaster may need to be removed, dried, stabilized, patched, primed with stain-blocking primer, and repainted. Hidden moisture or mold concerns may require additional drying and remediation before finish work begins.
A small, dry, stable hairline crack or nail pop may be suitable for DIY patching. Recurring cracks, wide cracks, stains, sagging drywall, loose plaster, or textured ceilings are better handled by a professional because they can indicate movement, moisture, or material failure.
The repair area is properly taped, feathered, sanded, primed, and finished to match the existing surface. For popcorn or other textured ceilings, texture is applied and blended beyond the patch edges so the transition is less visible after painting.
Cost depends on the damage source, affected area, material type, ceiling height, access, required drying or removal, texture matching, and painting. A small drywall patch usually requires less work than water-damaged plaster, a vaulted ceiling repair, or widespread popcorn ceiling restoration.
Minor patches may be completed in a short visit, while larger repairs can require several stages for drying, taping, compound coats, sanding, priming, texture work, and paint. Water damage repairs may take longer when leak correction or professional drying is needed first.