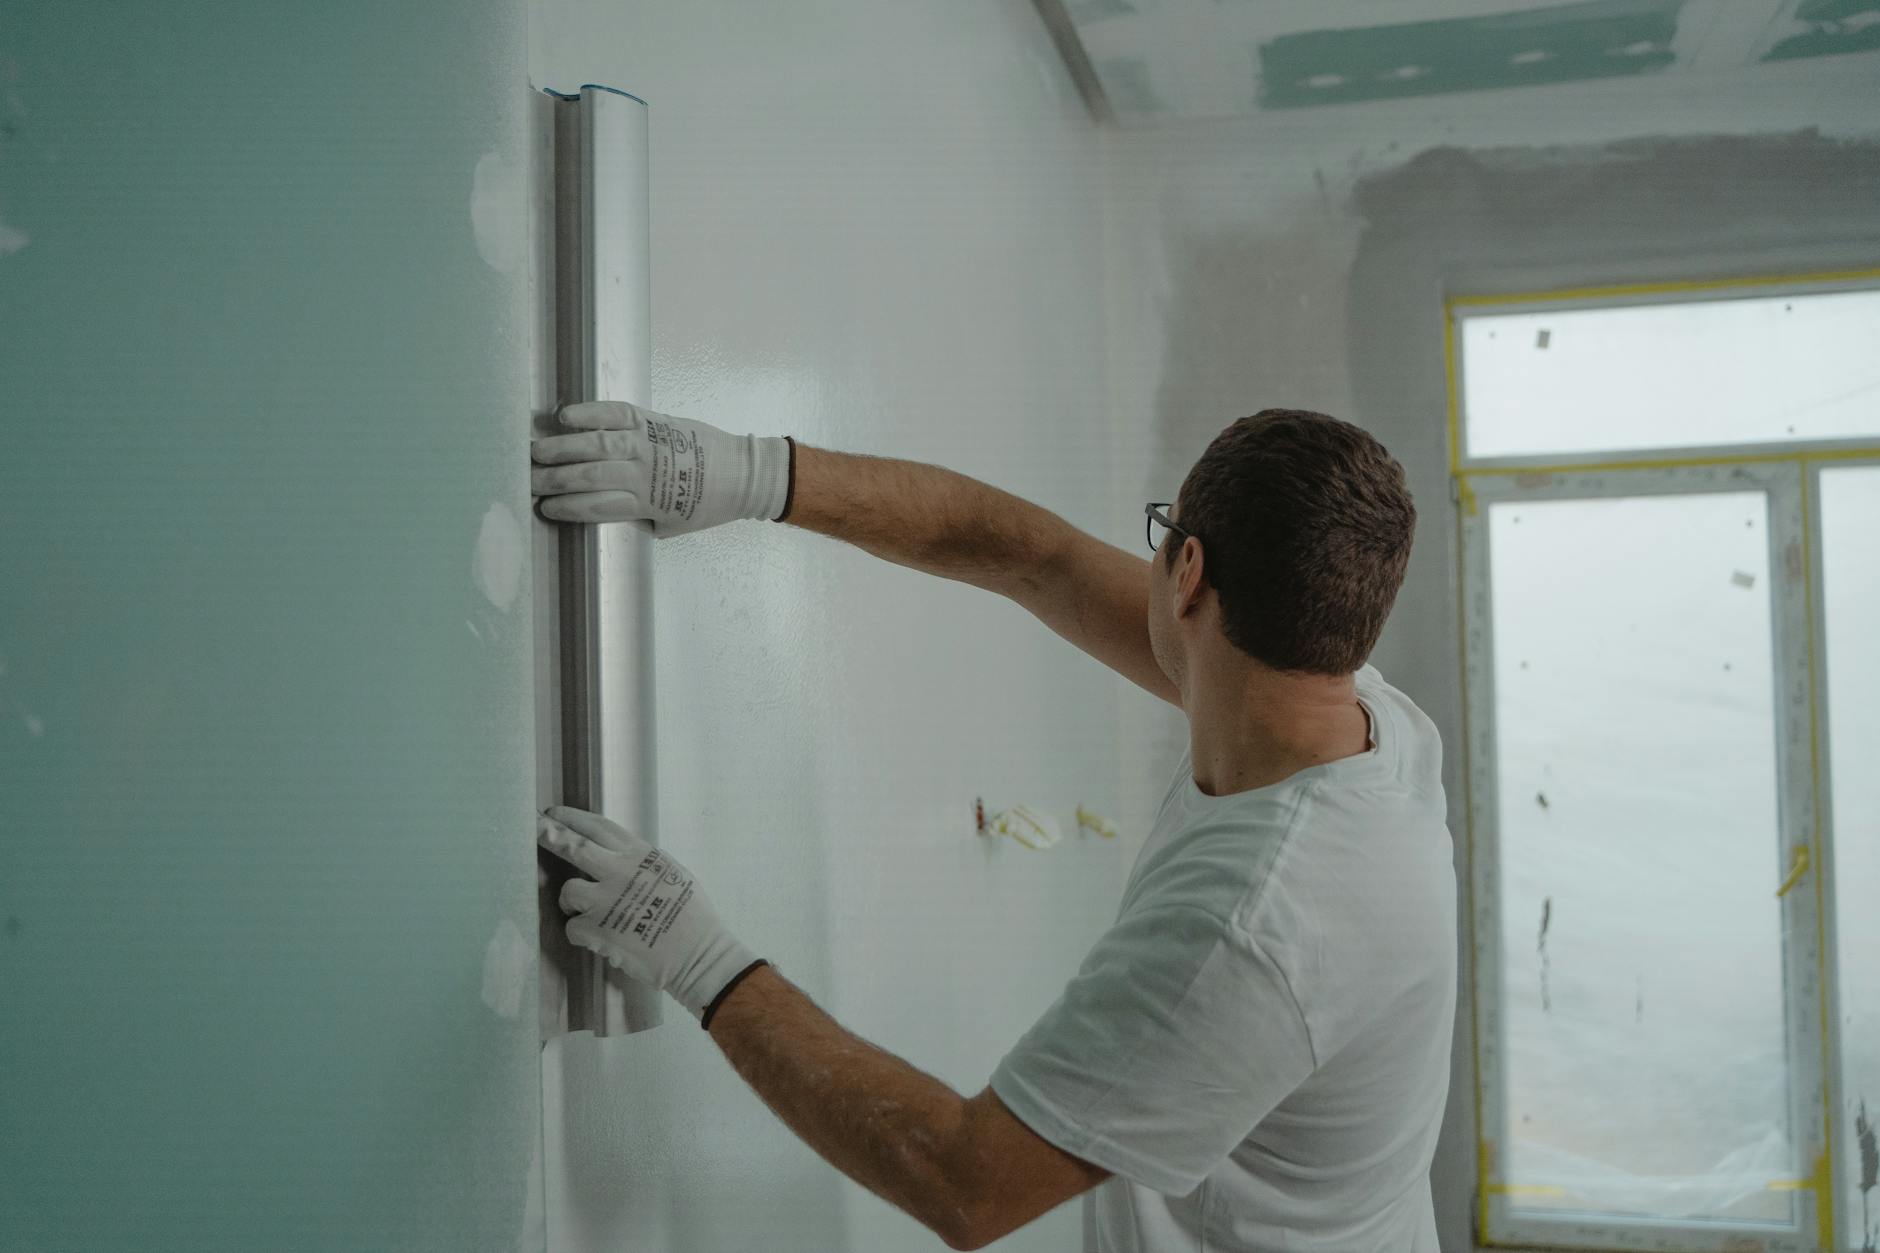
Most people try to skip skim coating because it is tedious and messy. They usually regret that decision the second they turn on a lamp and see the shadow of a bad seam. Skim coating is the only way to get a professional, level 5 finish on old or damaged walls.
Forget about using joint compound straight out of the bucket. It is too thick for a skim coat and it will leave you with bubbles and ridges. You want the mud to be the consistency of thick pancake batter.
Add a small amount of water at a time and mix it thoroughly. If it is too runny, it will slide off the wall. If it is too thick, you will spend three times as long sanding off your mistakes.
If you are working in a room with only overhead lighting, you are flying blind. Overhead lights hide the imperfections you are trying to fix.
Set up a work light on a tripod and point it across the wall at a sharp angle. This "side" light creates long shadows for every bump or valley. You should keep this light on for the entire process, including the final sanding.
In Western Massachusetts, our humidity changes the drying time every day. If it is a damp July afternoon in Springfield, give the wall an extra few hours before you start sanding.
Sanding is the part everyone hates, but it is where the finish happens. Use a fine-grit sandpaper, usually 220 grit, to avoid leaving deep scratches in your new surface.
If you see a crater or a low spot while you sand, do not try to sand the rest of the wall down to match it. Just stop, mark the spot with a pencil, and add a tiny bit more mud.
Getting a wall perfectly flat is hard work. If you have a room that looks like a topographical map, give MrWalls a call. We have the tools to get it smooth without turning your house into a dust bow
What kind of lighting does the room you are working on have?