Drywall repair texture matching is what makes a patched wall disappear instead of standing out in every light. Even a smooth-looking wall has a subtle finish that can reveal a repair if the pattern, thickness, or paint sheen is off. Before patching, identify the existing texture, especially knockdown, and address any moisture or safety concerns that caused the damage.
After 25 years repairing walls for MrWalls Drywall & Painting, I can tell you that drywall repair texture matching is one of the most visible parts of an otherwise excellent repair. A patch may be flat, solid, and properly finished, yet still catch your eye once the wall is painted. That is because texture matching is more than copying a pattern. It means matching the depth, spacing, direction, and random character of the original wall texture.
Even small differences can stand out under daylight, overhead fixtures, or light shining across a hallway wall. New drywall repairs absorb primer and paint differently than older surrounding surfaces, which can change sheen or make the repaired area look slightly darker. Years of sun exposure, cooking residue, cleaning, and prior paint coats also alter the existing finish.
Matching texture takes careful preparation, the right compound consistency, and a test area before the final application. Spray knockdown, orange peel, hand texture, and smooth walls each require a different approach. We also feather the repair well beyond the damaged spot so there is no hard edge beneath the paint. When the wall is primed and painted correctly, the repair blends far better, but lighting can still reveal imperfections that were invisible from another angle.
Before I repair a damaged wall or ceiling, I take time to identify the existing drywall texture. After 25 years in the trade, I know that a sound patch can still stand out if its finish does not belong with the rest of the room. Texture varies more than most homeowners expect, even within the same house. A wall may have a light orange-peel finish, while the ceiling carries a heavier sprayed pattern or a hand-applied knockdown texture.
At MrWalls Drywall & Painting, we look at the size, direction, and spacing of the texture, along with the paint sheen and how light falls across the surface. Knockdown texture is especially easy to misread: some ceilings have broad, flattened splatters, while others use a finer spray knocked down with a wider blade. To match knockdown texture well, we first determine how it was applied and how heavily it was flattened.
We also check whether previous repairs, paint buildup, moisture damage, or settling have changed the existing texture. This close inspection helps us blend repairs into surrounding walls and ceilings, so the finished area looks intentional rather than newly patched.
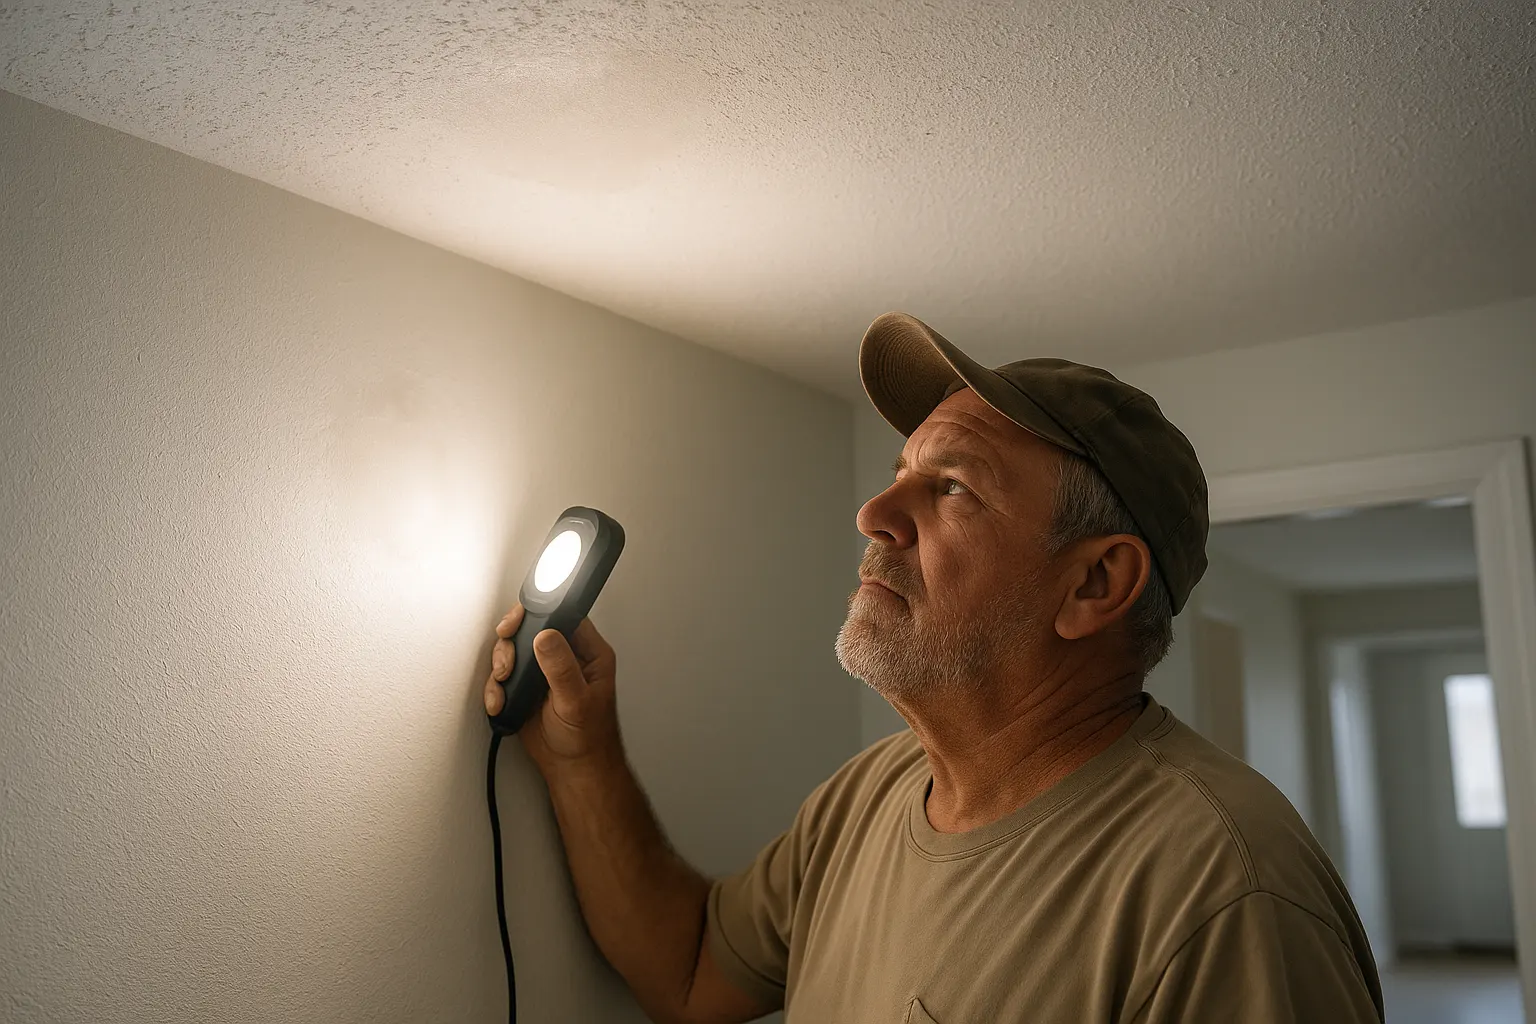
| What to inspect | What to look for | Why it matters for the repair match |
|---|---|---|
| Texture size | Whether the existing pattern is light, fine, heavy, broad, or made up of larger splatters. | Patch texture must match the scale of the surrounding wall or ceiling. |
| Texture direction | The direction in which the texture was sprayed or hand applied. | Different directions can make a repaired area stand out from nearby surfaces. |
| Texture spacing | How closely texture marks, splatters, or pattern areas are spaced. | Matching spacing helps the repair blend with the existing finish. |
| Paint sheen | The sheen of the paint over the textured surface. | Paint sheen affects how the texture appears and can reveal differences in a patch. |
| Light exposure | How light falls across the wall or ceiling surface. | Lighting can highlight texture differences that are less noticeable from other angles. |
| Texture application method | Whether the texture was sprayed, hand applied, or created as a knockdown finish. | The repair method needs to reflect how the original texture was created. |
| Knockdown flattening level | Whether splatters were lightly or heavily flattened, including the blade width used for finer sprayed patterns. | Flattening changes the appearance of knockdown texture and must be matched for a consistent finish. |
| Prior alterations | Previous repairs, paint buildup, moisture damage, or settling that may have changed the original texture. | Existing changes can affect the texture surrounding the repair and influence how the new work should be blended. |
Before we begin drywall repair, I make sure the room is dry, stable, and safe to enter. After 25 years working in homes throughout this area, I have seen too many walls patched over an active leak or hidden mold. That approach may look fine for a few weeks, but it almost always creates more work later. At MrWalls Drywall & Painting, we identify the moisture source and confirm it has been stopped. We use moisture readings to check the framing, insulation, and surrounding wall cavities, not just the visible damage. If water has affected outlets, a ceiling area, or flooring, we address those safety concerns before opening or closing the wall. We also contain dust and remove damaged material carefully, helping keep the rest of the home clean. Only after the structure has dried properly do we plan the repair, including any texture repair needed to match the existing surface. This order protects your home, avoids repeat damage, and gives the finished work the solid foundation it needs.
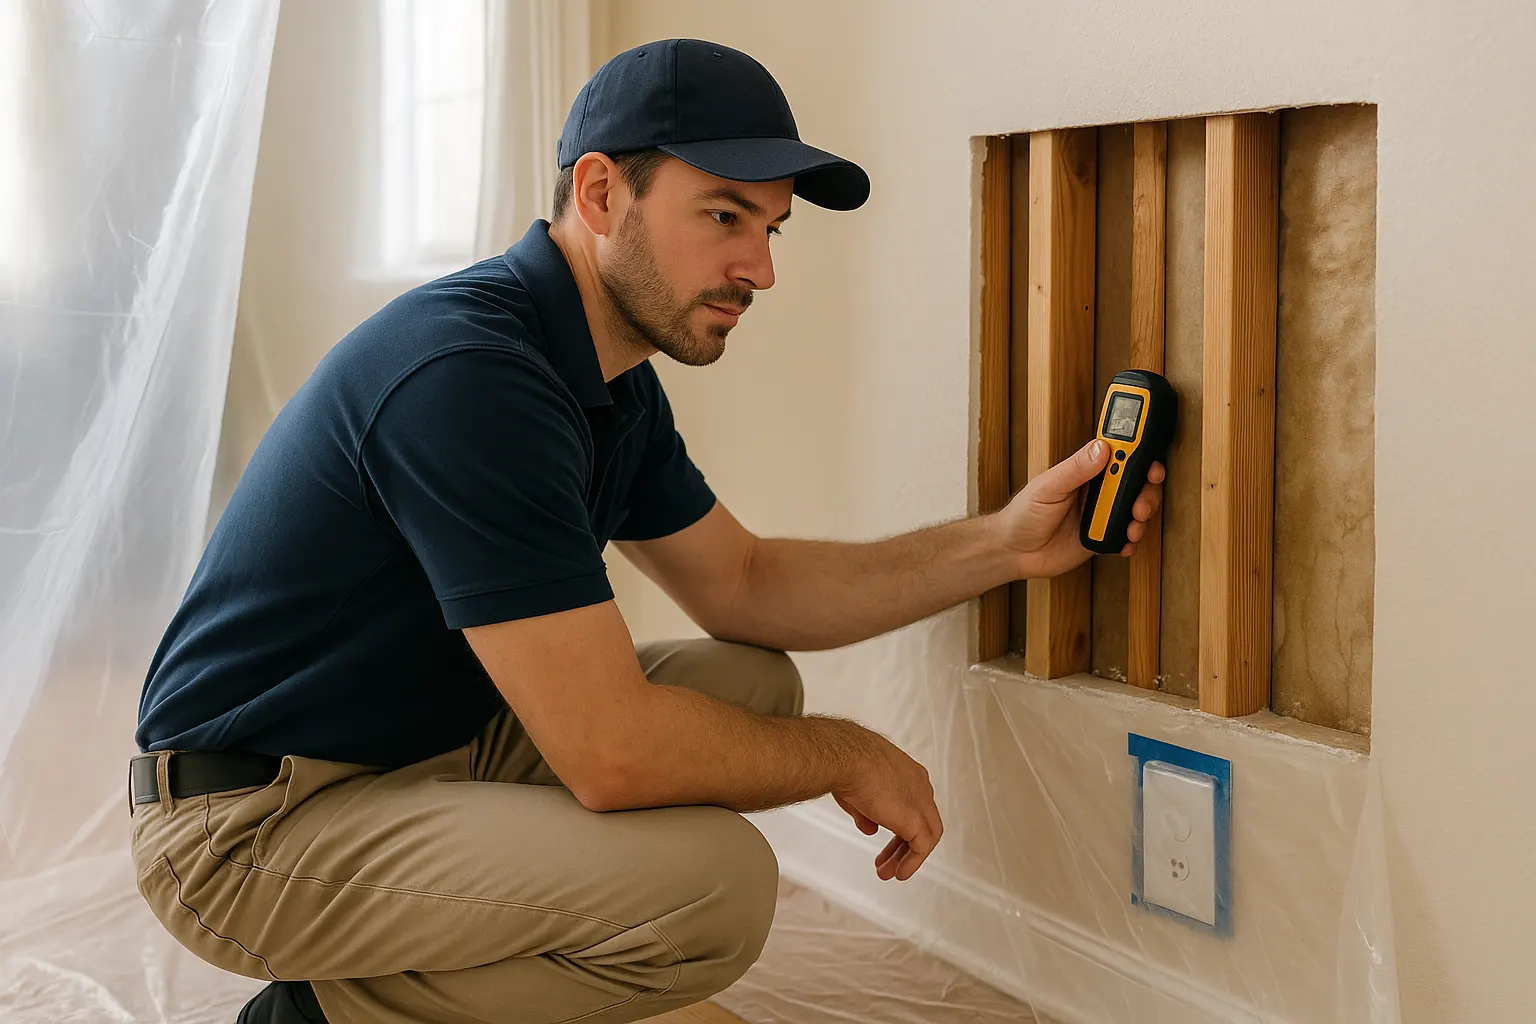
After 25 years in the trade, I can tell you that a clean drywall patch is less about hiding a hole and more about rebuilding the wall’s original surface. At MrWalls Drywall & Painting, we treat patching drywall as a specialized process: we stabilize the opening, add solid backing where needed, fit the new drywall, and secure every piece so it will not shift later. A patch should sit flush before any finishing begins.
From there, the real craft is in the joint compound, often called mud. We apply it in thin, controlled coats, extending each coat beyond the last to soften the transition into the existing wall. After the compound has had time to set, we sand carefully, check the surface under angled light, and repeat where needed. Rushing this stage can leave ridges, shadows, or a visible outline after paint.
Whether the damage came from a leak, a door handle, or an access opening, our goal is to create a repair that disappears into the room. A properly finished drywall patch gives you a sound, smooth surface that is ready for primer, paint, and the rest of the job.
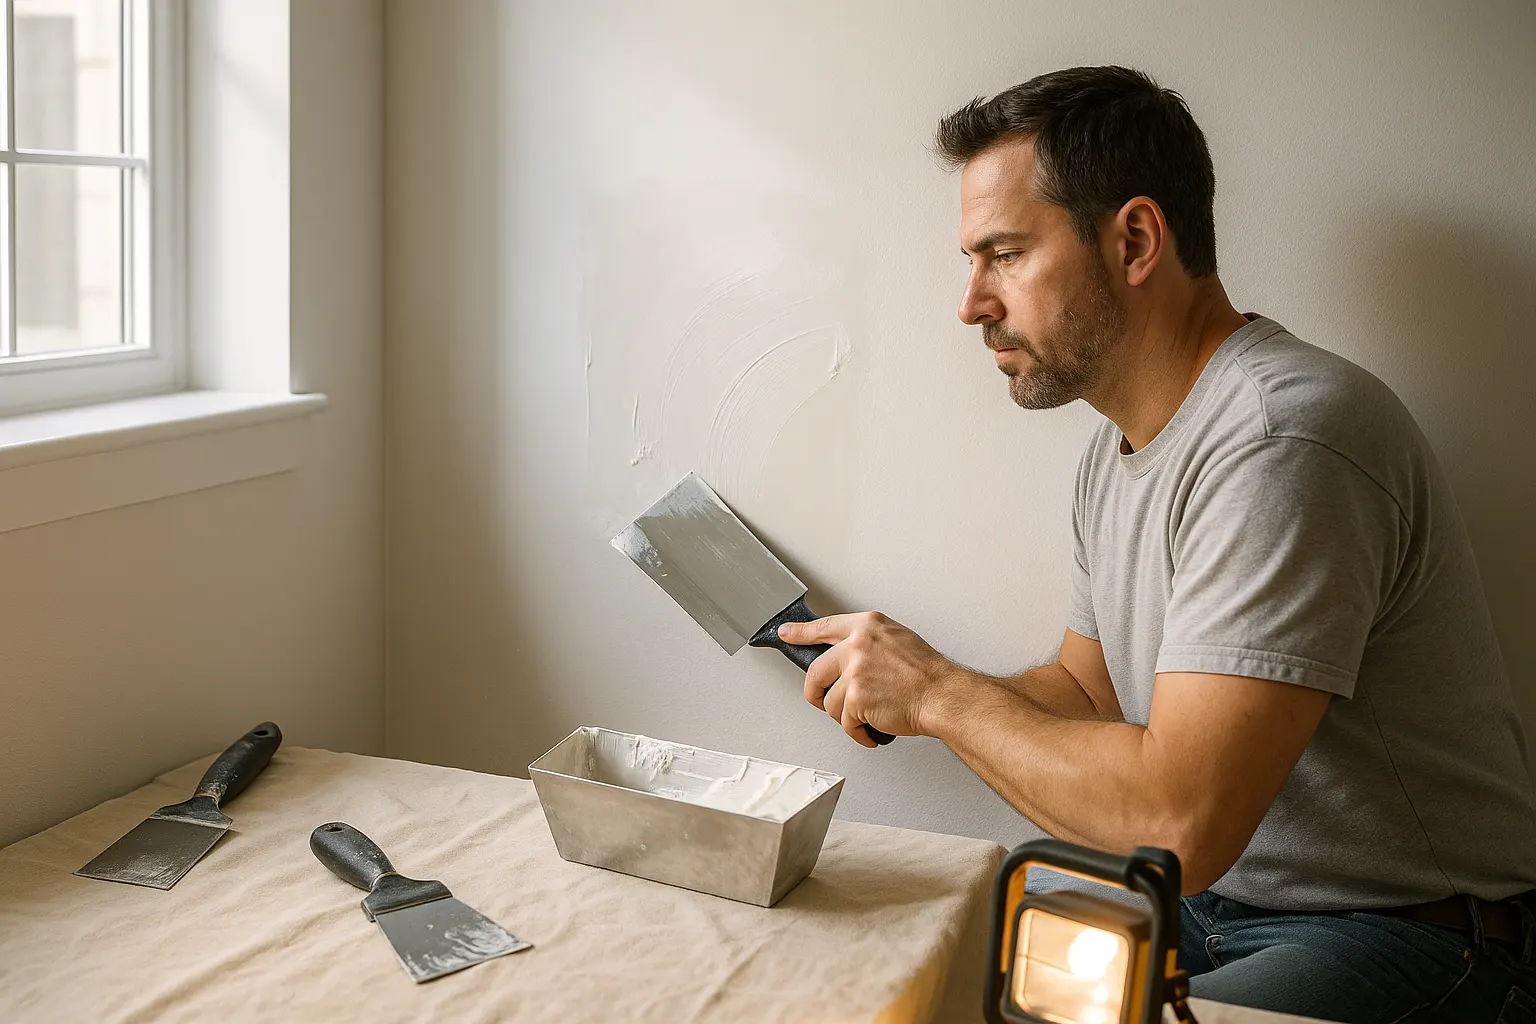
After 25 years repairing drywall, I know a patch is only successful when it disappears into the room. At MrWalls Drywall & Painting, we treat texture and paint as one finish system. A repair can be structurally sound yet still catch the eye if the wall texture is too heavy, too smooth, or applied in the wrong pattern. That is why retexturing begins with a close look at the surrounding walls, including the direction, depth, and spacing of the existing texture.
Texture matching is especially important after water damage restoration, where affected material may be removed in a larger area than the original stain suggests. We prepare the repaired drywall, build the matching texture in controlled passes, and allow it to dry properly before paint goes on. Good matching texture work avoids a hard edge around the repair and keeps light from revealing the transition.
Paint is the final step, not a cover-up for uneven work. We blend sheen and color across the repaired area so the walls read as continuous, whether the finish is a subtle orange peel, hand-applied knockdown, or a smooth modern surface. The result is a clean repair that looks like it has always belonged there.
After 25 years in the trade, I’ve seen plenty of homeowners handle small drywall repair jobs well. A nail pop, a shallow dent, or a few tiny holes from picture frames can often be repaired with patching compound, sandpaper, primer, and patience. If the damaged area is dry, solid, and limited to one wall, a DIY repair may be a sensible weekend project.
The line changes when the damage points to a larger issue. Soft drywall, staining, bubbling paint, recurring cracks, or a damaged ceiling can signal moisture, movement, or failing materials behind the surface. Covering those signs without finding the cause can lead to more costly drywall repairs later. Texture repair is another common challenge: matching orange peel, knockdown, or an older hand-applied finish takes practice, especially where new work meets an existing painted surface.
At MrWalls Drywall & Painting, we recommend calling a professional for water damage, larger holes, sagging areas, seams that have separated, or any repair near electrical or plumbing components. The goal is not simply to make damage disappear. It is to restore a sound surface, match the finish, and make sure the repair lasts.
After a texture repair is dry and painted, I always recommend looking at the area more than once. With 25 years in drywall work, I have learned that a repair can look perfect under a work light yet show a slight edge, shadow, or texture difference when daylight moves across the walls. Check it in natural morning or afternoon light, then turn on the room’s overhead fixtures and lamps. Stand close to inspect the finishing, but also step back several feet and view the wall from each side of the room. Raking light, the kind that hits the surface from an angle, is especially revealing. It can expose a ridge around a patch, a missed sanding mark, or a texture pattern that needs one more light adjustment. Run your hand gently over the repaired area as well; the transition should feel gradual rather than abrupt. At MrWalls Drywall & Painting, we treat this final inspection as part of a complete repair, not an optional extra. A well-finished patch should blend into the surrounding painted walls so naturally that you stop noticing where the damage once was.
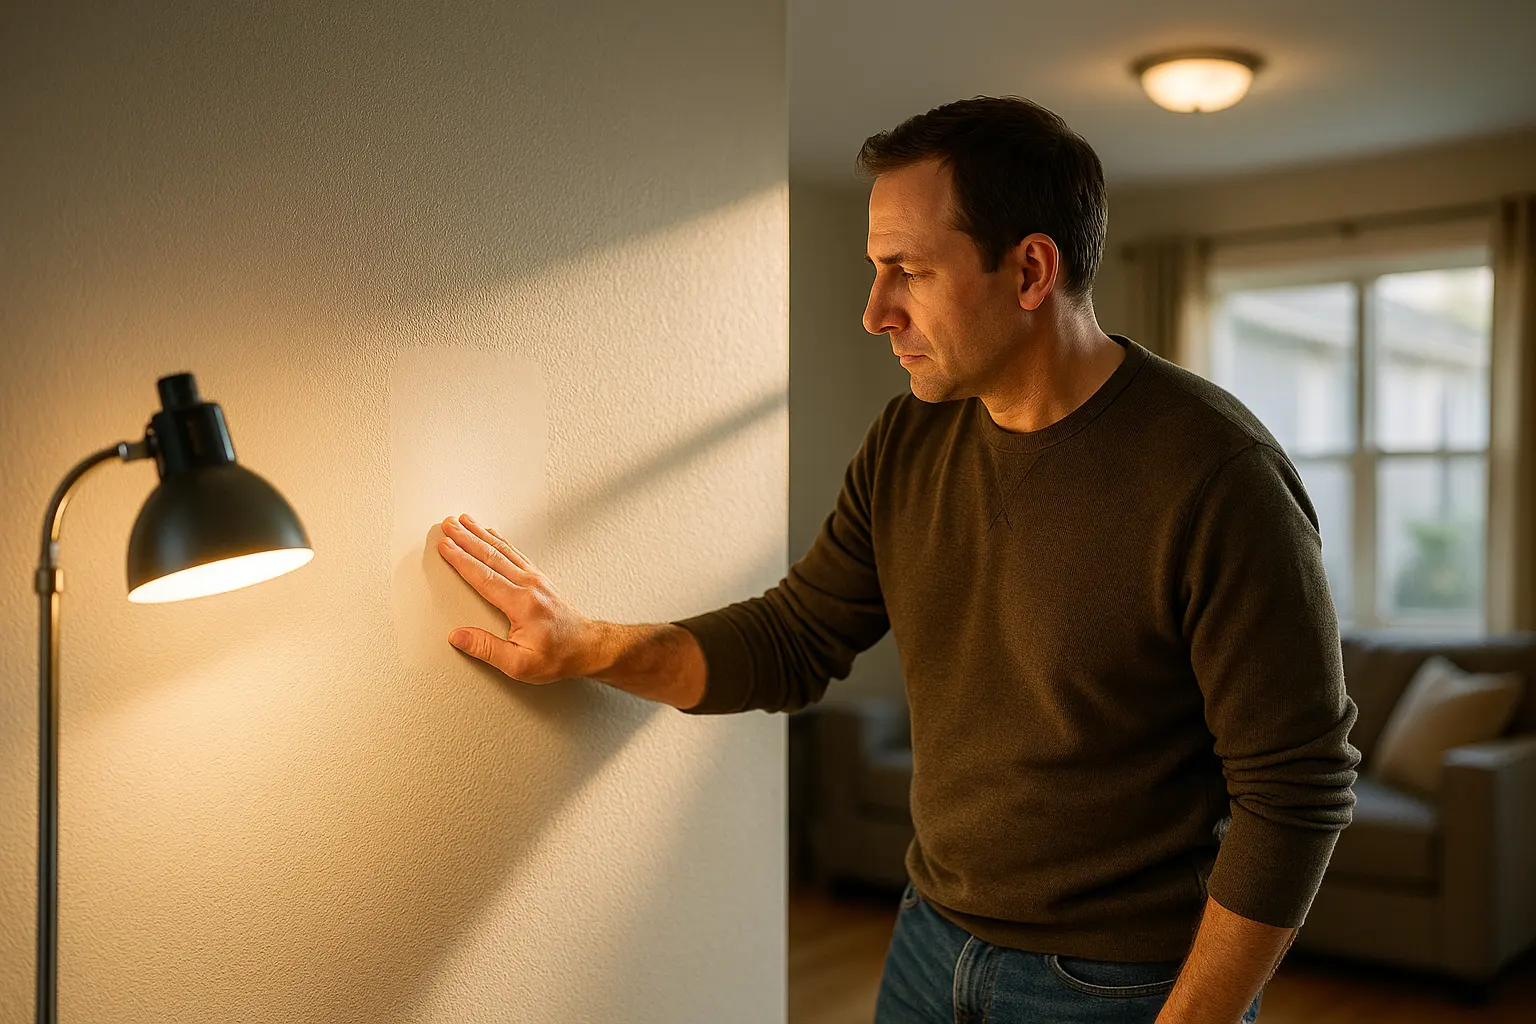
After 25 years in the trade, I can tell you that drywall repair texture matching is less about finding a “close enough” spray can and more about reading the surface correctly. Every drywall texture has its own pattern, depth, and application method. Light knockdown, orange peel, skip trowel, and hand-applied finishes can all look different depending on the room’s lighting, wall age, and prior paint coats. A good repair starts with a clean, flat patch; texture cannot hide poor drywall work underneath. Ceiling repairs deserve extra care because ceilings catch light differently and often have a broader, more visible field of texture. At MrWalls Drywall & Painting, we test the texture before applying it across the repaired area, then blend the edges so the transition is difficult to spot after priming and painting. If water damage caused the problem, drying and stabilizing the area comes first. Applying new texture over damp materials can lead to stains, cracking, or a failed repair later. The right process produces a finish that belongs with the rest of the room, not one that calls attention to itself.
A patch can show when its texture depth, pattern, spacing, paint sheen, or color differs from the surrounding wall. New drywall and joint compound also absorb primer and paint differently. Angled daylight and overhead lighting can reveal subtle ridges, edges, and texture variations.
Yes, orange peel can usually be matched by adjusting the material consistency, spray pattern, and application distance. A small test area helps determine whether the existing texture is fine, medium, or heavy before texturing the repair and feathering it into the wall.
Matching knockdown texture requires recreating the spray size and coverage, then flattening the material at the right time with the proper blade. The width and pressure of the knockdown pass affect the final pattern, so ceilings and older hand-textured surfaces often need extra testing.
The repair should be properly finished and sanded before texture is applied. Once the texture is dry, primer helps create an even surface for paint. Priming is important because repaired areas can otherwise absorb paint differently and leave a dull spot or sheen difference.
Joint compound should be feathered well beyond the patch in progressively wider coats, creating a gradual transition with no hard edge. Texture should also blend into the surrounding finish rather than stopping at the patch perimeter.
Small dents, nail holes, and minor wall repairs are often manageable with patience and basic tools. Larger holes, water damage, separated seams, ceiling damage, and difficult texture matching are better handled by a drywall professional, especially when moisture or electrical components may be involved.
Find and stop the moisture source first. Damaged materials and surrounding framing should be dry before the wall is closed and finished. Repairing over active moisture can cause staining, mold, cracking, and repeat damage.
Inspect the repair after it is dry and painted in daylight, overhead light, and side lighting. View it from several angles and distances, since raking light can expose sanding marks, ridges, or texture differences that are not visible straight on.