
How Many Screws Should You Put in a 4x8 Sheet of Drywall?
How Many Screws Should You Put in a 4x8 Sheet of Drywall?
DRYWALL INSTALLATIONCOMMON QUESTIONS
Understanding Drywall Installation Standards
When embarking on drywall installation, adhering to appropriate standards is paramount to achieving a structurally sound and aesthetically pleasing finish. Organizations like the Gypsum Association have established guidelines that outline recommended practices, including the optimal number of screws to use for securing a 4x8 sheet of drywall. Understanding these standards not only ensures a more durable installation but also helps in avoiding common pitfalls associated with improper fastening.
For a 4x8 sheet of drywall, the general rule endorsed by industry experts recommends using a minimum of 32 screws. These screws should be strategically placed to provide adequate support, taking into consideration the spacing of the wall framing, which should typically be 16 inches on center. By ensuring that screws are spaced approximately 12 inches apart along the edges and 16 inches apart in the field, the drywall is firmly anchored, reducing the risk of sagging or cracking.
The type of drywall being installed also plays a critical role in determining the number of screws necessary. Standard 1/2-inch drywall may require a different fastening approach compared to thicker 5/8-inch panels, often used for ceilings or in areas requiring enhanced fire resistance. Moreover, the specific conditions of the installation site, such as moisture exposure in bathrooms or kitchens, may necessitate additional screws or alternative fastening methods to uphold industry standards.
The significance of following drywall installation standards cannot be overstated. Properly fastening drywall not only aids in the longevity of the structure but also facilitates a smoother finishing process—impacting aesthetics and functionality alike. Therefore, attention to detail regarding the number of screws and their placement is essential for a successful drywall installation.
Calculating the Number of Screws Needed
When installing a 4x8 sheet of drywall, accurately calculating the number of screws required is essential for a secure and durable installation. The standard practice involves placing screws at regular intervals across the edges and the field of the drywall, commonly at 16 inches apart vertically and horizontally. This placement ensures that the drywall is securely anchored to the studs, enhancing the structure's integrity.
To determine the total number of screws needed, first consider the perimeter of the sheet. Each 4x8 sheet comprises 32 square feet, and with the standard stud spacing of 16 inches, you can expect to find a stud at both the top and bottom of the wall vertically along with additional studs at the center. For the vertical edges, one screw is typically placed at each stud location, while for the horizontal placements, screws should also be applied at the center. This approach typically requires around 12 screws along the vertical sides and 12 screws along the horizontal length for proper securement.
In situations where the wall configuration changes, such as adding windows or doors, adjustments to screw placement must be made. For instance, when installing drywall on a non-standard surface, additional screws may be spaced closer together to compensate for the lack of structural support. Alternatively, if using thicker drywall, such as 5/8 inch sheets, it may also require additional screws for adequate hold. Adapting these calculations to your specific project ensures that your drywall installation meets the necessary standards for safety and longevity.
Common Mistakes to Avoid When Screwing Drywall
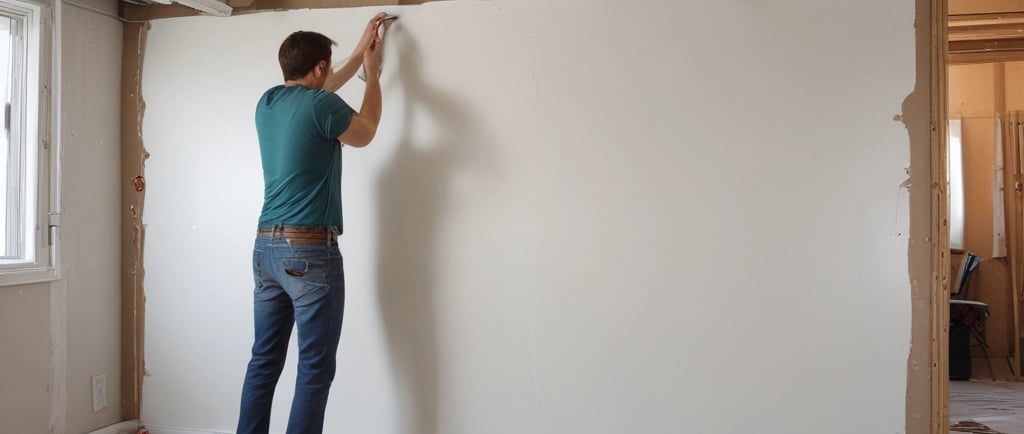
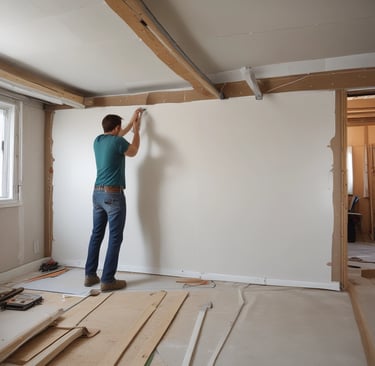
When installing drywall, whether in a residential or commercial setting, understanding the correct techniques is vital to ensure a durable and aesthetically pleasing finish. One of the most prevalent mistakes made by both DIYers and industry professionals is improperly spacing screws. The standard recommendation suggests placing screws every 12 inches along the edges and every 16 inches in the field areas. Ignoring these guidelines can lead to weak points in the drywall, which may become evident over time as cracks or sagging.
Another common error is the tendency to over-sink screws. This occurs when screws are driven too deep into the drywall, damaging the paper layer and reducing its overall strength. Over-sinking can also create challenges when it comes time to finish the drywall, as the screw heads may not sit flush with the surface. A proper technique involves sinking the screw just beneath the surface to allow adequate coverage by joint compound, ensuring that the repair work remains seamless and does not compromise the drywall's integrity.
Using the improper type of screws can also lead to significant issues. For instance, drywall screws are specifically designed for this application, featuring sharp tips and a bugle-shaped head that allows them to sit flush without tearing the paper. Utilizing other types of fasteners may result in poor grip and ultimately affect the stability of the installation. In conclusion, avoiding these common mistakes—improper screw spacing, over-sinking screws, and utilizing unsuitable screw types—will greatly enhance the durability of the drywall and contribute to a professional finish, preserving the integrity of the installation for years to come.
Tips for Successful Drywall Installation
Successful drywall installation is essential to achieving a professional-looking finish in any project involving 4x8 sheets of drywall. One of the critical aspects of this process involves selecting the appropriate types of screws. Ideally, you should use drywall screws that are specifically designed for this purpose. These screws have a sharp tip for easy penetration and a coarse thread to grip the drywall securely. Typically, 1.25-inch screws are recommended for securing 1/2-inch drywall to wooden studs, while 1.625-inch screws can be used for thicker drywall.
When it comes to the best practices for installing drywall screws, spacing is paramount. For standard installations, screws should be placed about 16 inches apart along the studs, and any edges should have screws placed approximately 8 inches apart. This practice ensures proper support and prevents sagging in the drywall. Additionally, countersinking the screws slightly below the surface of the drywall allows for a smoother finish once the joint compound is applied.
Selecting the right tools can significantly affect the ease and efficiency of your installation. A quality drywall screw gun can be invaluable, as it can drive screws quickly without damaging the drywall. Moreover, a drywall t-square and utility knife are essential for marking and cutting the drywall sheets accurately. A straight edge is also useful for guiding cuts, ensuring that the edges are clean and fit seamlessly at the joints. Don’t forget to wear protective eyewear and a dust mask to keep yourself safe during the installation process.
Overall, with the right tools and techniques, the installation of drywall can be a straightforward task. By adhering to these tips, you can achieve a sturdy and aesthetically pleasing result in your drywall projects.
Drywall Repair | Drywall Installation | Drywall Finishing | Popcorn ceiling Removal | Painting | Contact Us | Home | Service Area | Plaster Repair
Home | Contact | Offices | Faq | Service Area | Blog | Drywall Finishing | Drywall Taping | Drywall Repair | Plaster Repair | Ceiling Repair | Wall Repair | Drywall Installation | Drywall Hanging | Popcorn Ceiling Repair | Hole in Ceiling | Fix Hole In The Wall | Interior Painting | Knockdown Texture | Water Damage Repair | Drywall Bathroom | Drywall Ceiling | Soundboard | Drywall Patch | Ice Dam Roof Leak | Drywall over Plaster | Drywall Over Popcorn | Skim Coat Level 5 | Popcorn Texture Removal | Drywall Finish Levels | | Refund Policy | Privacy Policy | Terms and Conditions


600 East Main St Chicopee, MA, 01020
203 Circuit Ave n39, West Springfield, MA 01089

