Learn where lime wash paint works best, how to prepare walls, and when DIY application or professional surface repair makes sense.
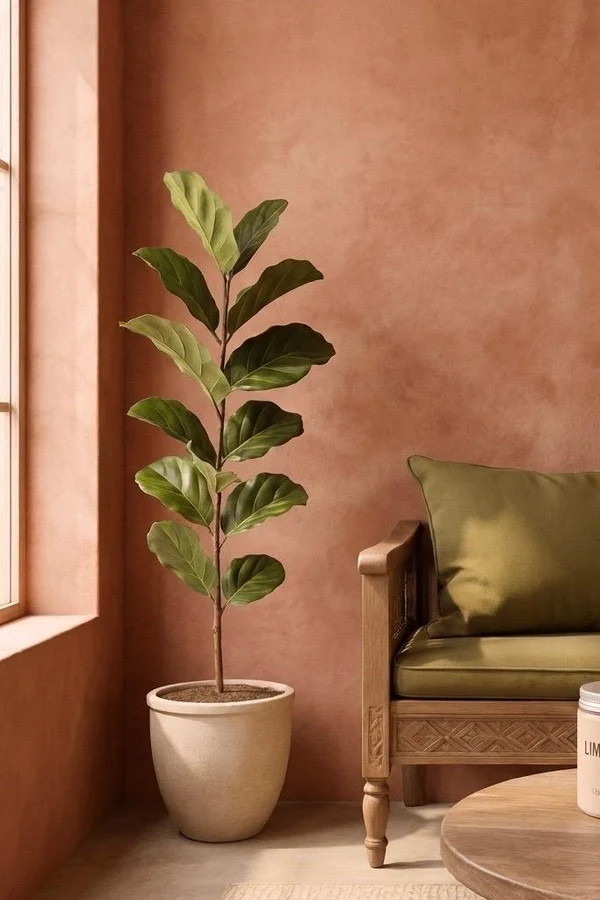
With lime wash paint, walls take on a softly layered, mineral character. It suits historic interiors and contemporary spaces alike. Before choosing a product, understand the difference between true lime paint, traditional limewash, and limewash-effect finishes. Each requires its own approach to preparation, texture, application, and long-term care.
With thoughtful wall preparation, lime wash paint can be a rewarding DIY project. For uneven surfaces, large walls, or a refined multi-coat finish, a professional painter can create more consistent depth, nuance, and movement.
Lime wash paint creates a soft, layered finish, but success depends on choosing the right system and preparing the wall carefully. Traditional mineral limewash, lime paint and modern limewash-effect products differ in substrate and primer requirements. Test samples in the room, repair moisture or surface issues first, and use overlapping brushwork. DIY suits sound, simple walls; professionals help ensure consistent results on complex surfaces.
Lime wash paint, traditional lime paint and modern limewash-effect paints bring soft movement and depth to a limewash wall. True mineral lime wash uses lime and water, making it well suited to a lime rendered surface or lime wall. Modern limewash paint can create similarly cloudy colors and colours on a more forgiving interior wall or walls. For application, apply each coat to a clean surface and test a sample or samples first. Compare paint coverage by gallon, shop by color, and consider brands such as bauwerk limewash; color atelier limewash is another option for achieving a refined wash paint finish.
The appeal of limewash paint is its natural variation. Instead of creating a perfectly uniform film, limewash allows soft tonal shifts to emerge as the paint dries. The result is a wall with the gentle depth of hand-finished plaster. Bauwerk Limewash, bauwerk limewash, and similar wash paint systems are chosen for this quiet, layered look. Still, the final effect depends as much on surface preparation and brushwork as on the colours selected.
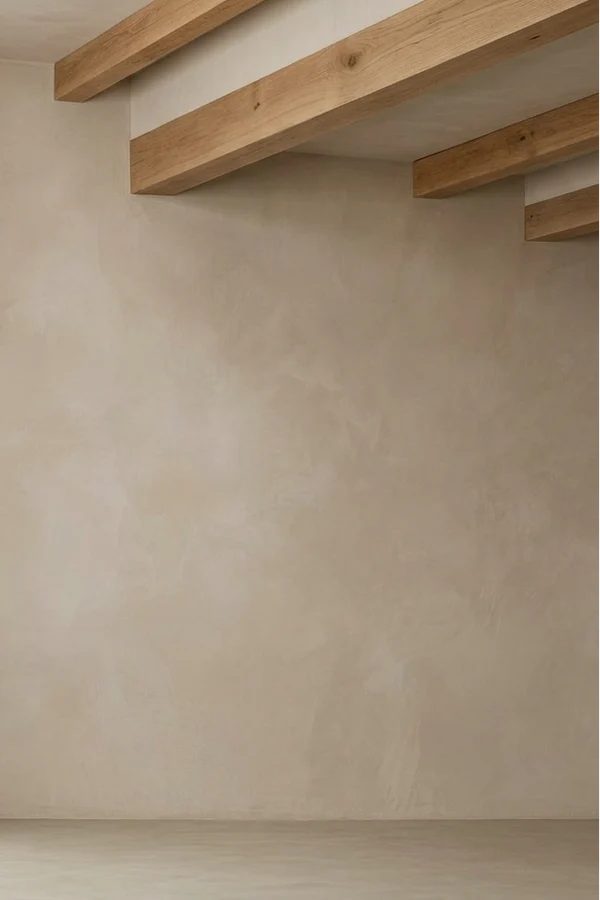
Start with a sound, clean, evenly absorbent surface. Fresh drywall should be properly finished, primed, and free of sanding dust. Give patched areas, old water marks, and repaired plaster extra attention. Limewash can make differences in texture and suction more visible. That can be beautiful when intentional, but distracting when repairs have not been fully blended. At MrWalls Drywall & Painting, we assess each wall before recommending a finish, particularly in homes with previous moisture damage, peeling paint, uneven skim coats, or lime rendered surfaces.
Always order a sample, ideally, several samples, and test them on the actual room surface. They reveal far more than a paint chip. Natural light, adjacent flooring, and the wall’s texture all shape the final appearance. A pale color may feel warm in a south-facing room and noticeably cooler beside grey tile. Apply paint to a generous test area, let it dry completely, and view it throughout the day before committing to a gallon or larger quantity. When you shop by color, remember that colors on a screen rarely capture the nuance of a finished limewash wall.
For application, follow the manufacturer’s guidance for dilution, primer, and drying times. Some paints arrive ready to use, while others need measured water for the intended consistency. Mix thoroughly and keep the mixture consistent from one container to the next. Apply with the recommended large masonry or limewash brush. Use overlapping, irregular strokes rather than small, carefully boxed-in sections. Maintain a wet edge, and complete natural wall breaks in one session whenever possible. Stopping midway across an open wall can leave a visible lap line.
Most decorative limewash systems develop their character over two coats. The first coat builds coverage, while the second refines the soft, cloudy movement. Resist the urge to correct every lighter passage while the paint is wet. It often settles dramatically as it dries. For a stronger lime wash effect, use an approved technique instead of adding extra water or applying a heavy third coat without guidance. This can affect coverage and durability. color atelier limewash is another finish worth sampling when comparing brands, textures, and undertones.
True lime paint and lime wash have their own mineral chemistry. They may require a compatible porous substrate, including a lime wall. A lime wash paint or limewash-effect paint, by contrast, is often designed for simpler use over properly prepared interior walls. Both can look exceptional, but they are not interchangeable. Choose the right system first, then work with patience to create the softly dimensional finish that makes limewash feel considered rather than contrived.
| Application stage | What to do | Why it matters |
|---|---|---|
| Wall preparation | Start with a sound, clean, consistently absorbent wall. Finish and prime fresh drywall, remove sanding dust, and blend patched areas, water marks, and repaired plaster. | Limewash can make differences in texture and suction more visible. |
| Sample testing | Order samples and apply a generous test area on the actual room surface. Let it dry fully and view it at different times of day. | Light, nearby flooring, tile, and wall texture can change how the colour appears. |
| Mixing and preparation | Follow the manufacturer’s instructions for dilution, primer, and drying time. Mix thoroughly and keep the mixture consistent between containers. | Systems vary: some are ready to use, while others require measured water. |
| Brush application | Use the recommended large masonry or limewash brush. Work in overlapping, irregular strokes and maintain a wet edge. | This creates the characteristic cloudy, brushed movement rather than a uniform film. |
| Wall completion | Complete natural wall breaks in one session where possible, rather than stopping midway across an open wall. | Stopping partway through can leave a visible lap line. |
| Coats and drying | Apply two coats where specified. Allow the paint to dry before judging lighter patches or attempting corrections. | The first coat establishes coverage, while the second refines the finish; tonal variation often settles as the paint dries. |
| Pronounced wash effects | Use an approved technique if more wash effect is desired; do not add extra water or apply a heavy third coat without guidance. | Unapproved changes can compromise coverage and durability. |
| System selection | Choose between true lime paint or lime wash and a limewash-effect paint based on the wall substrate and preparation requirements. | True lime products may need a compatible porous substrate, while limewash-effect paints are often intended for properly prepared interior walls. |
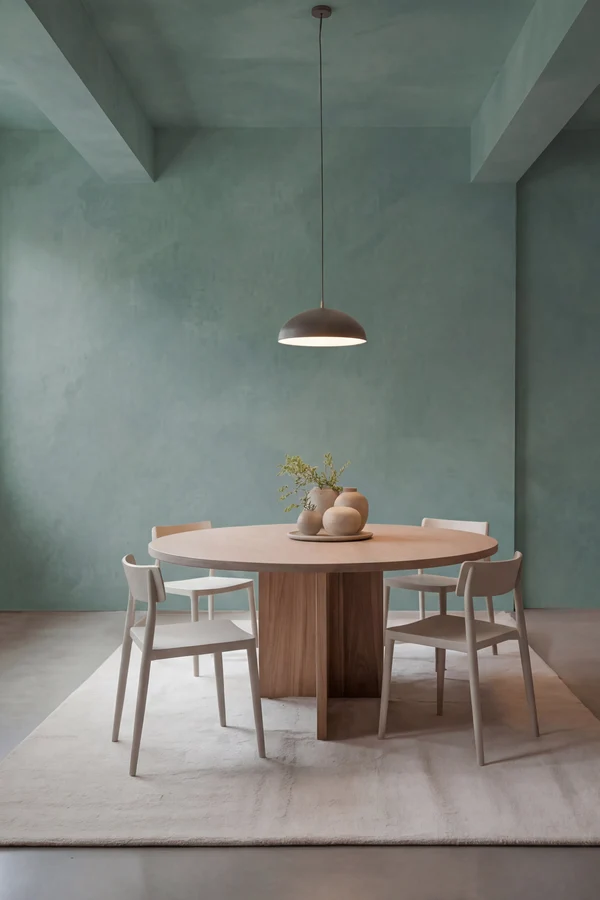
Limewash is valued for its soft movement, chalky depth and ability to make a room feel quietly resolved rather than simply painted. That character also makes preparation essential. Before choosing colours or lifting a brush, inspect the wall in daylight. The surface should be sound, clean, dry and consistent enough to receive a mineral-based finish without highlighting repairs, roller marks or patches of old paint. Fill cracks, secure loose plaster, sand raised repairs and remove dust. If there has been a leak, condensation issue or water damage, fix the cause first. Applying limewash to a damp wall is not a cosmetic solution; it can lead to staining, poor adhesion and recurring damage.
The existing finish matters as much as the condition of the walls. Traditional limewash paint performs best on absorbent mineral surfaces, including new plaster, masonry and a properly prepared lime rendered wall. A dense, glossy acrylic paint film will not take limewash in the same way. It may need cleaning, dulling and a compatible primer or mineral base coat before application. A small sample area is invaluable here. It shows how the wall takes water, whether the colour dries lighter than expected, and how much tonal variation the surface may create. Review samples only once they have dried and cured, as limewash changes noticeably during that process. When comparing bauwerk limewash, lime paint, lime wash paint or other paints, consider both colours and colors in the room’s natural light. If you shop by color, order a sample before committing to a gallon.
A confident DIY project starts with a stable substrate, easy access and an appreciation for natural variation. Limewash is applied in thin, overlapping passes, usually with a generous block brush rather than a roller. The goal is an even overall effect, not a perfectly uniform coat. Work in manageable sections, maintain a wet edge, and follow the manufacturer’s dilution and drying guidance. Brushwork becomes part of the composition, so practise on a sample board or discreet section before you apply it to a feature limewash wall. Good ventilation supports drying, but avoid excessive heat or a hot, sun-struck surface.
Professional help is a worthwhile investment when walls need plaster repair, old coatings are unknown, or a seamless finish is needed across a large open room, stairwell or high-ceilinged space. It is also wise when a lime rendered surface has hairline cracking, chalking or uneven porosity that needs diagnosis rather than concealment. MrWalls Drywall & Painting treats the work as a complete finish system, not simply a colour change. Substrate repairs, moisture checks, priming decisions and application technique all shape the final depth of the limewash. A skilled painter can create the restrained, layered movement clients expect while avoiding obvious lap marks and patchy absorption. For those exploring finishes, color atelier limewash is another option to assess alongside the wall condition and intended look. Whether you take on the project yourself or bring in a professional, give preparation the same care as the final coat. With the wall properly restored and the right plan in place, limewash can deliver a finish that feels considered, durable and beautifully at home in the space.
Traditional limewash and lime paint are mineral coatings that work best on porous surfaces such as plaster, masonry and lime render. Limewash-effect paint is a modern decorative coating designed to recreate the soft, cloudy appearance of limewash on properly prepared interior walls, often with simpler priming and application requirements.
Yes, but preparation is essential. Drywall must be clean, dry, sound and evenly finished. Glossy or non-porous paint may need cleaning, sanding and a manufacturer-approved primer or base coat. Test a generous sample area first to check adhesion, colour and tonal movement.
Most decorative limewash systems use two coats. The first establishes coverage, while the second develops the layered, brushed depth. Follow the product instructions for dilution and drying time, and avoid adding unapproved extra coats or excess water.
A large masonry, block or limewash brush is commonly recommended because it creates the overlapping, irregular strokes associated with the finish. Work with a wet edge and complete full wall sections where possible to reduce visible lap lines.
Variation during drying is normal. Limewash often changes significantly as moisture evaporates and the finish cures, with lighter and darker areas settling into softer tonal movement. Wait until the coat is fully dry before deciding whether adjustment is needed.
Resolve leaks, condensation and moisture causes before painting. Repair loose plaster, cracks and damaged areas, then ensure the wall is dry and evenly absorbent. Limewash can highlight repairs and texture changes, so extensive damage or uncertain substrates may benefit from professional assessment.
It can be, especially on sound walls with straightforward access. DIY results depend on careful preparation, sample testing, consistent mixing and confident brushwork. Professional application is often worthwhile for large open spaces, stairwells, high ceilings, repaired plaster or walls with uneven porosity.