After a leak, plumbing and drywall repair should happen in the right order: stop the water, fix the source, then assess the wall or ceiling damage. Quick action can limit mold, stains, and costly repairs while helping your home return to normal.
After a plumbing leak, drywall repair should wait until the source is fixed and the area is fully dry. Small, clean access holes may only need patching, while soft, stained, sagging, or mold-affected drywall often requires removal and replacement. A plumber should identify supply, drain, or sewer line issues first, then professional drywall repair can restore walls or ceilings with a durable, paint-ready finish.
For plumbing and drywall repair, we first identify what caused the problem. A clean opening in drywall needs different damage repair steps than a wall affected by water. The right repairs begin there.
An access hole is often the simple part of a plumbing job. If the drywall around it is solid, dry, and clean, a homeowner may be able to patch it with a fitted piece, tape, and joint compound. Water-damaged drywall is different. Wet drywall can sag, soften, or hide damage beyond the visible stain. Before closing the wall, we make sure the plumbing leak is fixed and remove any material that has lost its strength.
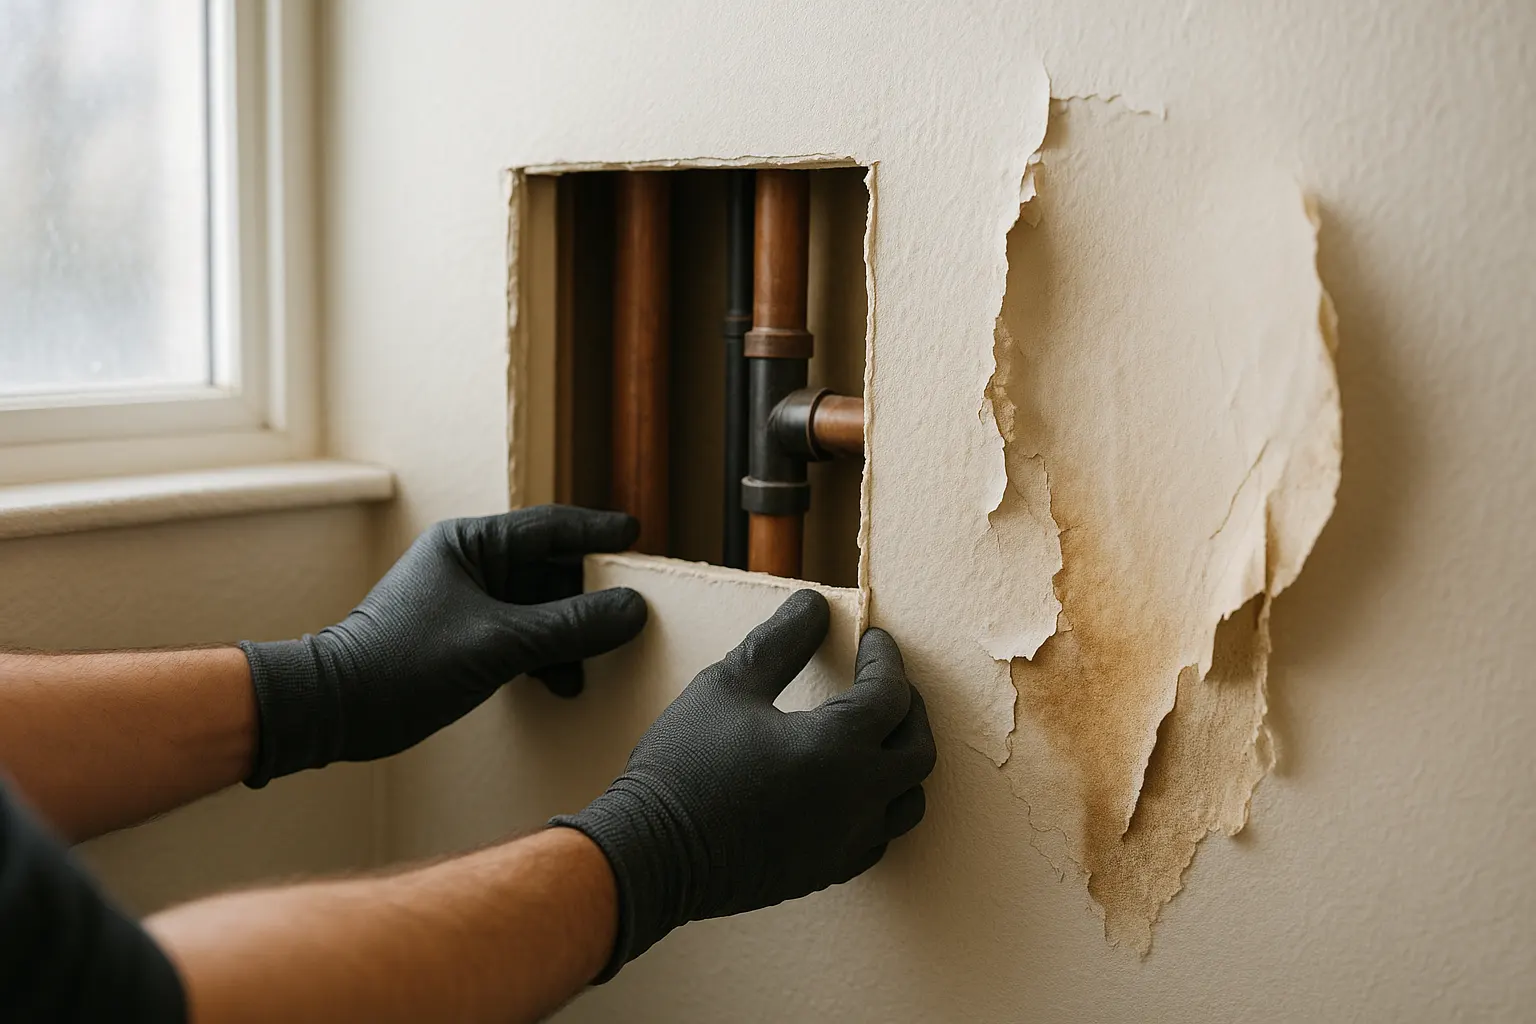
Do not rush to repair drywall after a leak. The surface should feel dry and firm, with no cool, damp spots, swelling, or new staining. Watch for a musty smell or visible mold, especially behind baseboards and near the opening. A small fan may help, but drying time depends on how much water entered the wall. Mrwalls Drywall & Painting can assess the area, address damaged material, and complete a clean, lasting repair.
| What to Check | Ready for Repair | Hold Off and Investigate | |
|---|---|---|---|
| Feels dry and firm | Feels cool or damp | ||
| Wall condition | No swelling | Swelling is present | |
| Staining | No new staining | New staining appears | |
| Odor | No musty smell | Musty smell is present | |
| Visible mold | No visible mold, including near baseboards or the opening | Visible mold is present, especially behind baseboards or near the opening | |
Before we repair wet drywall, the pipe leak must be fixed. A qualified plumber can find the plumbing source, complete the needed plumbing work, and confirm the area is dry. Mrwalls Drywall & painting follows after reliable plumbing service.
Water can come from a supply line under pressure, a slow drain pipe leak, or a damaged sewer line. Each calls for a different repair, so do not cover the opening until a plumber has identified the cause. If the pipe needs replacement or new installation, ask about the services provided and whether the repair has been tested. Homeowners can handle minor cleanup after the leak is stopped, but hidden water, sewage, or repeat leaks are reasons to hire professionals. Once the plumbing is secure and the cavity is dry, our team can replace, tape, and finish the drywall properly.
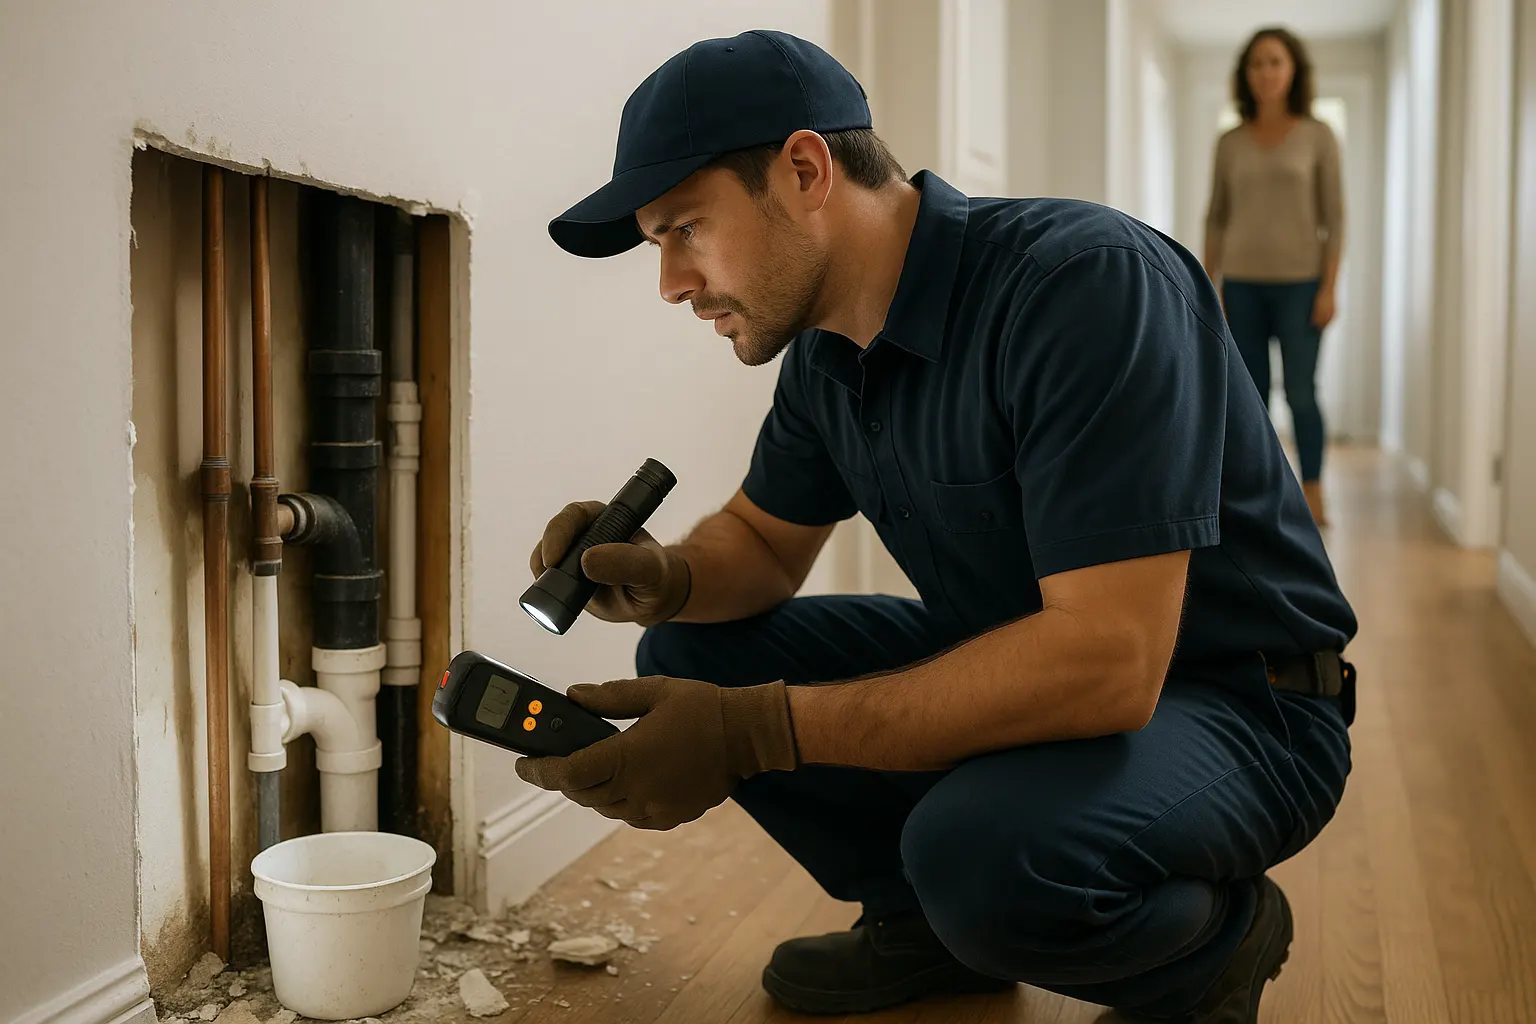
A small patch can restore a wall quickly, but deeper damage may call for replacement. At Mrwalls Drywall & Painting, we assess the damage repair first, then recommend repairs that will hold up and blend cleanly.
Ceiling drywall is harder to repair than a wall because gravity works against every seam and patch. A small hole may be a good DIY repair if the surrounding drywall is firm and dry. But water-damaged drywall can sag, stain, or hide weakened framing above. In those cases, replacement is usually the safer choice. Our team removes compromised material, checks the source of moisture, and installs a secure patch or new section with smooth finishing that will not stand out overhead.
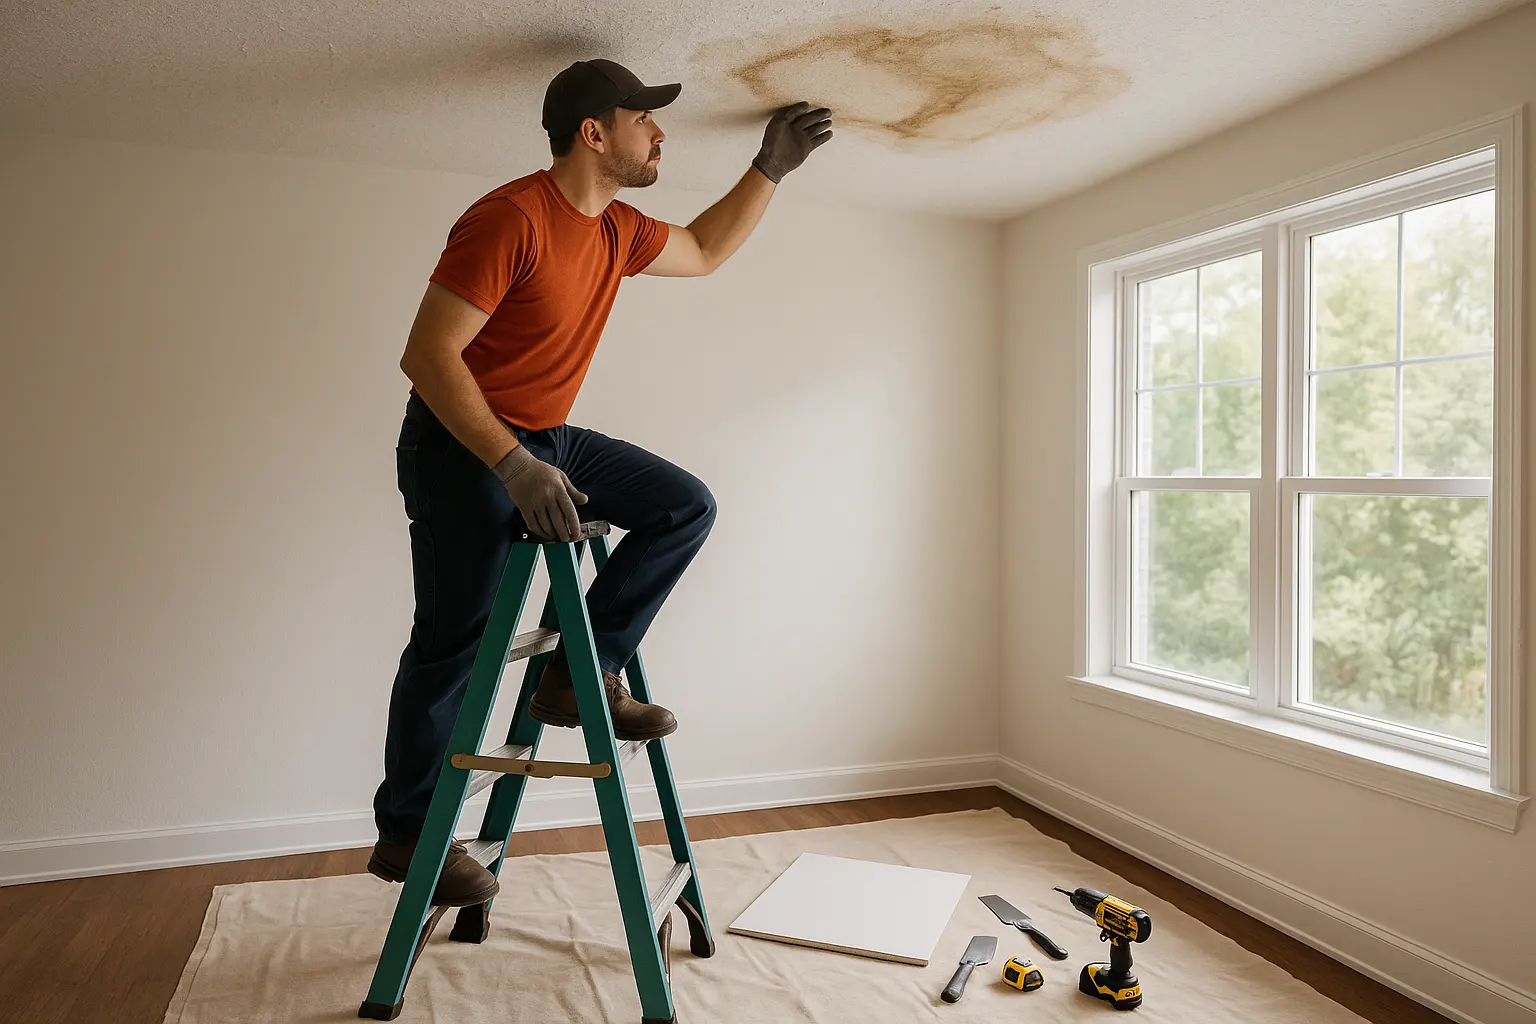
Professional drywall repair is more than filling a dent. At Mrwalls Drywall & painting, our drywall services restore the damaged area, prepare it properly, and leave it ready for seamless painting.
A good repair should disappear once the paint dries. We assess the wall surface, repair the drywall, feather the compound, and match the surrounding texture before painting. A homeowner can handle small nail holes, but larger patches often show if the finish is uneven. Our team blends each repair into the existing surface, so the wall looks consistent from across the room and up close.
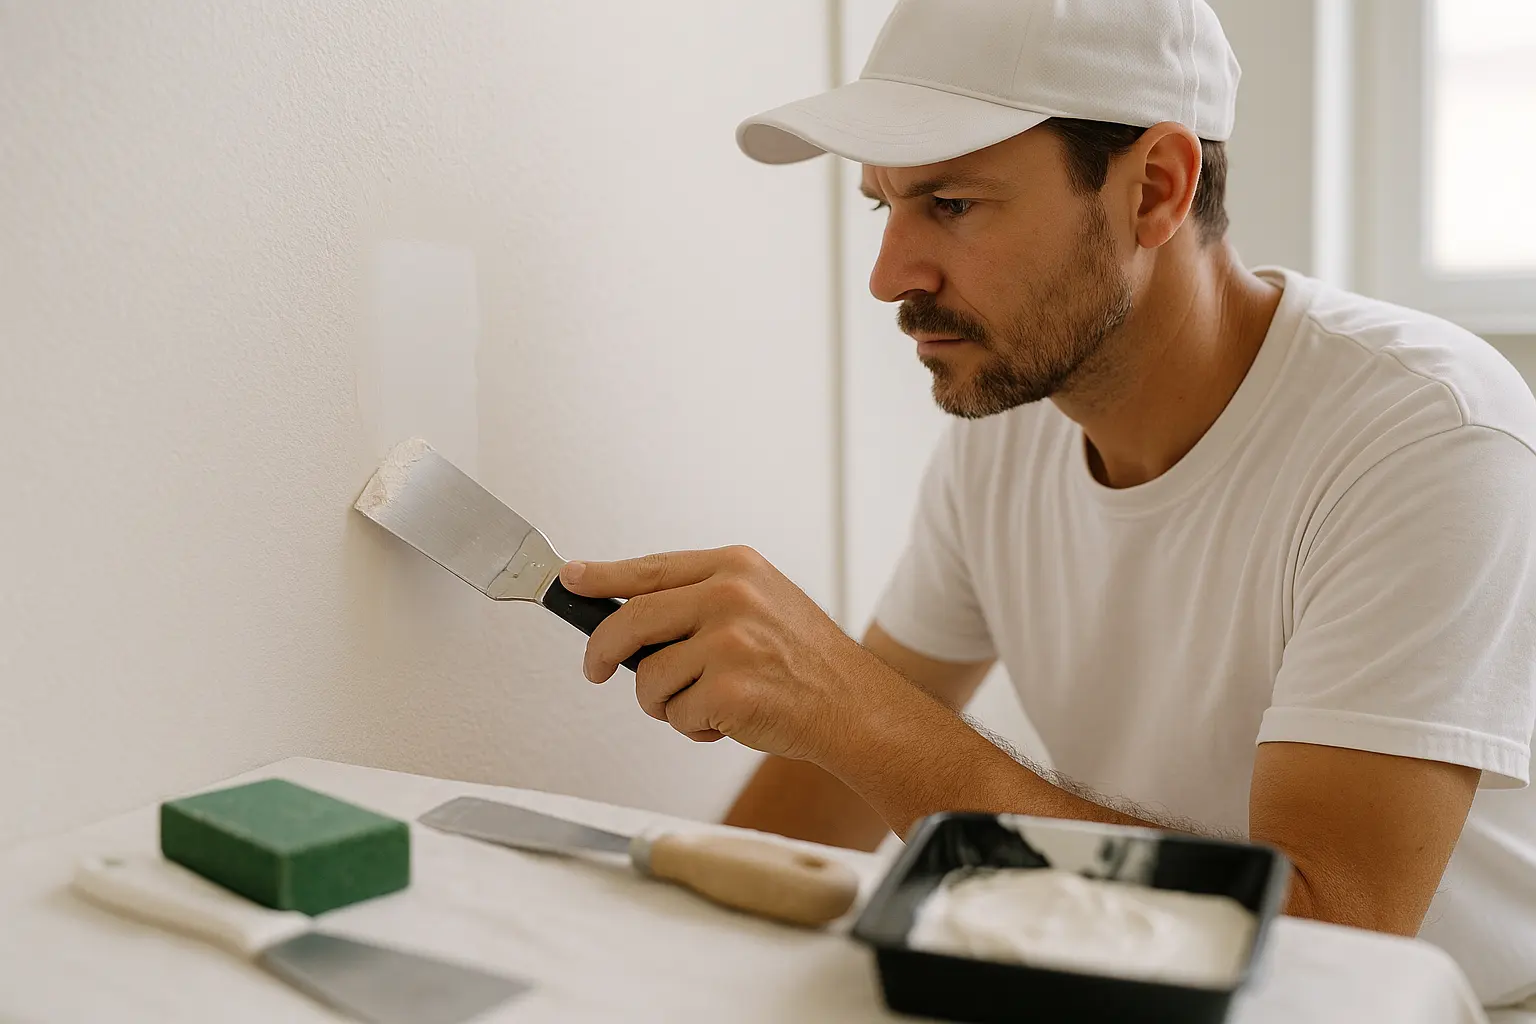
Some drywall repairs are simple until the damaged spot sits behind a toilet, above a stairwell, or near plumbing. In these areas, the wall may need a small access hole before the real repair can begin. Homeowners can handle minor patches if the space is safe and easy to reach, but tight locations often call for a steadier hand. At Mrwalls Drywall & Painting, we plan the repair around pipes, wiring, and finished surfaces, then restore the drywall so the area looks clean again. The goal is not just to close the hole, but to leave a smooth, paint-ready wall without creating a larger problem.
As a drywall contractor, I tell homeowners that a small patch can be a good DIY project when the damage is minor, dry, and away from outlets or plumbing. A nail hole, light scuff, or small dent may only need compound, sanding, and paint. Larger holes, water stains, cracked seams, or damaged ceilings call for professional drywall repair. Those issues can point to moisture, loose framing, or a repair that needs blending across a wider area. At Mrwalls Drywall & Painting, we handle water damage repair with and even work with your insurance carrier to get your house put back together. We pride ourselves in providing one of the highest levels of quality at drywall installation, repair, and finishing.
Good prep makes drywall services faster, cleaner, and easier on your home. Before we arrive, move furniture, wall décor, and fragile items away from the work area. Cover what cannot be moved, and clear a path from the entry to the room. If you are handling a small repair yourself, protect floors and keep sanding dust contained with plastic sheeting. For larger repairs, new installation, popcorn ceiling removal, or water damage, Mrwalls Drywall & painting can manage the setup and cleanup. Let us know about recent plumbing work or any active water issue before services begin, so we can address the cause before restoring the wall.
At Mrwalls Drywall & Painting, we see that plumbing and drywall repair rarely follows a fixed formula. A small leak behind a vanity may need a simple patch, while a long-term pipe leak can call for insulation removal, mold checks, and ceiling drywall replacement. The scope depends on the source of the moisture, how long it traveled, and whether framing or wiring was affected. Homeowners can handle minor drywall damage after the plumbing is fixed, but hidden moisture and larger openings deserve a professional assessment. We identify what can be repaired, what needs replacement, and how to leave the surface ready for paint.
Once the wall is patched and painted, keep an eye on the area for the next few weeks. A repair will look good only if the source of the water is truly gone. Watch for wet drywall, soft spots, peeling paint, stains that return, or a musty smell. These can point to an active pipe leak behind the wall. Water-damaged drywall can also support mold before it becomes easy to see. If the damage comes back, do not simply repaint it. Homeowners can check nearby fixtures and shut off water if needed, but our team at Mrwalls Drywall & painting can inspect the wall, remove affected material, and complete a clean, lasting repair.
Before you call a plumber or schedule a plumbing service, take a quick look at the wall and ceiling around the problem. Is there an active leak, a soft spot, a stain that keeps growing, or mold? Those signs mean the water source needs attention first. Once the plumbing is fixed and the area has dried, ask whether the damage calls for professional drywall repair. At Mrwalls Drywall & Painting, we inspect the full affected area, explain what can be repaired, and recommend the right services for a clean, lasting finish.
Plumbing leaks can leave behind more than a stain. At Mrwalls Drywall & Painting, we help homeowners understand when drywall repair is safe to handle and when professional repair is the smarter call.
Do not repair drywall until the water source is fixed and the area is fully dry. Depending on the size of the leak, that may take two to five days with good airflow and dehumidifiers. A small surface stain may be a DIY repair, but soft drywall, a damp wall cavity, or a recurring leak needs inspection first. We can test the area, remove damaged material, and make a clean repair once it is dry.
No, wet drywall does not always require replacement. If clean water reached a small area and the drywall dried quickly without swelling or softness, it may be saved. Water-damaged drywall that sags, crumbles, smells musty, or has visible mold should be removed and replaced. Homeowners can handle minor cosmetic work, but our team can safely open the affected area, check for hidden moisture, and finish the replacement to match the surrounding wall.
No. The leak must be located and repaired first. Closing the wall before the plumbing issue is resolved can trap moisture, lead to repeat damage, and make future repairs more expensive.
Drywall should feel firm and dry, without cool spots, swelling, soft areas, fresh stains, or a musty odor. If mold, hidden moisture, or weakened material is suspected, the affected drywall should be removed before repairs begin.
Yes, if the surrounding drywall is clean, dry, and structurally sound. A properly fitted patch, tape, and joint compound can restore a small access opening after the plumbing work is complete.
Replacement is often needed when drywall has softened, sagged, swollen, crumbled, developed mold, or lost its strength. A patch works best only when damage is limited and the surrounding material remains solid.
Yes. Ceiling repairs require extra support because of gravity, and water damage above a ceiling can weaken drywall or framing. Sagging, stained, or soft ceiling drywall usually needs professional assessment and replacement.
Common sources include leaking supply lines, slow drain pipe leaks, damaged sewer lines, and plumbing connections behind walls or ceilings. A qualified plumber should identify and test the source before drywall is repaired.
Professional drywall repair includes removing compromised material, installing a secure patch or replacement section, taping seams, applying joint compound, sanding for a smooth finish, and preparing the area for painting.