Sheetrock repair can be a quick weekend patch or a sign that your wall needs more attention. Small nail holes, dents, and minor cracks are often manageable with the right tools and a careful finish. Larger holes, water damage, recurring cracks, or textured walls may call for a drywall professional. Start by assessing the damage, then decide whether a DIY repair will truly disappear, or whether it is worth hiring help.
Learn how to assess sheetrock damage, handle small DIY fixes such as nail holes, dents and minor cracks, and choose the right patching materials. The guide explains when stains, recurring cracks, loose fasteners, large holes or water damage require deeper investigation or professional repair. Proper preparation, thin compound layers and careful finishing help create durable, seamless results.
Before you repair drywall, take a close look at the damage, its location and the surrounding surface. A small flaw may need a simple repair, while signs of moisture or movement can point to a larger issue in the house.
Cracks can help you learn whether a repair is merely cosmetic or whether framing movement deserves attention. Fine, straight cracks at seams are often caused by seasonal expansion, while recurring or widening cracks should be assessed more carefully. A crack that crosses a ceiling, especially near a doorway or beam, may warrant a professional opinion before patching.
Brown or yellow stains often indicate past or active water exposure. Find and correct the leak first, then allow the area to dry fully before replacing damaged board or refinishing it. Soft drywall, peeling paper or a musty odor are signs that removal may be necessary.
Fastener pops occur when a nail or screw shifts beneath the finish. Reset the loose fastener, add a new screw into solid framing nearby, and repair the surface rather than simply covering the bump.
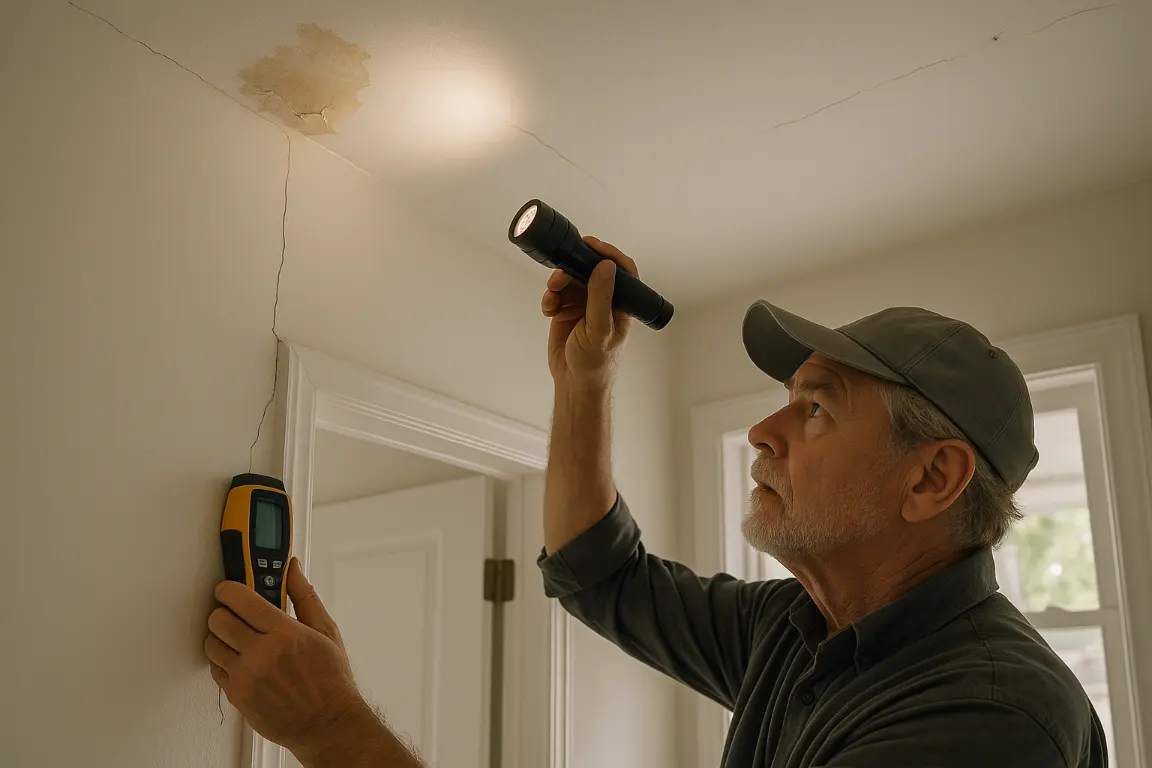
Small nail holes, shallow dings, and minor scuffs are often manageable DIY sheetrock repair projects. With lightweight compound, a putty knife, fine-grit sandpaper, and carefully matched paint, a patient homeowner can restore a wall with convincing results. The line changes when damage involves moisture, cracked seams, loose drywall, textured ceilings, or a hole large enough to affect the panel itself. Those repairs require more than a surface patch; they call for sound backing, proper taping, layered finishing, and an eye for a seamless paint transition.
Professional drywall repair is also the better choice when the cause of damage has not been resolved. A stain may indicate an active leak, while repeated cracking can signal movement or failing joints. MrWalls Drywall & Painting assesses the full condition around the damaged area before completing repairs, helping prevent a polished patch from becoming a recurring problem. For homeowners who value clean lines, durable finishes, and minimal disruption, experienced workmanship is usually the most efficient path back to a wall that looks untouched.
Successful drywall patches start with the right tools and materials, chosen for the size and condition of the damage. For a nail hole or shallow ding, a flexible putty knife, fine-grit sanding sponge, primer, and lightweight spackling are usually enough. Larger repairs call for a utility knife, drywall saw, measuring tape, straightedge, replacement drywall, and a backing board or repair clip to create a stable surface. Keep paper or fiberglass-mesh tape on hand to reinforce seams and prevent cracks from returning. Drywall compound, often called joint compound or mud, builds and feathers the repair beyond the patch edge so it disappears after painting. A broad taping knife makes that blending easier than a narrow blade alone. For clean cutting, use a sharp utility blade and score against a straightedge; rushed cuts create gaps that require extra compound later. At MrWalls Drywall & Painting, we also recommend dust protection, drop cloths, and a bright work light, which reveals ridges and low spots before primer makes them permanent.
| Repair type | Tools and materials to gather | Why they help |
|---|---|---|
| Nail holes or shallow dings | Flexible putty knife, fine-grit sanding sponge, primer, lightweight spackling | These supplies fill minor damage, smooth the surface, and prepare the spot for paint. |
| Larger patches | Utility knife, drywall saw, measuring tape, straightedge, replacement drywall, backing board or repair clip | They support accurate cutting and provide a stable surface for the replacement patch. |
| Seams around a patch | Paper tape or fiberglass-mesh tape, drywall compound | Tape reinforces seams to help prevent recurring cracks, while compound builds and feathers the repair beyond the patch edge. |
| Finishing and surface preparation | Broad taping knife, sharp utility blade, straightedge, dust protection, drop cloths, bright work light | A broad knife improves blending, clean scored cuts reduce gaps, and protection and lighting help reveal ridges and low spots before priming. |
Repairing drywall begins with reading the damage correctly. A shallow dent may need only light spackling, while a raised nail pop often signals slight movement behind the board and deserves a more secure fix. Fine cracks can be cosmetic, but recurring lines near doors, windows or ceiling joints should be assessed before they are covered. At MrWalls Drywall & Painting, we prepare the surface, set loose fasteners where needed, and apply compound in thin, controlled layers rather than leaving a heavy patch that will show through paint. Each coat is allowed to dry fully, then carefully shaped to feather beyond the repair. The goal is not simply to fill a mark; it is to restore the wall’s flat, continuous plane. Once the repair is dry, we sand with appropriate dust control and sand smooth enough that the transition disappears under primer and finish paint. Proper preparation also helps prevent flashing, texture differences and visible patch edges in natural light.
Successful drywall repair starts with matching the method to the damage. Small drywall holes need a different approach than larger openings near a corner or areas requiring careful cutting. The right drywall patches create a smooth, durable surface ready for paint.
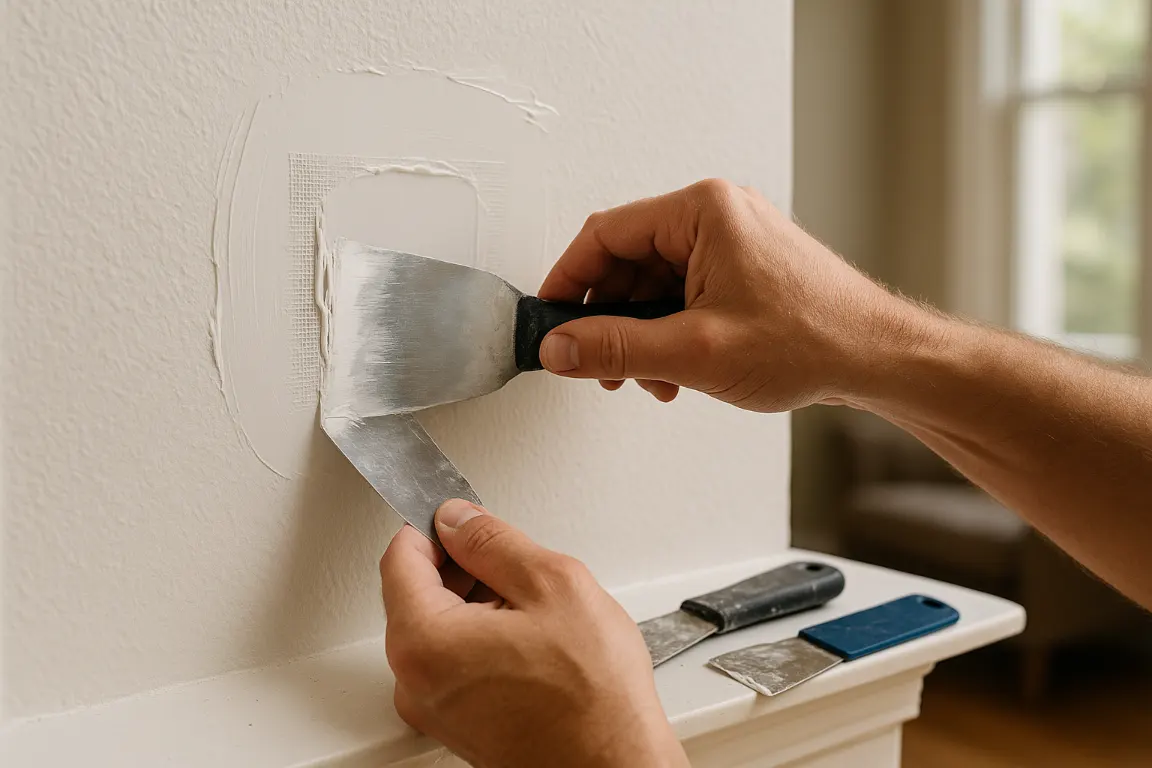
For small drywall holes, typically those left by a doorknob, anchor, or accidental impact, a self-adhesive patch offers a clean, reliable repair. Remove loose paper and dust first, then center the mesh patch over the opening. Apply joint compound in thin, broad coats, feathering each layer beyond the patch edges so it disappears into the surrounding wall.
Let each coat dry fully before light sanding and adding the next. Two or three coats usually produce the best result. Avoid piling on compound at once; a thick application can crack or leave a raised spot that shows after painting. Among drywall patches, mesh options are convenient for minor damage, but careful finishing, not the patch alone, is what makes the repair blend seamlessly.
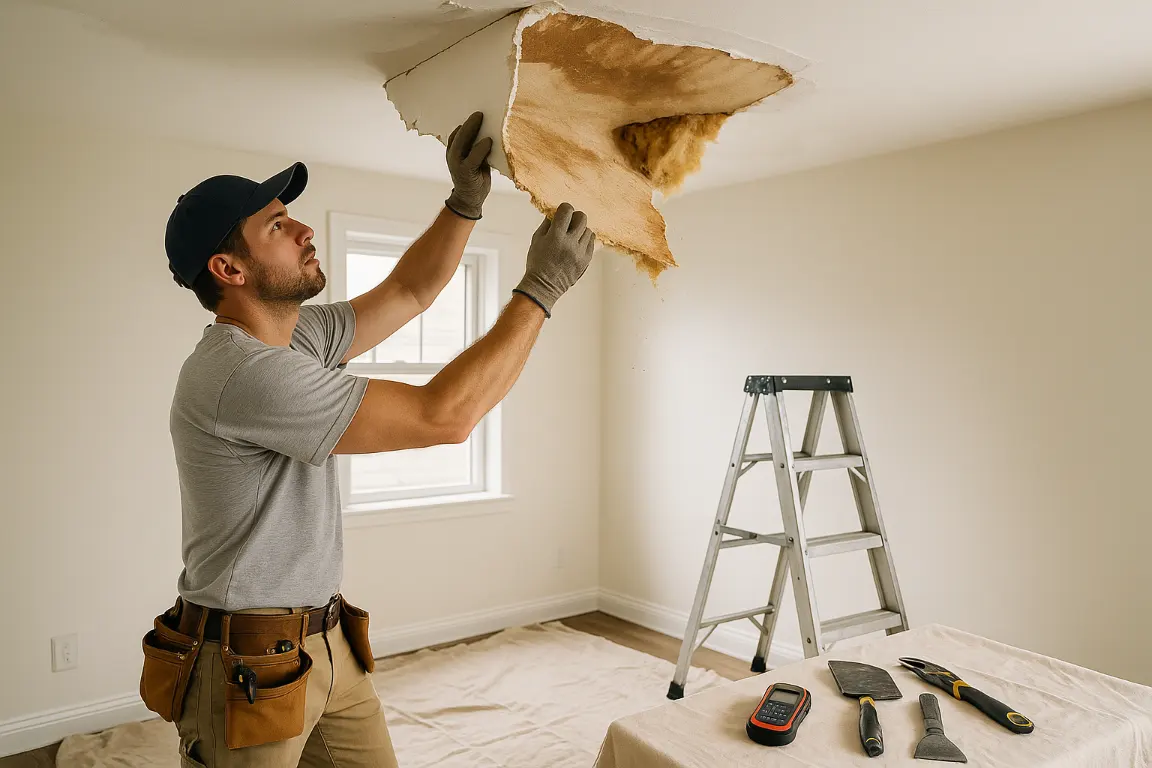
Water can leave a wall or ceiling looking mostly normal while weakening the material behind the paint. At MrWalls Drywall & Painting, we start by identifying and stopping the source, whether it is a roof leak, plumbing failure, condensation, or an upstairs overflow, before recommending a repair. Small, clean-water incidents may only require controlled drying, stain blocking, and surface restoration if the drywall remains firm and flat. Replacement is the safer choice when drywall damage includes swelling, sagging, crumbling paper, soft spots, persistent staining, mold growth, or insulation that has stayed wet. A compromised ceiling deserves particular attention: even a modest sag can indicate saturated sheetrock and a potential collapse hazard. Never simply paint over a water mark or patch material that is still damp. We remove unsound sections, dry the framing and cavity thoroughly, replace affected drywall, finish the seams, and match the surrounding texture and paint. The result is a sound, clean surface rather than a temporary cosmetic fix.
A sound drywall repair should disappear into the room, not announce itself with a smooth patch, a mismatched sheen, or a texture that catches the light differently from the surrounding wall. At MrWalls Drywall & Painting, we treat the finish as part of the repair itself. After addressing water damage, replacing compromised drywall, or removing a popcorn ceiling, our team prepares the surface carefully so new materials blend with the existing plane. We feather joint compound beyond the repaired area, recreate orange peel, knockdown, or other wall textures by hand and with the appropriate tools, then prime before paint is applied. Primer helps prevent flashing, where a repaired section absorbs paint differently and appears darker or duller than the rest of the wall. For the closest colour match, we can work from a retained paint sample, a manufacturer formula, or a professionally matched sample from the wall. When age, sunlight, or previous touch-ups make a perfect spot match unrealistic, painting the full wall or ceiling plane produces the most seamless result. The goal is a clean, durable finish that makes the repairs difficult to find.
The most common drywall mistake is treating a stain or soft spot as a cosmetic issue. Before any repair begins, confirm the moisture source has been corrected; otherwise, new materials can fail just as quickly. Avoid covering damp drywall, applying joint compound too heavily, or rushing between coats. Thick applications shrink, crack, and create edges that are difficult to sand flat. For ceiling work, take extra care to protect floors, lighting, and adjacent walls from dust and debris.
Before paint, inspect the repair from several angles with a work light or daylight coming across the surface. The patch should feel level to the surrounding wall, with no visible ridges, pinholes, tape lines, or texture mismatch. Wipe away sanding dust, prime repaired areas, and allow the primer to dry fully before the finish coat. For water damage restoration, drywall repairs, and popcorn ceiling removal, MrWalls Drywall & Painting focuses on the details that keep a completed surface looking seamless, not merely finished.
Small scuffs and nail holes are often manageable with a careful patch kit. The equation changes when the surface is soft, stained, sagging, repeatedly cracking, or no longer lies flat against the framing. Those signs can point to moisture, movement, poor prior work, or hidden drywall damage that a cosmetic touch-up will not solve. A local professional can assess the full area, identify whether the issue extends behind the wall or ceiling, and recommend a repair that holds up after paint is applied. This is especially important for water-affected materials, seams that have opened, damaged corners, and broad patches where matching the surrounding texture takes practiced control. MrWalls Drywall & Painting approaches drywall repair as a finish-system repair, not simply a quick cover-up. Proper sheetrock repair includes removing compromised material when needed, rebuilding the surface in thin, stable layers, and preparing it for a clean final coat. The result should disappear into the room, not announce where the repair began.
Small nail holes, shallow dents, scuffs, and minor cracks are often suitable for DIY repair. Use lightweight spackling or joint compound, a putty knife, fine-grit sandpaper, primer, and matching paint. Larger holes, loose board, recurring cracks, water damage, and textured surfaces may need professional drywall repair.
Clean away loose paper and dust, place a self-adhesive mesh patch over the hole, then apply joint compound in thin, wide coats. Allow each coat to dry before sanding lightly and applying the next. Feather the compound well beyond the patch edge, then prime and paint once smooth.
Recurring cracks can result from seasonal movement, shifting framing, loose joints, or unresolved structural movement. Fine seam cracks are often cosmetic, but widening cracks or cracks near doors, windows, beams, and ceilings should be assessed before repair. Taping and finishing alone will not solve an ongoing movement issue.
Repair may be possible if the water source has been stopped and the drywall is fully dry, firm, and flat. Replace drywall that is soft, swollen, sagging, crumbling, moldy, or persistently stained. Ceiling sheetrock with sagging or moisture damage deserves prompt attention because weakened material can become a safety concern.
Do not simply cover the raised spot with compound. Reset the loose nail or screw, add a new drywall screw into solid framing nearby, and lightly dimple the surface. Cover the fasteners with thin coats of joint compound, feather the edges, sand smooth, prime, and paint.
Visible patches usually result from insufficient feathering, uneven sanding, missed low spots, or skipped primer. Apply several thin coats of compound with a broad taping knife, extending each coat wider than the last. Inspect the area under bright light, sand carefully, and use primer before finish paint to reduce flashing.
Call a professional for large holes, ceiling damage, water damage, recurring cracks, loose drywall, difficult texture matching, or repairs with an unknown cause. Professional drywall repair can address the damaged surface while also checking for leaks, framing movement, and other conditions that could cause the problem to return.