Learn safe wallpaper removal methods, how to spot wall damage, and when MrWalls Drywall & Painting can help with repairs and repainting.
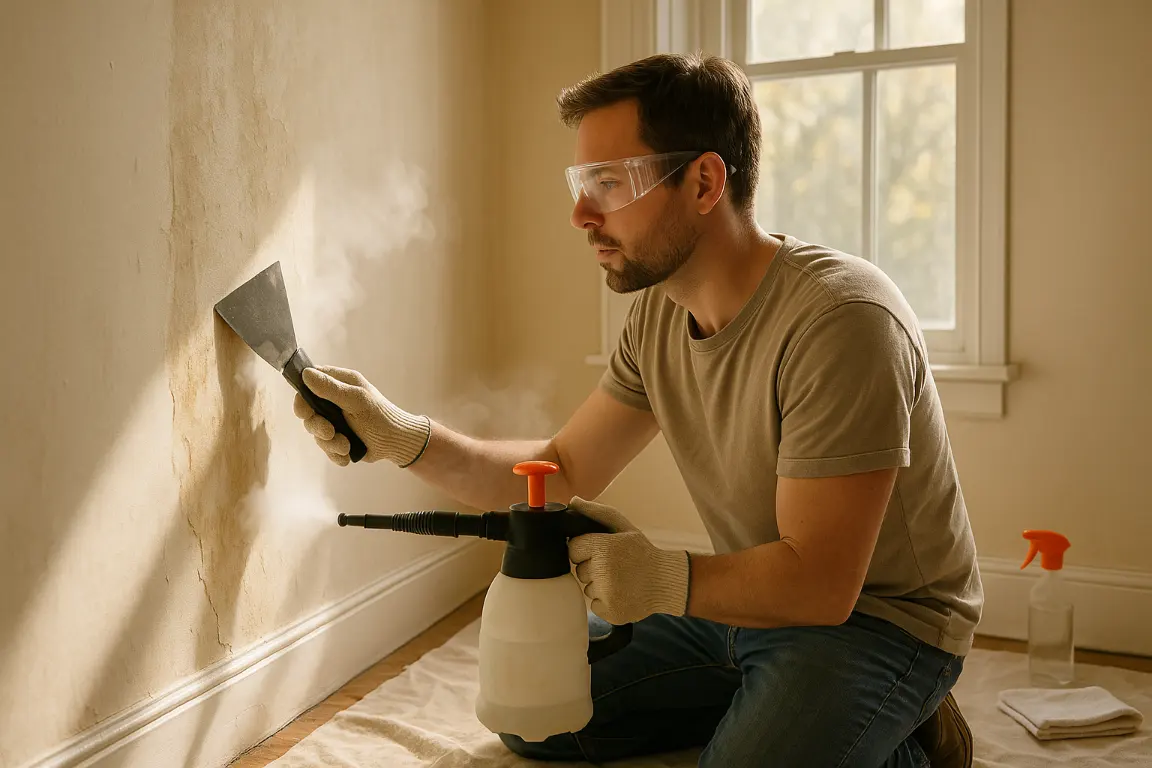
Wallpaper removal can refresh a room quickly, but the right approach depends on what is on the wall, and what is underneath it. Before you reach for a steamer or scraper, assess the paper, adhesive, wall material, and any signs of previous repairs.
Many homeowners can manage a single room with patience and the proper tools. For fragile plaster, stubborn vinyl, water damage, or large-scale projects, a local wallpaper removal professional can help protect the surface and keep the work moving.
Wallpaper removal can be a manageable DIY project with careful preparation, gentle tools, and patient soaking or steaming. Protect floors, trim, and electrical outlets, and avoid over-saturating drywall. Test a small area first and stop if paper, adhesive, or wallboard resists. In older homes or when lead, damaged surfaces, or stubborn finishes are suspected, hire a qualified professional.
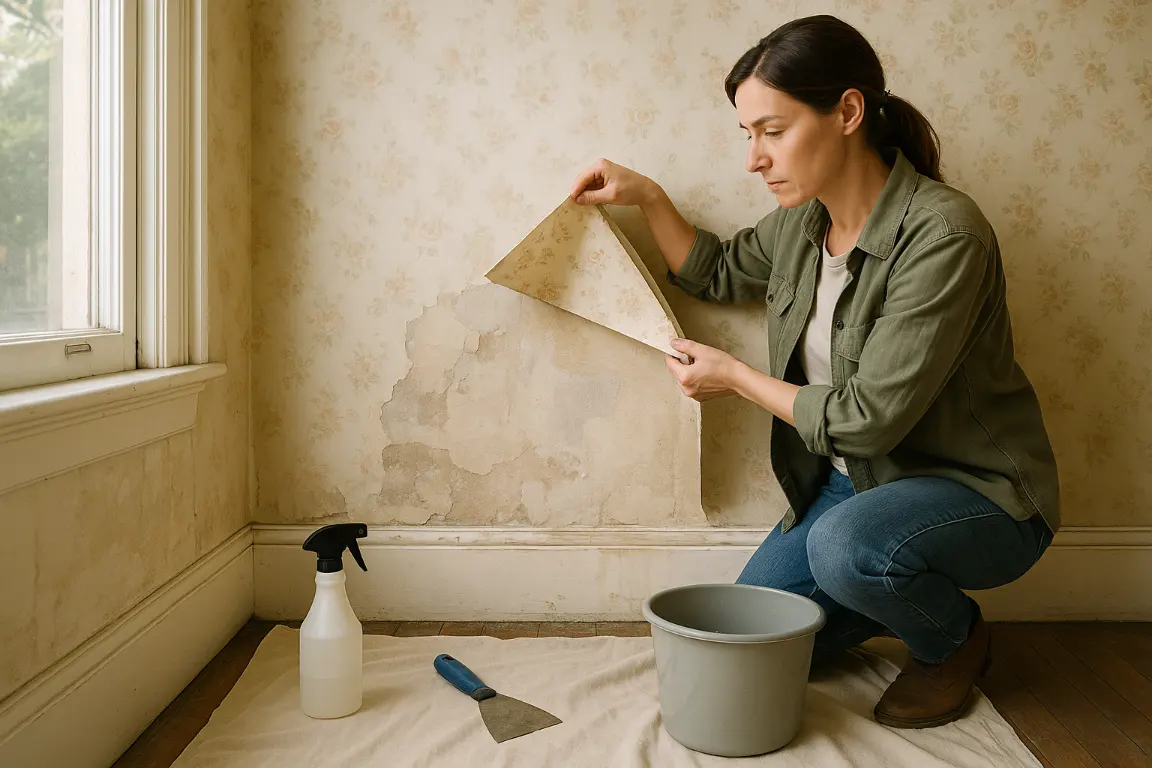
Removing wallpaper can be a satisfying DIY project when the covering lifts cleanly, the drywall is sound, and you have time to work patiently. But stubborn adhesives, damaged substrates, or older finishes can turn stripping into repairs. Knowing where to draw the line protects the room, and the result of your wallpaper removal.
In an older home, wallpaper removal deserves a more cautious approach. If the house was built before 1978, lead-based paint may be present beneath the paper, on trim, or in earlier coatings on the walls. Aggressive scraping, sanding, or scoring can create contaminated dust, particularly when wallpaper has been painted over or the underlying surface is already failing.
Before beginning, consider a professional lead inspection or test. Avoid dry sanding and methods that generate dust, and keep children, pets, and vulnerable household members away from the work area. A qualified contractor can contain the room, use appropriate wet methods and HEPA cleanup practices, and assess whether removing the wallpaper will expose damaged plaster or drywall that needs repair.
At MrWalls Drywall & Painting, we recommend calling a pro whenever the condition of the surface is uncertain. Protecting the home’s original walls, and the people in it, matters more than finishing the strip quickly.
The right tools make it easier to remove wallpaper without gouging drywall or flooding the room. Start with a pump sprayer filled with warm water and a small amount of dish soap. For stubborn layers, a steamer, commercial wallpaper remover, or adhesive remover can help, used patiently and with care.
Commercial adhesive remover and wallpaper remover solutions are useful when water alone will not release old paste, but they deserve the same caution as any cleaning chemical. Choose a product suited to interior walls, read its label, and test the solution in an inconspicuous spot before treating a full wall. Some formulas marketed as a stripper can soften paint or affect delicate drywall paper if left on too long.
Keep the room ventilated, wear gloves and eye protection, and never mix products. Apply only enough remover to wet a manageable section; excessive liquid can seep into seams, soften the gypsum core, and create repairs that outlast the wallpaper project. Wipe residue from trim, outlets, and flooring as you go.
A steamer avoids chemicals, yet hot steam can still burn skin and over-saturate walls. Hold it briefly against the paper, then scrape with a broad blade at a shallow angle. If the adhesive remains firmly bonded, pause rather than force it, protecting the drywall surface is the priority.
Thoughtful preparation keeps wallpaper removal controlled rather than chaotic. Before introducing water or lifting a scraper, clear the room, protect fixed features, and create a contained work area. The goal is simple: keep surrounding walls and finishes clean while giving yourself safe, unobstructed access to every section.
Start by shutting off power to the room at the breaker, then remove outlet and switch-plate covers. Cover the exposed boxes with painter’s tape and plastic, sealing the edges so moisture cannot reach the electrical components. This matters whether you are using a hand sprayer for a wallpaper-removal solution or working with steam, which can send condensation farther than expected.
Run low-tack painter’s tape along baseboards, window casings, door trim, and any built-ins you intend to preserve. A lightweight plastic drop cloth can shield these details, but avoid taping aggressively to delicate or freshly painted surface finishes. On the floor, use canvas drop cloths or absorbent towels beneath a waterproof layer; paper backing, paste, and water become surprisingly heavy once saturated.
Move furniture out of the room where possible. For pieces that must stay, pull them toward the room’s center and cover them fully. MrWalls Drywall & Painting recommends keeping a clear path to the door, plus a dedicated spot for wet debris, so cleanup remains manageable from the first strip to the final pass.
The right removal methods depend on how the wallpaper was installed and whether its surface lets moisture through. Start with gentle peeling, then use water or a wallpaper solution only as needed to soften the adhesive without over-saturating the wallboard beneath.
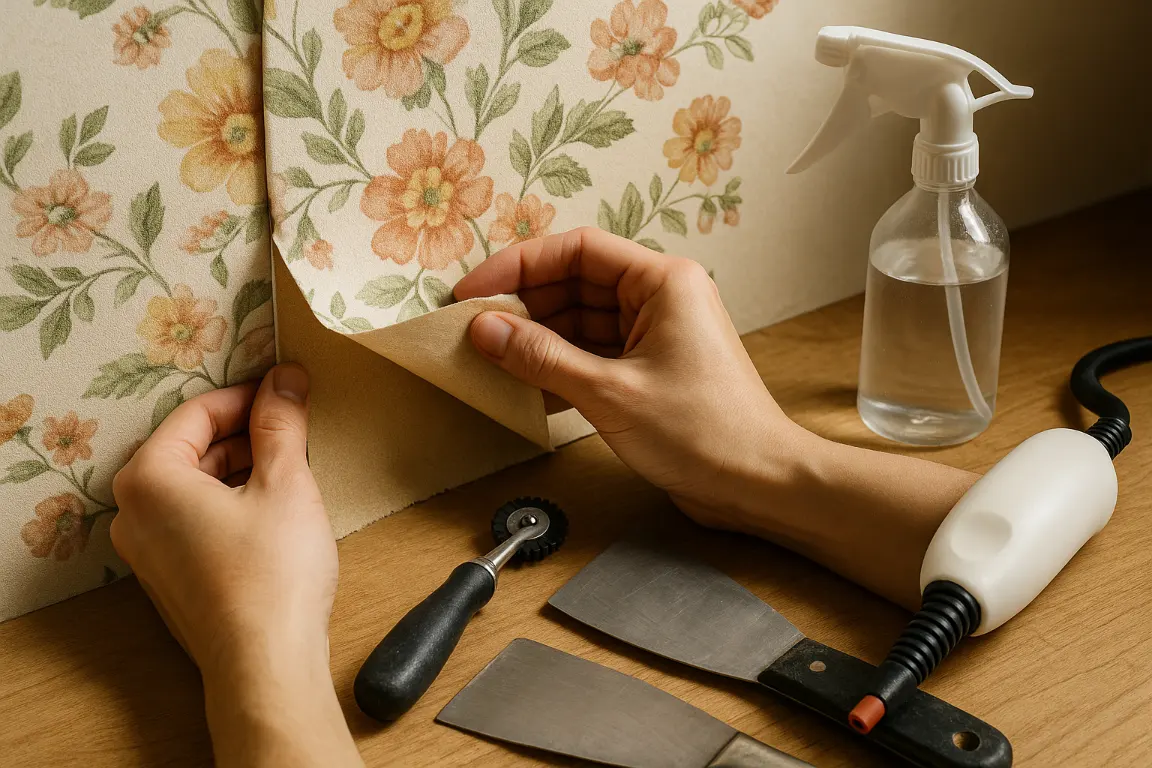
First, test a discreet seam. If the wallpaper’s top layer releases cleanly and leaves a paper backing behind, peel away the face layer, then soak the backing with warm water or an adhesive remover. Give it several minutes to work before lifting with a broad putty knife; patience is what protects the drywall facing.
Use a scoring tool when the wallpaper has a vinyl or otherwise water-resistant surface. Lightly perforate the finish so moisture can reach the paste, taking care not to gouge the wall. Soak in manageable sections and scrape only after the backing has softened.
A steamer is best reserved for stubborn, older installations or areas where liquid solutions are not penetrating. Apply steam briefly, move steadily, and strip softened paper immediately. Too much steam can loosen drywall paper, soften joint compound, and introduce unnecessary moisture into the wall, damage that often requires repair before painting.
| Method | Use it when | Key technique | Main caution |
|---|---|---|---|
| Soaking | The top layer peels away cleanly and leaves a paper backing behind. | Soak the backing with warm water or adhesive remover, wait several minutes, then lift with a broad putty knife. | Scraping before the backing softens can damage the drywall facing. |
| Scoring before soaking | The wallpaper has a vinyl or other water-resistant surface. | Lightly perforate the finish so moisture reaches the paste, then soak manageable sections before scraping. | Do not gouge the wall while scoring. |
| Steaming | The installation is stubborn or older, or liquid solutions are not penetrating. | Apply steam briefly, keep moving steadily, and strip softened paper immediately. | Too much steam can loosen drywall paper, soften joint compound, and add moisture that may require repair before painting. |
Knowing how to remove wallpaper without damaging the wall comes down to patience and scale. Rather than stripping an entire wall at once, start with a manageable section, pull gently, and assess the backing as you go. Controlled wallpaper removal makes repairs, cleanup, and re-prep far more straightforward.
Begin at the top corner of the first strip, where gravity works in your favor and a loose edge is usually easiest to find. Use a broad putty knife to carefully lift just enough material to grip; avoid digging into the drywall face paper. Once the edge releases, pull the wallpaper back slowly at a low angle, keeping it close to the wall instead of pulling straight outward. This reduces the chance of tearing away the surface beneath.
Watch the paper as you work downward. If it is peeling in a clean sheet, continue with steady pressure, holding the strip firmly but not yanking it. When resistance increases, stop and apply more warm water or stripping solution behind the paper before proceeding. Work toward the bottom seam, then remove any remaining backing separately. Small, deliberate pulls are slower than forcing a large section, but they leave a cleaner wall for patching, priming, and paint.
Once the paper is down, wallpaper glue deserves a gentler approach than aggressive scraping. The goal is to soften the adhesive with water, lift it clean, and preserve the drywall surface beneath. Careful washing now prevents fuzzed paper, gouges, and paint problems later.
Mix a mild solution of warm water and a few drops of dish soap, then work in manageable sections. Apply it with a sponge or microfiber cloth, not a dripping-wet roller, and let it sit briefly before wiping. The remaining glue should feel slick as it releases; if it stays tacky, repeat the wash rather than pressing harder with a scraper.
Rinse the walls with clean water after each section to remove both adhesive residue and soap film. Change the rinse water often so you are not spreading dissolved paste back across the surface. Avoid soaking seams, corners, outlet openings, or any area where drywall paper has already lifted.
After the wall dries, run your hand over it in raking light. A smooth, non-tacky finish means the paper removal is complete. Any rough patches, bubbles, or softened drywall facing should be addressed before priming; small repairs are far easier now than after fresh paint reveals every flaw.
Wallpaper can conceal more than an outdated pattern. As adhesive releases during removal, the surface may reveal previous patching, moisture marks, or drywall damage that was never properly addressed. A careful stripper and measured approach help protect the wall while making underlying conditions easier to assess.
Water stains beneath wallcovering are not always old news. Brown rings, peeling drywall paper, a musty odor, or dark speckled growth can point to a leak, condensation issue, or moisture that became trapped behind the finish. Simply installing new wallcovering over those signs can allow the problem to continue unseen.
Pay particular attention to walls that feel soft when pressed, show bubbling paint after the paper comes down, or crumble around seams and corners. These conditions may mean the gypsum core has absorbed water and lost its integrity. The source of moisture should be identified and corrected before cosmetic work begins; otherwise, even a beautifully repaired surface is likely to fail again.
MrWalls Drywall & Painting can evaluate exposed damage, remove compromised material where needed, and prepare the wall for a durable finish. In more serious cases, coordinated water damage restoration may be the right first step before drywall repair and repainting.
Successful wallpaper removal leaves more than a bare wall: it creates a surface ready for careful inspection. Once you remove wallpaper, address lingering wallpaper glue and damaged areas before painting or refinishing. Proper repairs, drying time, and primer help the new adhesive, paint, or wall treatment perform beautifully.
Removing wallpaper is often a manageable DIY project, but the schedule depends on the wall’s condition, the paper type, and how much repair is uncovered. Set aside time not only for stripping the material, but also for washing residue, patching gouges, sanding, priming, and allowing each layer to dry. A wall can look clean while still carrying a thin film that prevents primer or paint from bonding correctly.
After cleanup, run your hand across the dry surface and inspect it in angled light. It should feel smooth, not tacky, and any softened drywall paper, cracks, or torn face paper should be sealed and repaired before coating. Avoid rushing the next step; moisture trapped beneath primer can lead to uneven sheen and future peeling.
For extensive damage, stubborn residue, or a room that needs a refined finish on a firm timeline, MrWalls Drywall & Painting can take over. Our team handles drywall repair, surface preparation, and professional painting so the wall is ready for its next chapter.
DIY removal can work when the wallpaper lifts easily, the drywall is sound, and you can work slowly. Hire a professional if the surface is damaged, the adhesive is extremely stubborn, wallpaper has been painted over, or you are concerned about lead-based paint in an older home.
Start by testing a small seam and peeling gently. Soften backing and paste with warm water, wallpaper remover, or brief steam, then use a broad scraper at a shallow angle. Work in small sections and avoid forcing paper that has not softened fully.
Score wallpaper only when it has a vinyl or water-resistant surface that prevents moisture from reaching the adhesive. Use light pressure to perforate the finish without cutting into drywall paper or plaster beneath it.
A steamer can help with older or stubborn wallpaper when liquid solutions do not penetrate the surface. Wallpaper remover is often easier to control on large areas. Both methods can over-saturate drywall, so use them sparingly and scrape softened paper promptly.
Consider lead testing or a professional inspection before starting. Avoid dry sanding, aggressive scraping, and dust-producing work. Keep children and pets away, contain the room, use wet methods carefully, and arrange HEPA cleanup if older paint or damaged wall surfaces may be exposed.
Yes. Turn off power at the breaker before working around outlets and switches. Remove cover plates and protect exposed electrical boxes with painter’s tape and plastic so water, remover solution, or steam cannot enter them.
Stop scraping aggressively and let the area dry. Torn drywall facing, loose joint compound, and damaged plaster should be repaired, sealed, and smoothed before priming or painting. A drywall professional can help restore heavily damaged walls.