Learning how to remove popcorn ceilings can make a room feel brighter, cleaner, and more current, but it is not a project to rush. Before you wet and scrape, decide whether removal, covering, or professional help makes the most sense for your home. Older textured ceilings may contain asbestos, so testing comes first. Here’s how to plan the job safely and get a smooth finish.
After 25 years working in local homes, I know popcorn ceilings are not a one-size-fits-all decision. The right choice depends on the ceiling’s condition, the age of the house, your budget, and how much disruption you can accept. At MrWalls Drywall & Painting, we help homeowners weigh removal, covering, and professional repair before work begins.
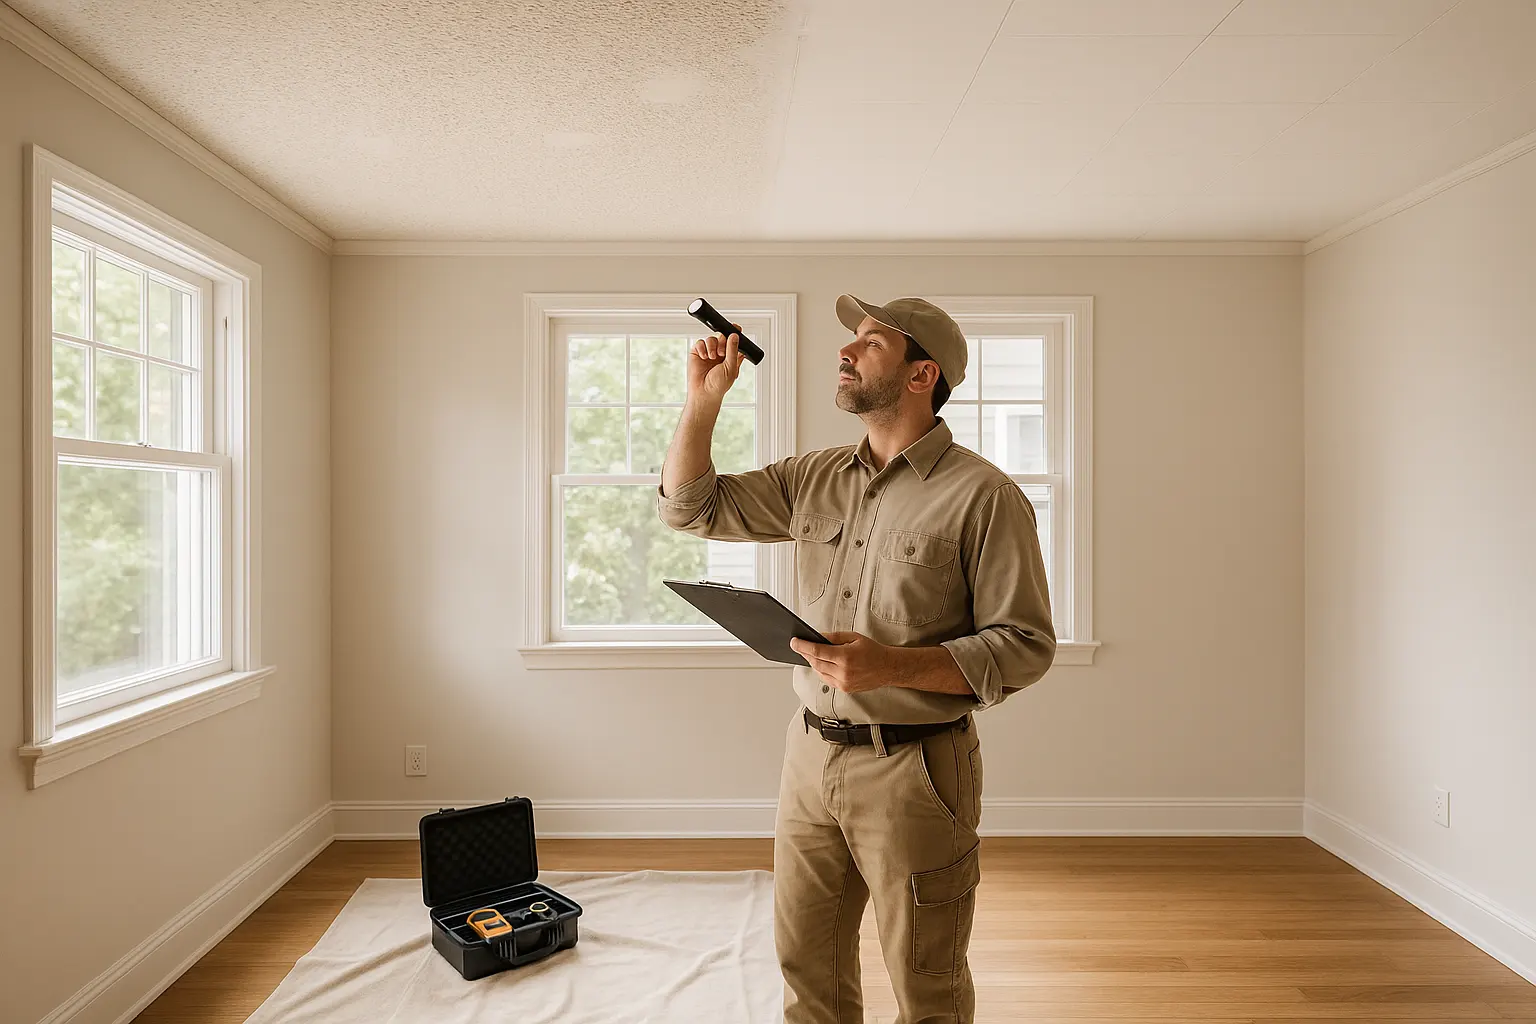
Removing popcorn is not always the smartest path. In an older home, the texture may contain asbestos, so testing should come before sanding or scraping. Even asbestos-free popcorn can hide weak drywall seams, past water damage, or multiple old paint coats that make removal messy and costly.
I often recommend covering the surface with new drywall when the existing ceiling is uneven or badly patched. This creates a clean, modern finish without aggressively disturbing the old texture. If the popcorn is sound and you simply want a refresh, careful repairs and a fresh coat of ceiling paint may be enough. A professional inspection can show which option protects your home, timeline, and budget.
| Option | Best suited for | Why it may be preferable | Key consideration |
|---|---|---|---|
| Test before disturbance | Older homes with popcorn texture | Helps identify possible asbestos before sanding or scraping begins. | Testing should happen before disturbing the ceiling texture. |
| Cover with new drywall | Uneven or badly patched ceilings | Creates a clean, modern finish without aggressively disturbing the old texture. | May be a better route when removal would be messy or costly due to hidden issues. |
| Repair and repaint | Sound popcorn ceilings that only need a refresh | Careful repairs and fresh ceiling paint may improve the appearance without removal. | Works when the existing texture is in sound condition. |
| Arrange a professional inspection | Homeowners weighing the condition, timeline, and budget | Provides guidance on the option that best protects the home and fits the project. | An inspection can reveal weak seams, past water damage, or multiple old paint coats. |
Before you scrape an older popcorn texture, arrange an asbestos test through a qualified lab. An asbestos ceiling can look no different from a safe one, and disturbing it may release fibers. In my 25 years with MrWalls Drywall & Painting, testing has always been the sensible first step.
Stop work if you do not know the age or history of the ceiling texture, especially in a home built before the mid-1980s. Do not assume a previous paint job means the material is safe. A professional should also step in when the ceiling is crumbling, cracked, water-damaged, or already shedding dust. Those conditions make removing material harder to control.
I also recommend calling a qualified professional if the texture covers a large area, has been patched in different spots, or sits near damaged drywall, wiring, or duct openings. Never dry-scrape suspicious material or use a power sander. Have a proper sample collected and tested first, then follow the result and local requirements for safe removal.
After 25 years in drywall work, I can tell you that a clean popcorn ceiling removal starts with the right setup, not brute force. For a small DIY popcorn project, gather plastic sheeting, painter’s tape, drop cloths, safety glasses, gloves, and a respirator rated for fine dust. You will also need a pump spray bottle filled with water; light moisture softens many older textures and helps limit dust. Use a wide drywall knife or broad paint scraper with rounded corners so you do not gouge the ceiling board. Keep a bucket and sponge nearby for residue, plus joint compound and a sanding block for minor repairs. A pole sander is useful after patching, but do not sand the texture itself unless testing confirms it is safe. At MrWalls Drywall & Painting, we also recommend testing ceilings installed before the 1980s for asbestos before disturbing them. If the surface is water-stained, soft, or peeling, address the moisture source and damaged drywall before starting removal.
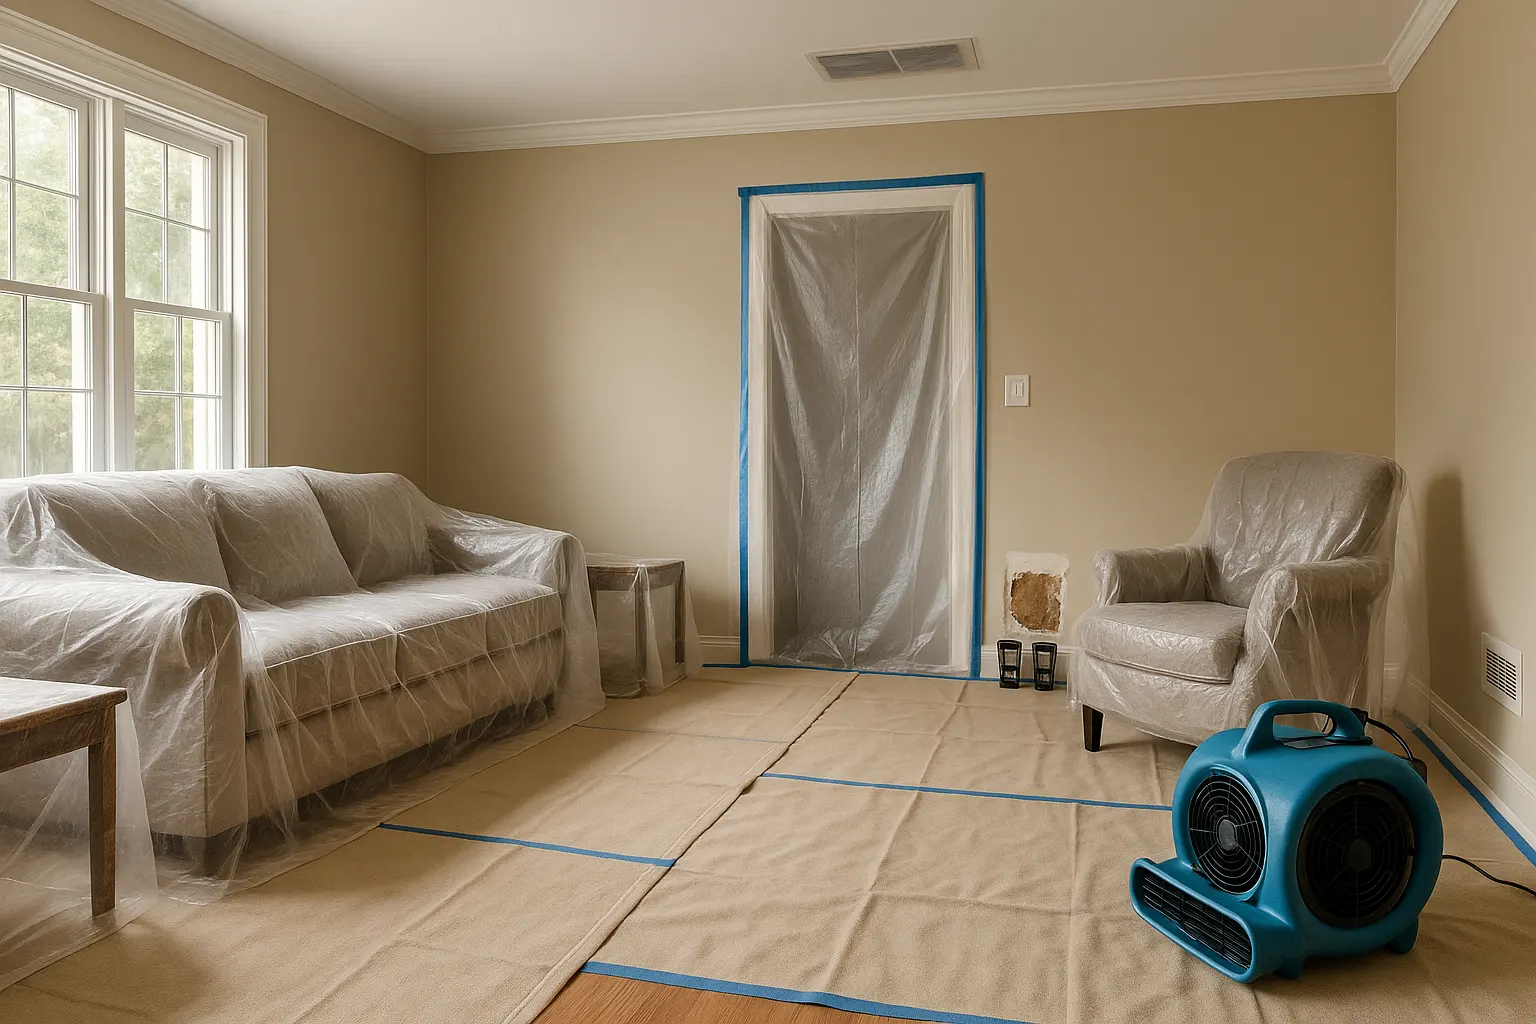
In 25 years of drywall work, I have learned that the cleanest repairs begin before the first cut or scrape. At MrWalls Drywall & Painting, we prepare the room to protect the parts of your home that are not being repaired: floors, furniture, trim, doors, and HVAC openings. We move or cover belongings, lay durable floor protection, and seal the work area with plastic sheeting when dust is a concern. This matters even for a small drywall patch, and it is essential for sanding, demolition, or popcorn ceiling removal.
Water-damaged areas need a different kind of preparation. Before new drywall goes up, we identify the moisture source and make sure the framing, insulation, and surrounding surfaces are fully dry. Covering damp material can trap moisture behind the wall or ceiling and lead to a much larger repair later. A careful DIY approach can help with basic cleanup, but hidden water, soft drywall, or staining that spreads calls for professional drying and inspection. Good containment and drying protect the room now and help the finished repair stay sound.
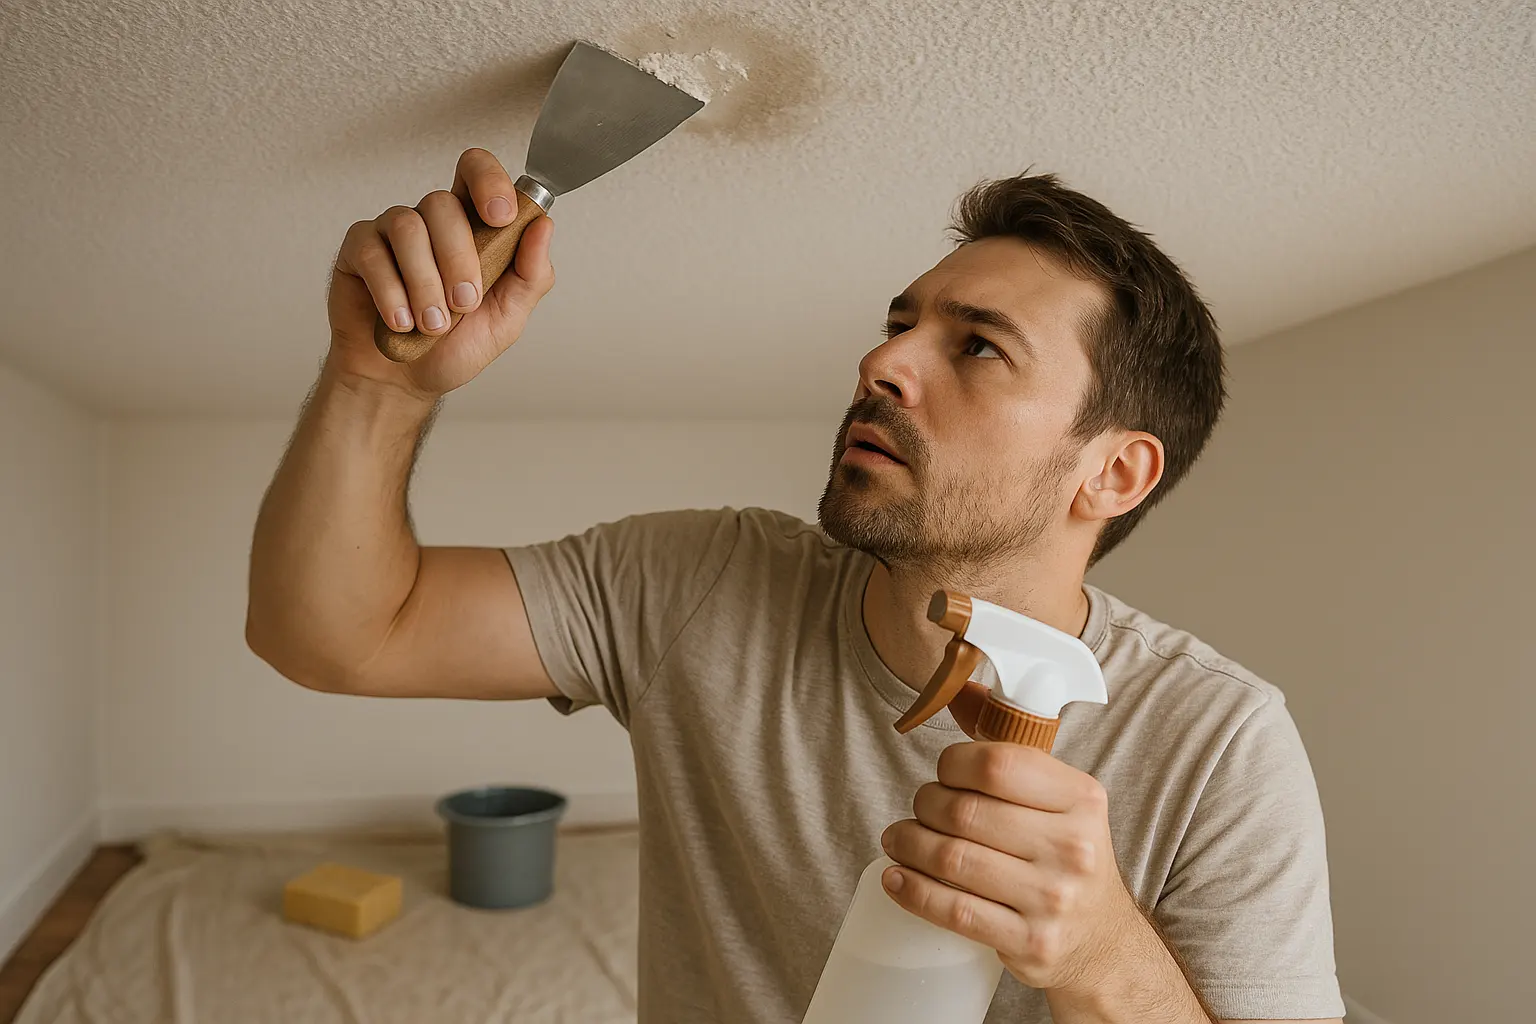
In my 25 years as a drywall contractor, wet scraping has remained the cleanest method for how to remove popcorn ceilings, when the texture has been tested and cleared for asbestos. The key is patience: soften a manageable area, remove popcorn gently, and protect the drywall beneath.
Before committing to the whole ceiling, I always test a two-by-two-foot area. Fill your spray bottle with warm water mixed with a small amount of dish soap, then lightly spray the texture. Let it absorb for 10 to 15 minutes. The coating should darken and soften without soaking through to the drywall paper.
Start with a broad paint scraper held at a shallow angle, and scrape with steady, light pressure. If the material resists, spray again rather than forcing it; aggressive scraping can gouge the ceiling board and create unnecessary repair work. Work in small sections, with drop cloths below and a damp sponge nearby for residue. At MrWalls Drywall & Painting, we repair any minor nicks before the ceiling is skim-coated and finished.
In my 25 years as a drywall contractor, I have seen plenty of popcorn ceiling projects made harder by old paint, leaks, and previous patch jobs. A painted texture does not mean removal is impossible, but the paint creates a sealed layer that keeps water from soaking in. That changes the method. Instead of simply wetting and scraping, we may need to score the surface carefully, work in smaller areas, or recommend a new drywall layer over the existing ceiling when removal would cause unnecessary damage.
Damage calls for a different first step: find and fix the source. Stains, sagging texture, soft drywall, or peeling paint often point to a roof, plumbing, or condensation issue. At MrWalls Drywall & Painting, we address water damage restoration and drying before repairing the ceiling. Once the area is stable and dry, we can determine whether a repair, repainting, or full popcorn ceiling removal will give you the cleanest, longest-lasting result.
Before we refinish any drywall or ceiling, I look for the cause behind stains, bubbling paint, soft spots, and peeling tape. In my 25 years as a drywall contractor, I have seen too many homeowners cover a water mark only to watch it return weeks later. A roof leak or a plumbing, bathroom, or HVAC issue can leave moisture trapped inside the wall cavity long after the surface feels dry.
At MrWalls Drywall & Painting, we start by identifying the source and making sure the affected area is properly dried. Damaged drywall may need to be removed, especially when it has swollen, crumbled, grown mold, or lost its structural strength. We also inspect the ceiling framing and insulation above it, since water often travels farther than expected.
Once the house is dry and stable, repairs can begin with confidence. That preparation creates a smooth, lasting finish instead of a temporary cosmetic fix.
After removing popcorn, the real condition of the ceiling comes into view. In my 25 years as a drywall contractor, I have found everything from minor adhesive marks to loose tape joints, water stains, and uneven patches hidden beneath that ugly popcorn texture. A clean scrape is only the first step; the ceiling needs careful repair before it is ready for painting.
At MrWalls Drywall & Painting, we inspect the entire surface under bright, angled light. We seal stains, secure loose drywall tape, fill gouges, and skim-coat low areas so the finish looks consistent from wall to wall. Once the repairs dry, we use a pole sander and fine-grit sanding screens to level the compound without damaging the drywall face paper. Dust control is especially important in occupied homes.
Before paint goes on, we apply the right primer for the surface and any previous water damage. Then we recommend a quality flat ceiling paint, which helps hide small imperfections while delivering an even, finished appearance. Done properly, removing popcorn leaves your ceiling looking intentional, not like a project that stopped halfway.
After 25 years in the trade, I tell homeowners that popcorn ceilings do not always need to be scraped. The right choice depends on the ceiling’s condition, the age of the home, prior repairs, and your plans for the room. At MrWalls Drywall & Painting, we first look for water staining, cracks, loose material, and signs that the existing drywall has sagged or failed. If the ceiling texture is firmly bonded and you simply want a cleaner look, encapsulation may be the least disruptive option. This involves sealing the surface and applying a new finish rather than disturbing the old material. A drywall overlay can also create a completely smooth ceiling while avoiding much of the mess associated with removal, although it slightly lowers ceiling height and requires careful work around lights, vents, and trim. When moisture damage or structural issues are present, replacement is often the soundest long-term repair. We also recommend testing older popcorn ceilings before any scraping or demolition, since some materials may contain asbestos. A clear assessment helps you spend wisely and choose a finish that will last.
After 25 years in the trade, I’ve found that clear expectations make a popcorn ceiling project far less stressful. At MrWalls Drywall & Painting, we start by protecting the room: furniture is moved or covered, floors are sealed, and nearby openings are masked to limit dust travel. Removing a popcorn ceiling is usually a one- to three-day job for a typical room, depending on square footage, ceiling condition, repairs, and the finish you choose afterward. The scraping itself may be quick, but drying time for patching, skim coating, primer, and paint often determines the real schedule. Our crew collects removed texture and job debris as we work, then bags and disposes of it according to local requirements. Before we leave, we vacuum work surfaces, remove containment carefully, and walk through the space with you. Older ceiling texture may require testing before work begins, especially if there is any possibility of asbestos. That step can affect both the timeline and disposal process, but it is always worth handling correctly.
After 25 years in drywall work, I have heard nearly every question homeowners ask about a popcorn ceiling. The biggest concern is usually safety: older ceiling texture may contain asbestos, so testing should always come before scraping. If the material is positive or the results are uncertain, do not turn it into a DIY project. Disturbing the texture can release harmful fibers into your home. Homeowners also ask how to remove popcorn ceilings cleanly and whether the room will need new drywall afterward. In many cases, careful wetting, controlled scraping, patching, and a smooth finish are enough. However, water stains, loose tape, cracked joints, or damaged drywall may call for repairs before painting. At MrWalls Drywall & Painting, we assess the ceiling’s age, condition, and test results first. That lets us recommend a removal plan that protects your home, limits mess, and leaves the ceiling ready for a polished new finish.
Removal can work when the texture is in good condition, has tested clear for asbestos, and you are prepared for scraping, patching, and refinishing. Covering with new drywall is often a better choice for uneven, heavily patched, or damaged ceilings because it creates a smooth new surface with less disturbance to the old texture.
Yes, testing is a sensible first step for older popcorn ceilings, especially in homes built before the mid-1980s. Asbestos cannot be identified by appearance. Have a qualified professional collect a sample or use a qualified lab before scraping, sanding, drilling, or otherwise disturbing the texture.
A small project may be suitable for DIY work only after the texture has been tested and cleared. Protect floors and furniture, seal HVAC openings, wear appropriate eye, hand, and respiratory protection, and use wet scraping rather than dry sanding. Call a professional for large areas, damaged drywall, water stains, crumbling texture, or uncertain material history.
Wet scraping is commonly the cleanest approach for a tested, asbestos-free ceiling. Lightly mist a small section with warm water and a little dish soap, wait 10 to 15 minutes, then use a broad scraper at a shallow angle. Re-wet resistant areas instead of forcing the scraper and damaging the drywall paper.
Yes, painting can refresh a sound popcorn ceiling when you do not need a smooth finish. Repair loose areas first, address any moisture issue, and use care so paint does not cause the texture to sag or detach. A professional inspection is helpful if the ceiling is stained, peeling, cracked, or shedding material.
Fix the moisture source before repairing, covering, or removing the ceiling. Soft drywall, spreading stains, peeling texture, or damp insulation can indicate hidden damage. The area should be fully dried and inspected before new materials are installed, since covering damp surfaces can lead to more extensive repairs later.