Learn how to stop the source of water damage, assess damaged plaster, and decide when a DIY repair or professional help is the safer choice.
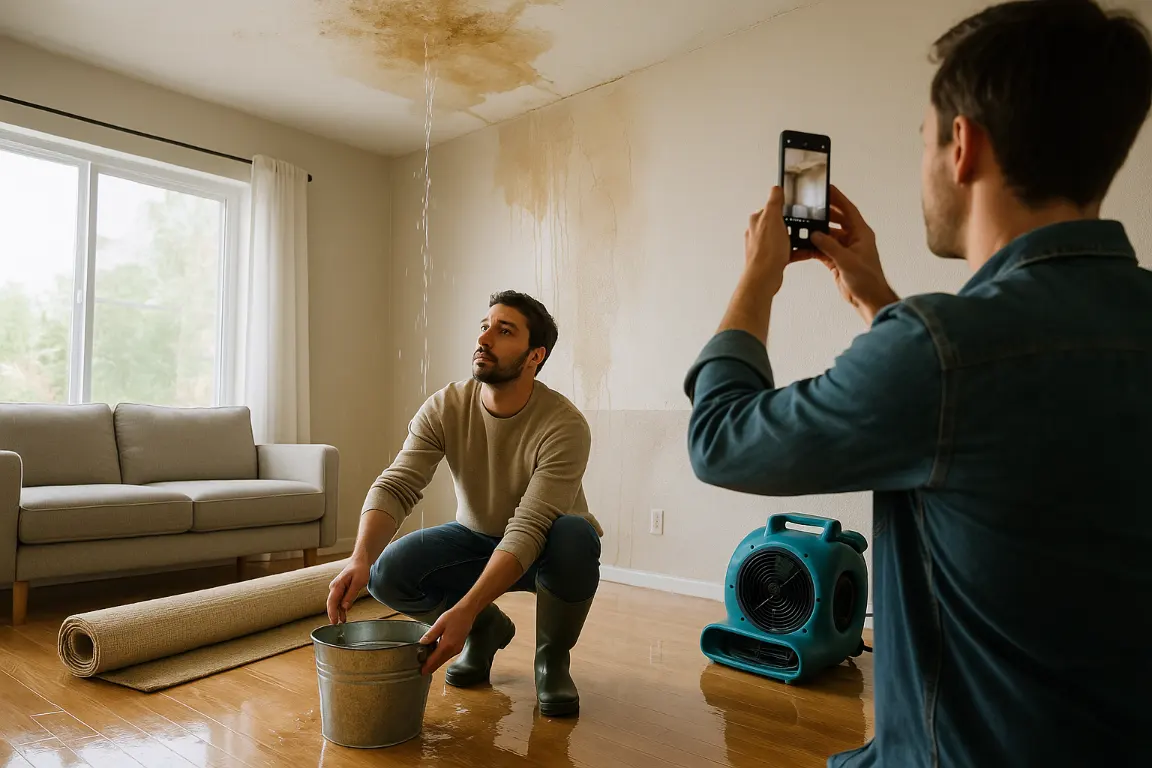
Learning how to repair water damaged plaster begins with one essential step: addressing the underlying moisture source first. Stop the leak, allow the wall and surrounding walls to dry completely, and keep the area clean before beginning any repair. Repairing water damaged plaster too soon can trap water, leading to stains, crumbling plaster, paint failure, mould, or the need for mold remediation behind the surface.
Once the area is dry, assess the damage carefully: determine whether the damaged plaster is sound enough for patching plaster and repairing plaster, or whether any loose plaster, loose plaster, or sagging sections require removal and replacement. This practical repair process helps homeowners plan the project, understand likely plaster repair cost, and recognise when plaster damage calls for a professional plaster repair professional service. For more extensive water damage, remediation and repair projects may be the safest course.
Repair water-damaged plaster safely by first stopping the leak, addressing electrical or contamination risks, and drying the wall completely. Inspect for loose, soft, bowed, or crumbling areas, removing failed material back to a sound substrate before patching in thin layers. Seal stains with quality primer, match texture and paint, and correct moisture conditions to prevent recurrence. Seek professional help for widespread damage, sagging ceilings, mold concerns, or unstable plaster.
Knowing how to repair water damaged plaster begins with restraint. A stained, bubbling, or cracked wall can appear to be a surface-level problem, yet plaster retains water very differently from modern drywall. Repairing it before the structure is fully dry can conceal a more serious issue behind a fresh finish of paint. At MrWalls Drywall & Painting, our plaster repair service begins by identifying the water damage and addressing the underlying moisture source first. The cause may be a leaking roof, failed plumbing connection, overflowing fixture, condensation, or water entering through an exterior opening. Until that source is corrected, any repair is temporary.
Safety deserves the same attention as appearance. Shut off electricity in affected areas if water may have reached outlets, switches, or wiring, and do not disturb sagging plaster overhead. Water damaged plaster can become unexpectedly heavy when its keys, lath, or bonding coat have weakened. If the wall feels soft, bows under light pressure, carries widespread staining, or shows signs of microbial growth, a professional assessment is the prudent next step. Clean-water damage from a small, quickly resolved leak may be manageable, but water from sewage backups, flooding, or unknown sources requires more cautious handling, possible mold remediation, and often remediation through removal of contaminated materials.
Once the source is resolved, dry the area thoroughly before deciding what can remain. Use ventilation, dehumidification, and controlled air movement rather than excessive heat, which can crack plaster. Drying may take several days, particularly in older walls with wood lath or multiple plaster coats. Moisture readings and a careful inspection help confirm that the wall cavity, framing, and visible plaster are genuinely dry, not merely dry to the touch. This measured repair process protects the scope, cost, and longevity of the project.
Only then can you assess the full extent of the plaster damage. Minor stains and hairline cracks may need only cleaning, sealing, and refinishing. Any loose plaster, including loose plaster or crumbling sections, should be removed back to sound material before patching plaster and rebuilding the surface. Repairing plaster well depends on a stable substrate, dry walls, and compatible materials, not simply covering damaged plaster with paint. For larger projects, a professional can determine whether the repair calls for localized work or a more complete service.
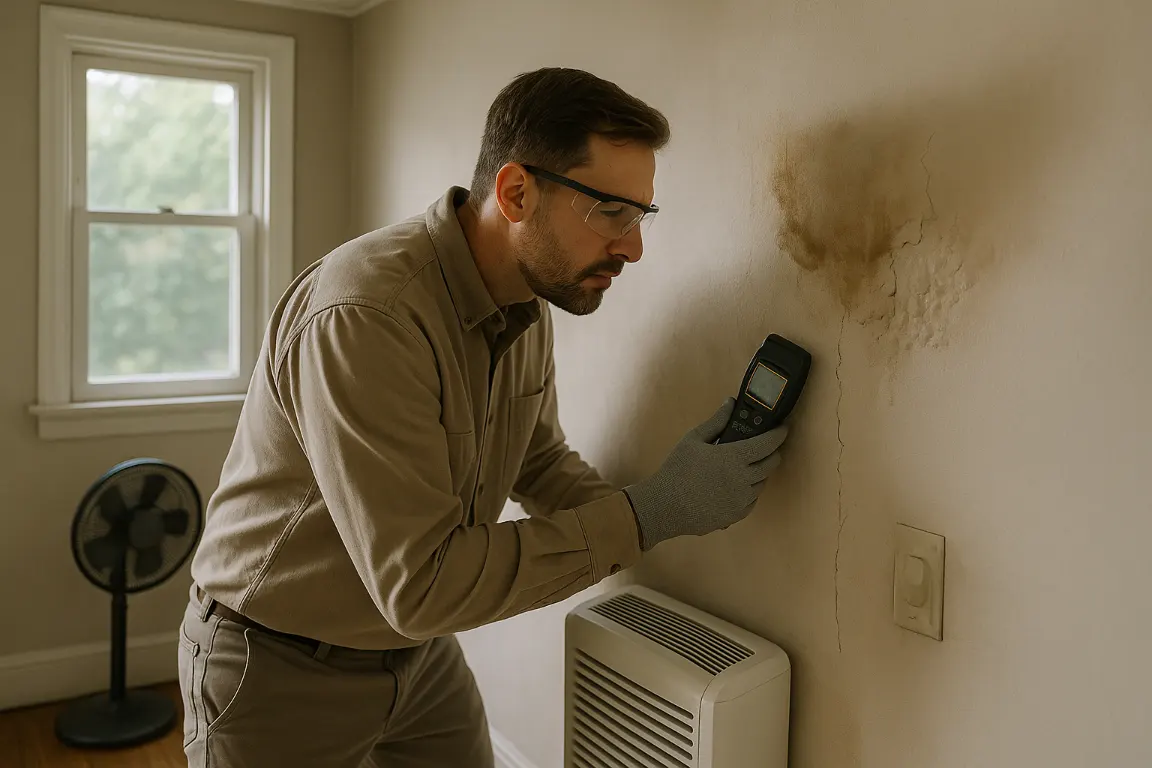
Plaster damage seldom remains a minor cosmetic concern. A hairline crack, chalky finish, or soft spot can point to movement, past water exposure, weak adhesion, or decades of wear. When addressing damaged plaster, the first priority is determining whether the surrounding wall and plaster remain sound. Any loose plaster and other loose plaster must be removed with care before repair begins. Applying compound or paint over unstable damage may conceal the issue temporarily, but it will not correct it. At MrWalls Drywall & Painting, we assess walls and ceilings for hollow sections, crumbling edges, stains, active leaks, and transitions between plaster, drywall, and trim.
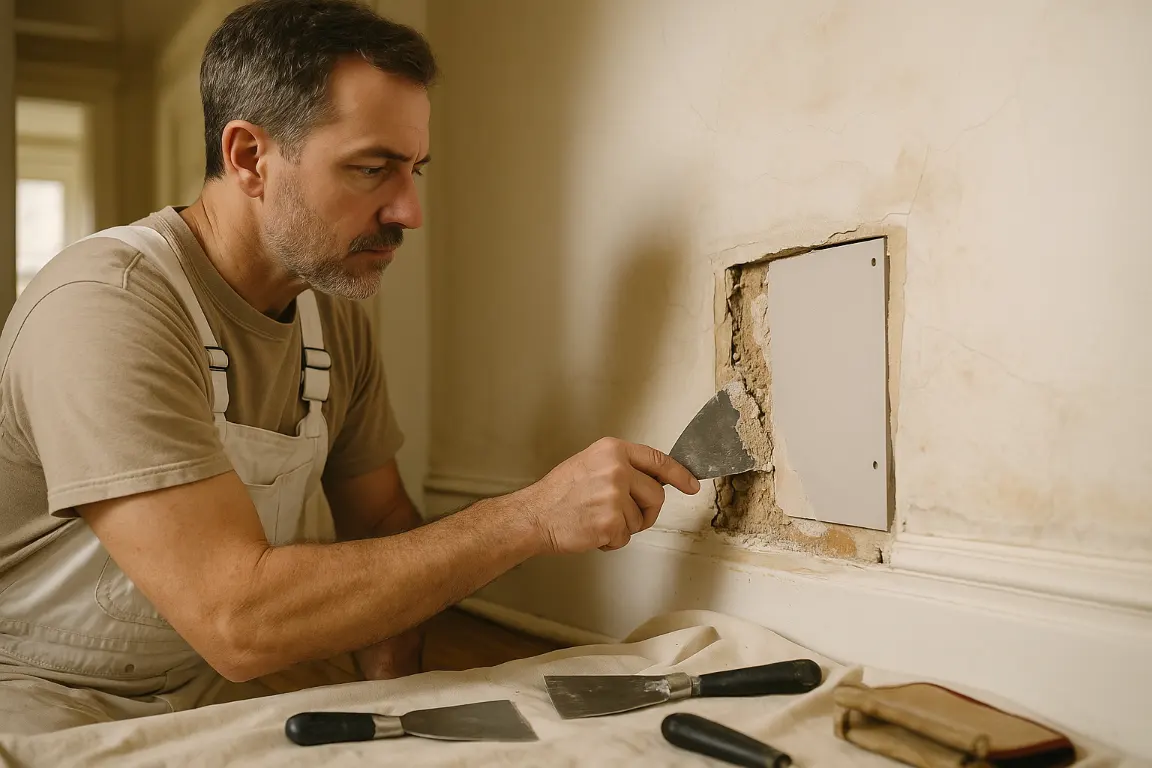
Dryness matters as much as careful surface preparation. In cases of water damage, correct the underlying moisture source first, then allow the area to dry completely before beginning the repair process. Otherwise, new materials can fail, discoloration can return, and the wall may remain vulnerable. Clients often ask how to repair water damaged plaster, yet repairing water damaged areas may also call for mold remediation or other remediation before patching plaster. Once the surface is dry and stable, professional plaster repair can restore localized cracks, small holes, and isolated sections. Repairing plaster may involve removing failed material, securing weakened areas, rebuilding the profile in thin layers, and smoothing the surface for paint.
Replacement is often the stronger long-term option when plaster has separated extensively from its base, has repeated water damage, or is too brittle to support a durable patch. Selective removal and drywall replacement can provide a clean, dependable surface without unnecessarily disturbing sound areas. The right repair considers the condition of the wall, the character of the room, the cost, and the goals of the project. Whether your project calls for a focused repair or replacement of a compromised section, our service helps homeowners move forward confidently with current and future projects.
| Condition or warning sign | Targeted plaster repair may fit | Replacement may be the better option |
|---|---|---|
| Hairline cracks or small holes | Yes, when the damage is localized and the surrounding plaster remains firmly bonded. | May be needed if cracking is accompanied by extensive separation, brittleness, or unstable surrounding areas. |
| Loose plaster, crumbling edges, or soft spots | May fit after all failed material is removed and weakened areas can be secured on a dry, stable substrate. | More appropriate when plaster has separated extensively from its base or cannot support a durable patch. |
| Hollow-sounding sections | May fit for isolated areas if nearby plaster is sound and firmly bonded. | May be the better choice when hollow areas indicate widespread separation behind the finish. |
| Stains, active leaks, or past moisture damage | Possible only after the moisture source is corrected, the area dries fully, and damage is limited. | Often preferred when there is repeated water damage or deterioration that could cause new materials to fail. |
| Brittle plaster or widespread poor adhesion | Less suitable when the plaster is too weak to hold a lasting repair. | Yes, selective removal and drywall replacement can provide a cleaner, more reliable surface while preserving sound portions. |
Repairing water damaged plaster is rarely a purely cosmetic project. The repair process should begin by addressing the underlying moisture source first. Whether the cause is a roof leak, plumbing failure, window intrusion, or condensation, the affected area must dry completely before plaster repair can begin. Applying patching plaster or paint over damp material can trap water behind the surface, inviting stains, cracking, mold remediation, and further plaster damage. At MrWalls Drywall & Painting, our professional service starts with a measured assessment of the damage. A faint ceiling stain may require only cleaning and sealing, while damaged plaster that feels soft, loose, or crumbly calls for more extensive repair. We inspect beyond the visible mark, because water can weaken plaster’s bond to the lath or masonry beneath. We remove any loose plaster back to sound material, then clean the opening of dust, debris, and residue before the patch is applied. For shallow damage, patching plaster in fine, controlled layers restores a smooth, even wall or ceiling. Deeper losses may need a reinforcing base or bonding agent before finish coats are applied. Each layer requires proper curing time; rushing this stage can lead to loose plaster, hairline cracks, or an uneven texture later. Once the patch is firm and smooth, stain-blocking primer helps keep old water marks from bleeding through fresh paint. The final finish should disappear into the surrounding walls or ceilings, including the subtle texture shaped by age and earlier paintwork. Some projects are straightforward, but repairing plaster around ornate corners, older ceilings, or large saturated areas demands experience. The cost can vary with the extent of water damage and the remediation required. If you are considering how to repair water damaged plaster, clean preparation, stable surfaces, and patient finishing matter most. Repairing water damage properly means more than covering the evidence; it means delivering a repair built to last.
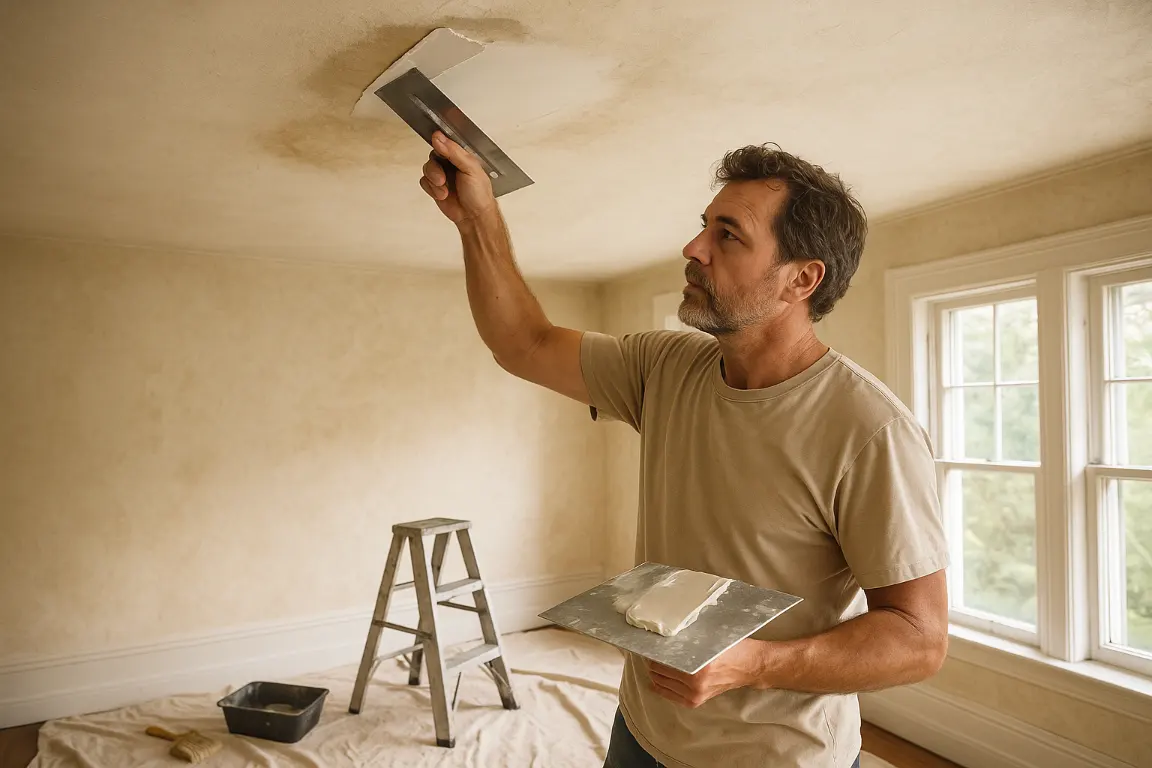
Once the leak has been corrected by addressing the underlying moisture source first and the area is fully dry, the final stage does far more than restore the room’s appearance. Thoughtful priming, paint selection and moisture control protect the repair beneath the surface. At MrWalls Drywall & Painting, we treat finishing as an essential part of water damage restoration, not a cosmetic afterthought, but a safeguard for the wall and the projects ahead.
New drywall patches, repaired seams, patching plaster and skim-coated areas absorb paint differently from surrounding walls. A quality primer evens that porosity, helps conceal stains left by water exposure, and creates a stable surface for the finish coat. When discoloration is severe, a stain-blocking primer is often the right choice; ordinary paint can allow old water marks to bleed through over time. For plaster repair, especially where damaged plaster or any loose plaster has been removed, clean preparation is central to a durable result.
Color matching deserves the same level of care. Even when the original paint color is known, age, sunlight and routine cleaning can alter its appearance across a wall. Rather than leaving a visible square of fresh paint around a repair, a professional can feather the finish or repaint the full wall for a seamless result. Texture matters, too: orange peel, knockdown, smooth walls and traditional plaster each require a compatible repair process and paint application so water damaged areas do not stand out. This attention to detail is especially important when repairing plaster, repairing water damage, or determining how to repair water damaged plaster without compromising the character of the surface.
Prevention checklist:
Check plumbing connections, roof penetrations, window seals, exterior drainage and bathroom ventilation before closing the project; if concerns remain, schedule professional remediation or mold remediation before final finishes are applied.
In humid spaces, use durable moisture-resistant paint and run the exhaust fan long enough to clear steam after showers.
Watch for recurring staining, soft drywall, peeling paint, loose plaster, plaster damage or a musty odor. These can be early signs that water is still reaching the wall and that further service may be needed.
A careful repair should blend into the room while helping it stand up to everyday life. Whether the work involves drywall, plaster, or restoring water damaged surfaces, the right preparation and finish can make a meaningful difference in both appearance and long-term cost. With a considered approach to repair and prevention, your walls can look polished again and remain better protected from future damage.
Small hairline cracks and minor scuffs can sometimes be addressed with careful patching plaster. Yet plaster damage is not always merely cosmetic. Call a professional when a ceiling or wall feels soft, bows, develops recurring cracks, or shows any loose plaster. These symptoms can indicate failed keys behind traditional plaster, concealed water damage, structural movement, or a previous repair that has lost its bond. MrWalls Drywall & Painting evaluates the substrate before recommending plaster repair, ensuring the finished wall and walls rest on sound material rather than a surface-level cover-up.
Water damaged plaster deserves prompt attention. For those researching how to repair water damaged plaster, the essential first step is to correct the underlying moisture source first. A one-time leak that has fully dried may call for removal of damaged plaster, thorough drying, stain sealing, and a carefully matched plaster or drywall repair. If water is still entering through plumbing, a roof, window, or exterior opening, the repair process should pause until that issue is resolved. Musty odors, dark spotting, or extended dampness may also require mold remediation. This distinct, safety-focused service addresses contamination and moisture conditions before remediation and cosmetic restoration begin.
The cost of a professional repair reflects far more than the visible crack. A simple patch costs considerably less than stabilizing a broad ceiling area, replacing water damaged lath or drywall, matching texture, and repainting an entire plane for a clean, seamless result. Access also shapes the scope: high ceilings, stairwells, occupied rooms, and furnishings can require additional preparation. A detailed onsite estimate should define removal, drying, remediation needs, surface preparation, finish work, paint, and the full project scope rather than offering a single vague figure.
Homeowners often ask whether loose plaster can be saved. In many projects, stable surrounding plaster can be re-secured and skimmed, preserving the character and craftsmanship of an older home. When plaster is saturated, crumbles at a touch, or separates extensively, selective replacement is usually the more durable repair. Another common question concerns repairing water stains: can they simply be painted? Paint may conceal discoloration temporarily, but it cannot resolve moisture, mold, or an unsound surface. The right approach to repairing plaster is investigation first, restoration second, and a polished finish last.
Localized damage can often be repaired if the surrounding plaster is dry, firmly bonded, and structurally sound. Plaster that is soft, crumbling, badly saturated, or separating extensively from lath or masonry may require selective removal and replacement for a lasting result.
Drying can take several days or longer depending on the water source, wall construction, humidity, and extent of saturation. Ventilation, dehumidification, and controlled air movement help. The surface should be confirmed dry throughout, not just dry to the touch, before patching or painting.
Only after the leak or moisture source is fixed and the plaster is completely dry and stable. Clean the area, repair any loose material, and apply a suitable stain-blocking primer before painting. Paint alone may temporarily hide a stain, but it will not solve active moisture or damaged plaster.
Use caution with sagging ceilings, bowing walls, soft spots, loose or falling plaster, widespread staining, musty odors, or dark spotting. Water can weaken plaster keys and make ceilings heavy. Shut off power if outlets or wiring may be affected, and seek professional assessment for significant damage.
Yes. Loose, hollow, or crumbling material should be removed back to a sound edge before a patch is applied. New plaster or compound needs a clean, stable substrate; covering unstable material can lead to cracks, delamination, and another repair later.
Professional help is recommended for large damaged areas, recurring leaks, high or sagging ceilings, extensive cracking, suspected hidden moisture, damaged lath, or possible microbial contamination. An onsite assessment can determine whether targeted plaster repair, stabilization, drywall replacement, or moisture-related work is appropriate.