Learn how to respond to a plumbing leak, limit water damage, and know when to call a plumber, drying specialist, or drywall repair professional.
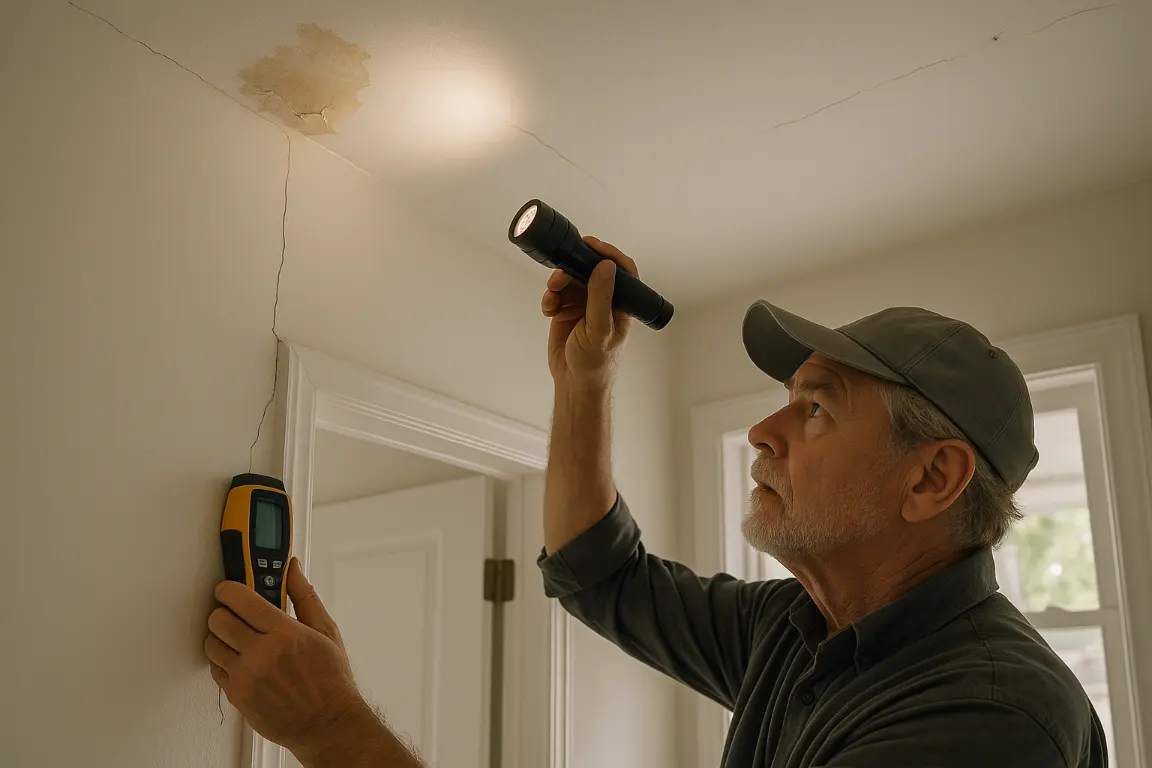
Plumbing leak water damage can spread faster than most homeowners expect, soaking drywall, flooring and hidden framing long after the drip stops. The first priorities are simple: shut off the water, protect people and belongings, and document the damage before cleanup begins.
From finding leaks behind walls to knowing when a repair needs a licensed plumber or restoration professional, the next steps matter. Here’s how to limit the damage and make informed repair decisions.
A plumbing leak can cause hidden water damage quickly, even after the source is repaired. Shut off water safely, avoid electrical hazards, protect belongings, document damage, and call a plumber for the leak. If water has spread, professional mitigation and drying are essential before repairs. Once materials are dry, damaged drywall, ceilings, insulation, texture, and paint may need restoration or replacement.
A plumbing leak can turn into costly water damage far faster than most homeowners expect. Whether water is spreading from a supply line, collecting beneath a sink, or staining a ceiling, the first priority is to stop the source safely. Shut off the nearest fixture valve if you can identify it; otherwise, use the home’s main water shutoff. If water is near outlets, light fixtures, or the electrical panel, keep clear and call a qualified professional rather than entering the area.
Once the flow has stopped, move rugs, furniture, and personal belongings away from the affected space. Blot standing water with towels, but avoid opening ceilings or walls before the plumbing issue is resolved. Photograph the leak, wet materials, and visible damage for insurance documentation. Then arrange prompt plumbing repair and professional drying. Water can travel behind drywall, under flooring, and into insulation, where it may remain unnoticed long after surfaces feel dry.
At MrWalls Drywall & Painting, we help homeowners address the visible aftermath of a plumbing leak water damage event, from compromised drywall and ceiling stains to carefully matched repairs after the area has been fully dried. Acting quickly protects both your home’s structure and its finished appearance.
Stopping water at its source is essential, but it is only the first step. A plumber can complete a leak repair by replacing a failed supply line, tightening a connection, or repairing a worn valve. That work prevents additional water from entering the home. It does not automatically address the plumbing damage already left behind in the walls, ceiling, flooring, or insulation.
Once the leak is resolved, the affected materials need a separate assessment. Moisture can travel farther than the visible stain, softening drywall, compromising joint tape, staining ceilings, and creating conditions conducive to mold growth. In some cases, a small plumbing issue leaves a surprisingly large repair area, especially when water has pooled above a ceiling or run inside a wall cavity.
MrWalls Drywall & Painting focuses on the finish-side work that returns the space to normal: removing damaged drywall, making durable repairs, matching texture, and preparing surfaces for paint. Proper restoration is not simply covering a water mark with primer. It means confirming materials are dry, replacing what cannot be saved, and rebuilding the affected area so the repair blends naturally with the rest of your home.
Water leaking behind finished surfaces rarely announces itself all at once. Early detection often comes down to noticing small changes: a faint ceiling stain, soft drywall, peeling paint, musty air, or flooring that begins to lift. Left unresolved, water leaks can lead to wider water damage and more involved repairs.
Most pipe leaks begin out of sight, inside a wall cavity, above a ceiling, or beneath a slab. A leaking pipe may release only a slow, steady amount of water, allowing it to soak insulation, framing, and drywall long before a visible stain appears. In older homes, pipe leakage can develop at corroded joints, worn supply lines, or connections disturbed by temperature changes. Even newer pipes can leak around fittings or where a fastener has damaged the line.
Watch for paint that bubbles, baseboards that swell, unexplained warm spots on a floor, reduced water pressure, or a water bill that suddenly climbs. These clues do not always pinpoint the source, which is why professional leak detection matters. Locating pipe leaks promptly helps limit moisture migration and gives the repair team a clearer path to restore the affected wall, ceiling, or floor properly.
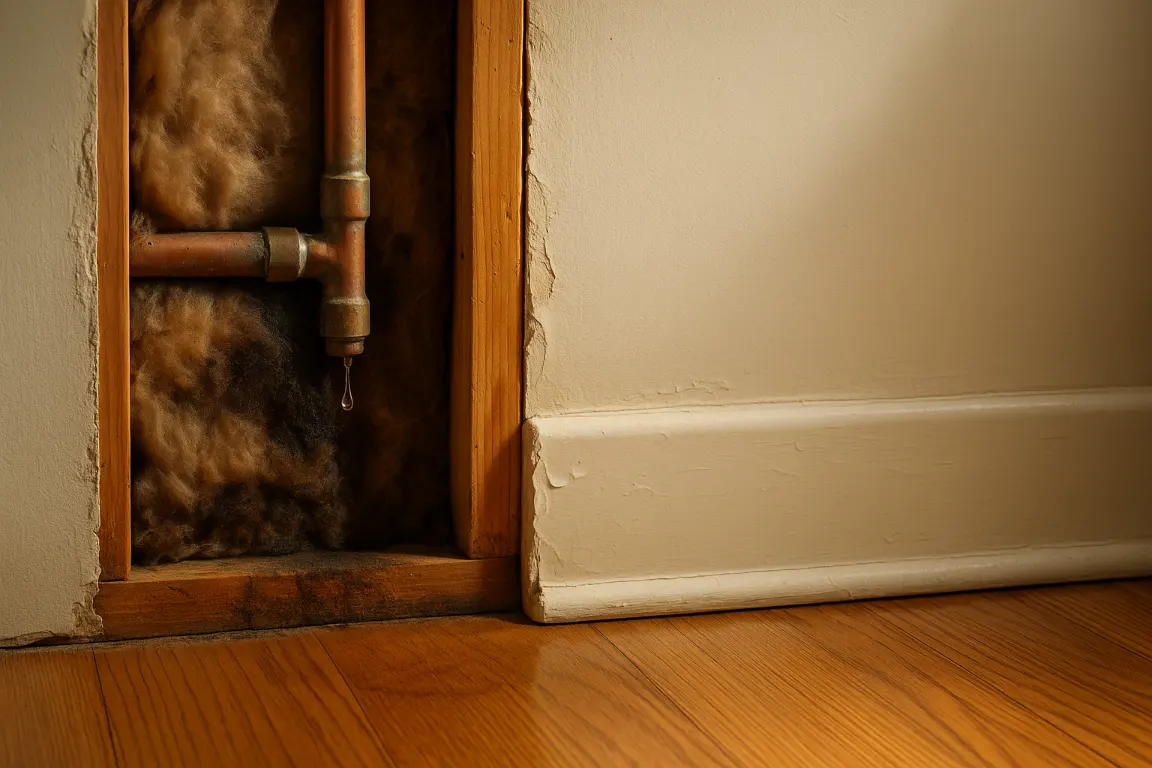
When water appears where it should not, the first priority is protecting people and limiting leak damage, not finding a permanent fix in the moment. If water is near outlets, light fixtures, appliances, or a ceiling that is visibly sagging, stay clear of the area and switch off power only if you can do so safely from a dry location. Do not enter standing water around electrical equipment.
Next, stop the source if possible. Turn off the nearby fixture’s shutoff valve for a toilet, sink, or washing machine. For a larger or uncertain leak, locate the home’s main water supply valve and close it. In many local properties, this is near the water meter, utility room, garage, or exterior wall; knowing its location before an emergency can save valuable time.
Move furniture, rugs, artwork, and electronics away from the affected area, then place buckets beneath active drips and use towels to contain spreading water. Blot hard surfaces rather than pushing water into seams or under baseboards. Take clear photos of the source and affected rooms for insurance documentation. Avoid puncturing a bulging ceiling or attempting major drywall removal yourself. Once the water is controlled, prompt professional drying and repair helps protect the property from lingering moisture, staining, and material failure.
Water damage rarely belongs to just one trade. Knowing who to call first can limit the scope of the work, protect your home’s structure, and keep a small leak from becoming a larger restoration project. If water is actively coming from a supply line, drain, appliance connection, or fixture, call a licensed plumber first. Their job is to stop the source, diagnose the plumbing failure, and complete the necessary repair or installation before cosmetic work begins.
When water has spread beyond the immediate leak, soaking carpet, pooling under flooring, staining ceilings, or dampening wall cavities, a water mitigation team should be involved promptly. They use moisture detection and professional drying equipment to address water that is no longer visible, helping reduce the risk of lingering odors, mold growth, and material deterioration.
Once the area is dry and the plumbing issue is resolved, a drywall contractor can restore what the water damaged. MrWalls Drywall & Painting handles the finish-stage work: removing compromised drywall, rebuilding affected sections, matching texture, repairing ceilings, and repainting so the repair feels considered rather than patched. For a clean result, restoration should follow the proper order: stop the water, dry the structure, then repair the surfaces.
| Situation | Call First | What They Handle | When Their Work Happens |
|---|---|---|---|
| Water is actively coming from a supply line, drain, appliance connection, or fixture | Licensed plumber | Stops the source, diagnoses the plumbing failure, and completes the needed repair or installation | First, before cosmetic work begins |
| Water has spread beyond the immediate leak, including soaked carpet, pooling under flooring, ceiling stains, or damp wall cavities | Water mitigation team | Uses moisture detection and professional drying equipment to address hidden water and reduce lingering odors, mold growth, and material deterioration | After the water source is stopped; promptly when water has spread |
| The plumbing issue is resolved and the affected area is dry | Drywall contractor | Removes compromised drywall, rebuilds affected sections, matches texture, repairs ceilings, and repaints | Last, after the structure is dry |
Water damage can travel well beyond the visible stain. It weakens drywall, saturates ceiling materials and insulation, and causes paint to blister or peel. A proper repair addresses the source of the water first, then evaluates affected materials so the final cost reflects durable restoration rather than a temporary cosmetic fix.
Plumbing-related damage often begins behind a wall or above a ceiling, where a slow leak can spread unnoticed. A plumbing failure, such as a burst supply line, leaking drain, or failed fixture connection, may leave drywall soft, swollen, stained, or structurally compromised. Once damaged plumbing lines have been repaired, the affected area should be opened enough to confirm that framing and insulation are dry and free of deterioration.
Drywall that has lost its shape, developed persistent staining, or remained wet long enough to support microbial growth typically requires removal and replacement. Wet insulation also warrants close evaluation: it can hold moisture against framing and lose its insulating performance. For smaller plumbing damage issues caught quickly, controlled drying and localized drywall repair may be appropriate. MrWalls Drywall & Painting can help distinguish between materials that can be restored and those that need replacement, then finish the repaired surface to blend cleanly with the surrounding wall or ceiling.
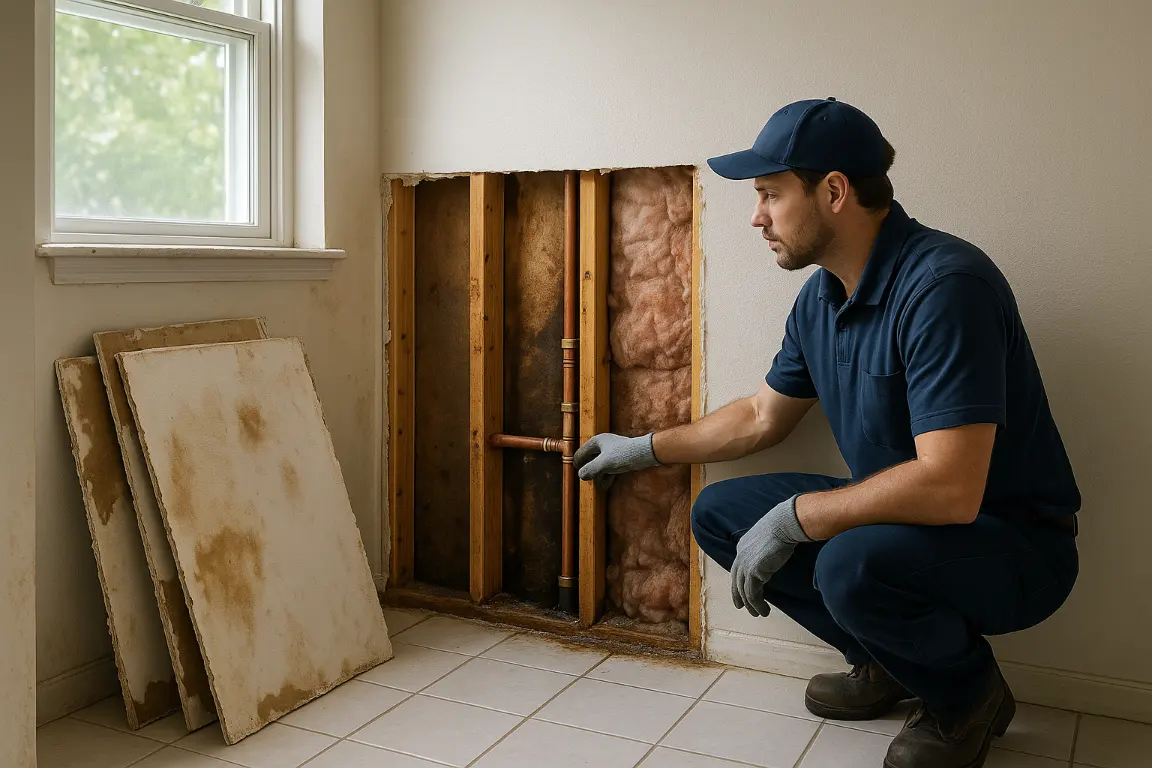
Effective water damage restoration begins with a clear understanding of what moisture has affected, and what it may have reached behind the finished surface. MrWalls Drywall & Painting starts with careful detection of staining, soft drywall, lifted seams, ceiling sagging, peeling paint, and the moisture patterns that can signal a hidden plumbing leak or roof issue. The visible mark is often only part of the problem.
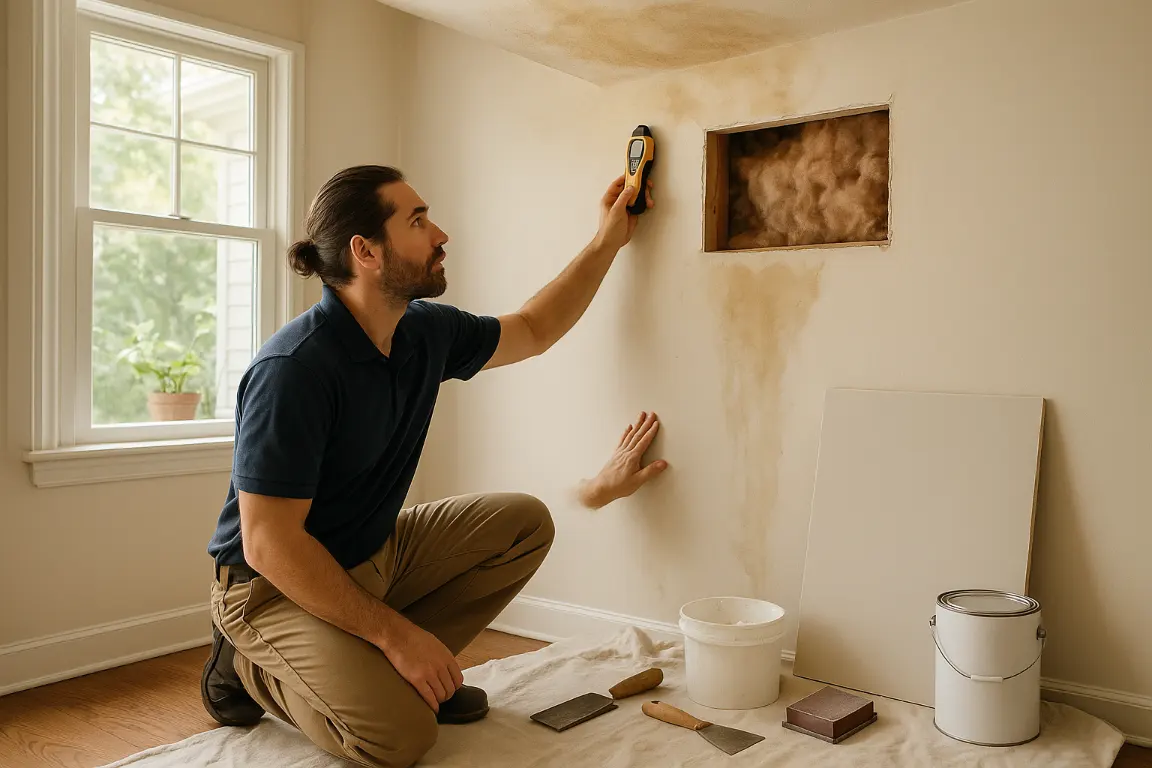
Once the water source is stopped and affected materials have had an opportunity to dry properly, the repair plan can be tailored to the condition of the surface. A small, localized issue may call for removal of compromised drywall, replacement of insulation where needed, precise patching, and texture matching. More extensive damage may require larger drywall sections or ceiling areas to be rebuilt so the finished plane is sound and consistent.
Restoration is not complete when the stain disappears. Seams must be reinforced, patches sanded flush, and surfaces sealed with the right primer before paint is applied. This layered approach helps prevent discoloration from bleeding through and gives repaired walls or ceilings a clean, durable finish that belongs with the rest of the room.
Homeowners insurance may help with water damage from a sudden plumbing problem, but the details matter. Whether home insurance will cover repairs often depends on the source of the leak, the damage involved, and the language in your policy. Review coverage before filing a claim, then document conditions carefully.
Insurers commonly distinguish between a sudden plumbing failure and a slow, ongoing issue. A burst supply line, failed appliance hose, or unexpected pipe break may be covered, while damage tied to long-term plumbing leaks, corrosion, neglected caulking, or deferred maintenance may be excluded. Policies also vary on whether they cover only resulting damage, such as wet drywall, flooring, and paint, or the failed pipe or fixture itself.
Timing matters as well. Promptly shutting off water, photographing affected areas, saving damaged materials when practical, and reporting the loss can support a clearer claim. Before authorizing major work, contact your carrier to understand its inspection and documentation requirements. MrWalls Drywall & Painting can help identify visible moisture damage and restore drywall and ceilings after the affected area has been properly dried.
Stop the water source by closing the nearest fixture valve or the home’s main water shutoff. Stay away from water near electrical outlets, fixtures, or panels. Move belongings, contain drips, photograph the damage, and arrange plumbing repair and professional drying promptly.
Call a licensed plumber first when water is actively leaking from a pipe, fixture, appliance connection, or drain. After the source is stopped, contact a water mitigation team if moisture has spread into walls, ceilings, flooring, carpet, or insulation.
Yes. Slow pipe leaks can soak drywall, insulation, framing, and flooring for days or weeks before a stain appears. Moisture may travel beyond the visible damage, so professional leak detection and moisture assessment are important even for a seemingly minor leak.
Common signs include bubbling or peeling paint, soft drywall, ceiling stains, swollen baseboards, musty odors, lifting flooring, reduced water pressure, unexplained warm floor areas, and an unusually high water bill.
Not always. Drywall may be repairable when the leak was stopped quickly and the material dries completely without swelling, softening, staining, or microbial growth. Drywall that is sagging, warped, soft, persistently stained, or deteriorated generally needs removal and replacement.
Painting over a stain is not a complete repair. The plumbing source must be fixed and affected materials must be fully dried first. Damaged drywall or ceiling sections may need replacement before priming, texture matching, and repainting can produce a lasting result.
Call a drywall contractor after the leak has been repaired and the affected area has been professionally dried. They can remove compromised materials, repair walls and ceilings, match texture, and repaint the finished surfaces.
Before cleanup begins, document leak damage as thoroughly as possible. Clear records help establish what happened, protect the condition of your property, and give your insurance claim the detail it needs to move forward without avoidable questions. Start with wide photos of each affected room, then take close-ups of stained drywall, bubbling paint, warped trim, wet flooring, damaged belongings, and the apparent leak source. Capture ceilings and walls from several angles, including areas where moisture has traveled beyond the most visible stain.
Note the date and time you discovered the issue, when the water source was shut off, and any steps taken to limit further damage. Keep receipts for emergency plumbing, water extraction, fans, dehumidifiers, temporary accommodations, and other immediate expenses. If possible, save a written assessment from the plumber or restoration professional identifying the source and scope of the problem. Avoid discarding damaged materials until your insurer has advised you to do so; pieces of drywall, insulation, or flooring may support the claim. A detailed repair estimate should separate drying, demolition, material replacement, finishing, and paint so the anticipated cost is easy to understand. MrWalls Drywall & Painting can document visible wall and ceiling conditions and provide a clear scope for professional restoration work.
Lasting protection starts with finding the reason a leak occurred, not simply drying the visible area. After any repair, confirm that the water supply line, fitting, or appliance connection has been corrected and that surrounding materials are fully dry. Small plumbing leaks can travel behind cabinets, under flooring, or into ceiling cavities before they leave an obvious mark, so inspect vulnerable areas routinely. Check dishwasher hoses for cracking, bulges, loose connections, and signs of moisture beneath the unit; replace aging hoses before they fail. Know where your home’s main water valve is located and make sure everyone in the household can operate it quickly in an emergency. Regular maintenance also matters: avoid harsh drain chemicals, address slow drains and inconsistent water pressure early, and have older supply lines evaluated by a qualified plumber. Keep an eye on caulk around sinks, tubs, and backsplashes, where repeated moisture can lead to concealed water damage. If leaks have stained, softened, or compromised drywall, MrWalls Drywall & Painting can restore the affected surfaces once the plumbing issues are resolved, helping your home look finished while reducing the risk of recurring damage.