Learn how to respond to water damage from a hot water tank leak, assess affected drywall or plaster, and plan safe drying and repairs.
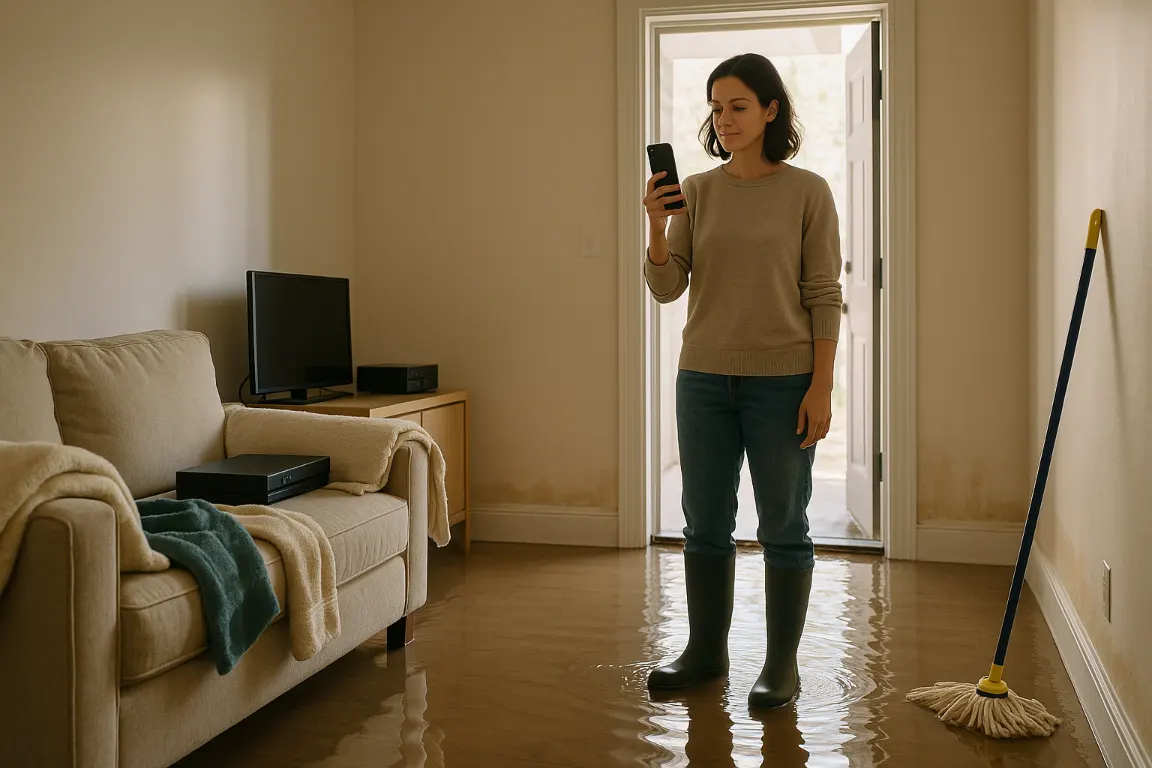
water damage from a leaking hot water tank can move quickly beyond the utility room, affecting flooring, drywall, insulation, and stored belongings before the full extent is visible. The scope of water damage from hot water tank leak can escalate rapidly, so safely shut off the water and the power or gas supply, document conditions, and begin drying the area. Prompt action can curb property damage, strengthen an insurance claim, and help prevent hidden moisture issues.
A hot water tank leak requires fast, safety-first action: shut off the water and power when safe, avoid electrical hazards, and call a licensed plumber for repairs. Document all affected areas, remove standing water, and address hidden moisture before repairing finishes. Thorough drying and professional assessment help prevent mold, damaged drywall, weakened plaster, and recurring stains while supporting insurance claims and future leak prevention.
Water damage from hot water tank leak can progress from a minor puddle to serious property damage with surprising speed. A failed temperature-and-pressure relief valve, loose supply line, corroded tank, or split drain connection can release a steady flow of hot water into a utility room, basement, garage, or finished living space. Put personal safety first: avoid standing water near outlets, appliances, extension cords, or electrical panels, and keep children and pets clear of the area.
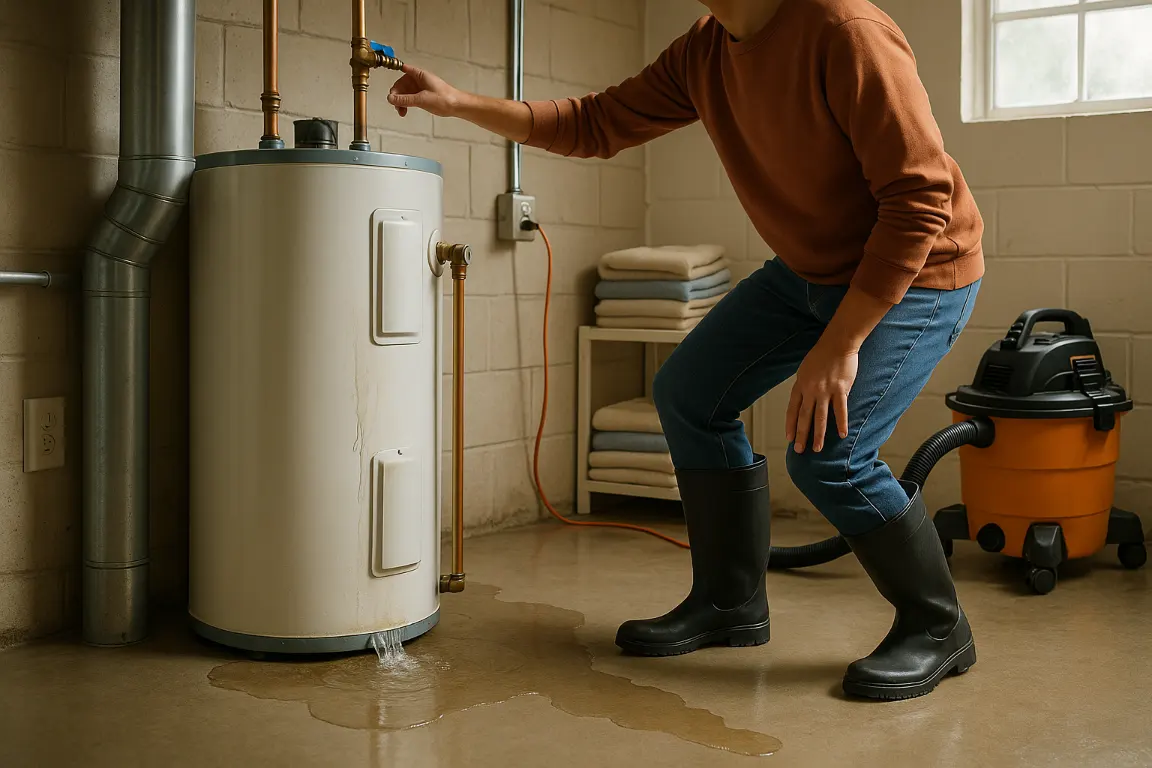
If the tank is safely accessible, turn off the water supply at the cold-water shutoff valve above the unit. For an electric water heater, switch off power at the breaker before touching the heater or attempting to drain it. For a gas model, turn the gas control to the off position only when it is safe to do so and there is no smell of gas. If you smell gas, leave the building immediately and contact the gas utility or emergency services. Do not attempt to repair a ruptured tank or pressurized fitting yourself. A licensed plumber should locate the source of the damage and complete the appropriate repair or replacement.
Once the flow has stopped, remove only belongings you can lift safely. Place aluminum foil, plastic blocks, or wood supports beneath furniture legs to help protect carpet and flooring. Use towels, a wet/dry vacuum, or a mop to collect standing water, but do not operate household fans until electrical safety has been confirmed. Open interior doors and improve ventilation where practical to begin drying the space. Before discarding anything, take clear photos of the leak source, affected materials, and damaged belongings for insurance documentation.
Even a brief hot water tank leak can saturate drywall, insulation, baseboards, plaster finishes, and subflooring. Materials may look dry at the surface while water remains behind walls or beneath flooring. If left unaddressed, hidden moisture can cause staining, swelling, odors, and microbial growth. MrWalls Drywall & Painting can assess the full extent of water damage after the plumbing issue is resolved, remove compromised drywall or plaster where necessary, and restore the affected area with careful, clean finish work. Prompt action gives your structure the strongest chance to dry properly and can limit the scope of repairs.
| Priority | What to do | Safety note |
|---|---|---|
| 1. Avoid immediate hazards | Keep children and pets away, and avoid standing water near outlets, appliances, extension cords, or electrical panels. | Personal safety comes before protecting flooring or belongings. |
| 2. Stop the water supply | If it is safe to approach, turn off the cold-water shutoff valve above the tank. | Do not enter an area with electrical or other hazards. |
| 3. Shut off heater power or gas | For electric heaters, switch off power at the breaker before touching or draining the unit. For gas models, turn the gas control off only when safe. | If you smell gas, leave the building immediately and contact the gas utility or emergency services. |
| 4. Arrange plumbing repair | Have a licensed plumber identify and repair or replace the failed tank, valve, supply line, or fitting. | Do not attempt to repair a ruptured tank or pressurized fitting yourself. |
| 5. Remove water and protect contents | Remove only items you can safely lift, support furniture legs with foil, plastic blocks, or wood, and collect standing water with towels, a wet/dry vacuum, or a mop. | Do not run household fans until electricity is confirmed safe. |
| 6. Begin safe drying | Open interior doors and improve ventilation where practical. | Moisture can remain behind walls and beneath flooring even when surfaces appear dry. |
| 7. Document and arrange restoration | Photograph the leak source, affected materials, and damaged belongings before disposal, then arrange an assessment after the plumbing issue is resolved. | Prompt documentation supports insurance claims and prompt drying can limit repair scope. |
Once a leak’s source has been stopped, resist the urge to judge the repair by the visible stain alone. Water travels through framing cavities, along fasteners, across ceiling surfaces, and behind baseboards, so the full extent of property damage may sit well beyond the original drip or discoloration. Start by documenting what you can see: take dated photos of staining, bubbling paint, swollen trim, sagging drywall, damaged flooring, and any belongings affected by water. This record is useful for insurance discussions and gives your repair team a clear baseline before demolition or drying begins.
Then look for changes in the material itself. Drywall that feels soft, crumbles along an edge, bows between studs, or has a pronounced musty odor may have lost its integrity. Plaster can remain visually intact while its key bond weakens behind the surface; watch for widening cracks, a hollow sound when lightly tapped, or sections that seem detached from the lath. On ceilings, even a small brown ring deserves attention, particularly below bathrooms, roof valleys, HVAC equipment, or plumbing lines. A ceiling holding retained water can become heavy and unstable, so keep people clear of obvious sagging and call a qualified professional promptly.
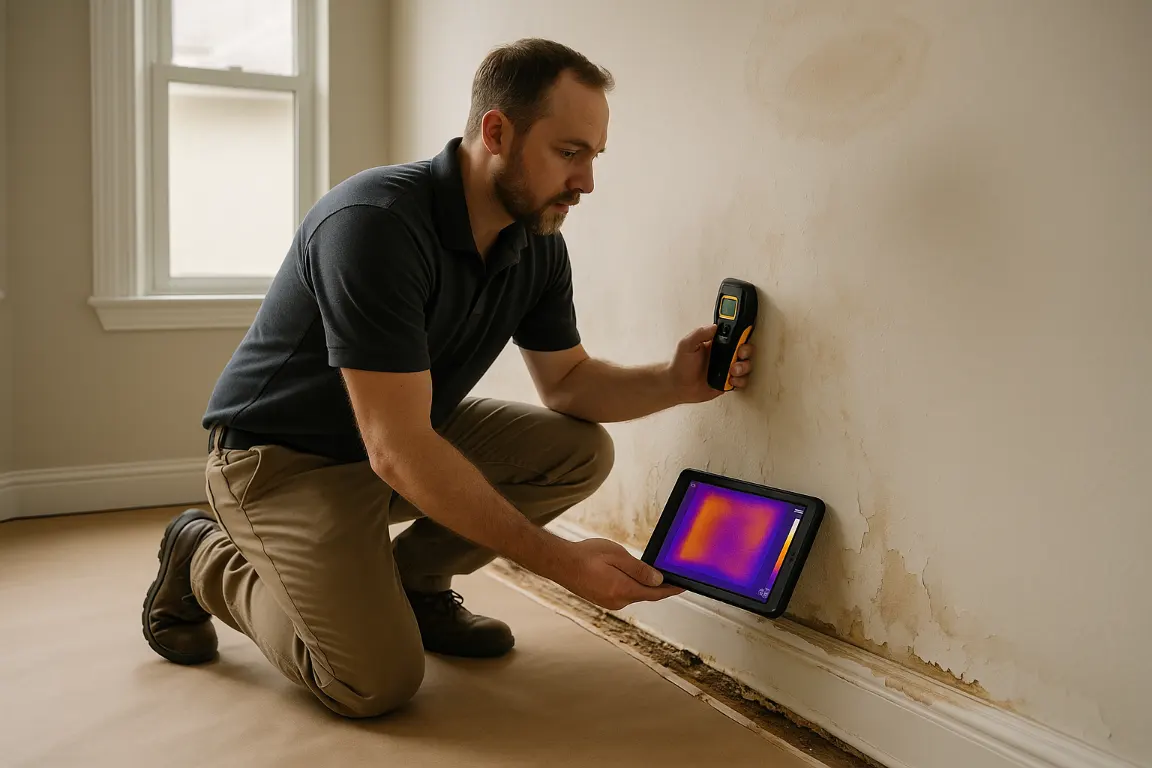
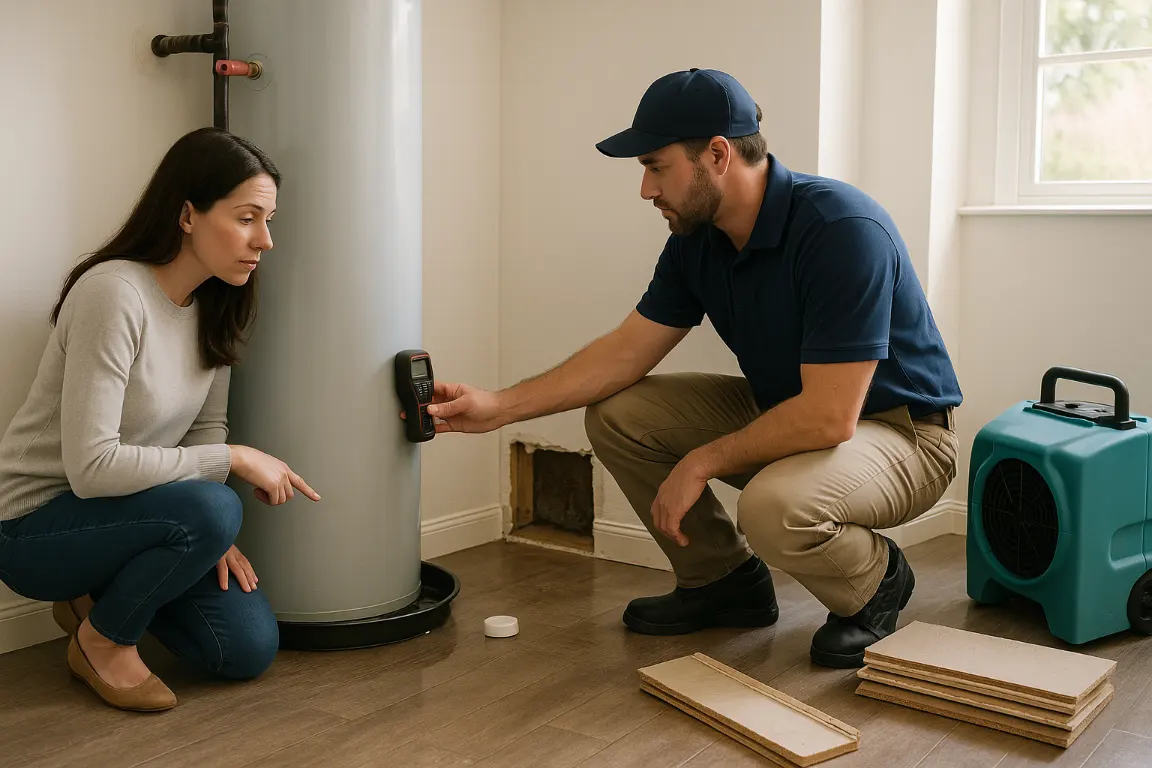
Hidden moisture requires more than a visual inspection. A restoration or wall-repair specialist can use moisture meters and, when appropriate, thermal imaging to compare suspect areas with dry surrounding surfaces. Readings should be taken at several heights on walls, around window openings, near floor transitions, and on the opposite side of shared partitions. Baseboards, insulation, and the lower portion of drywall are common places for water damage to remain trapped after a leak appears resolved.
Drying equipment may be needed before any cosmetic repair begins. Repainting over damp drywall or patching plaster before the assembly has dried can seal in moisture and lead to recurring stains, mold growth, or failed finishes. At MrWalls Drywall & Painting, we assess the condition of the wall or ceiling substrate first, identify material that can be saved, and recommend removal only where damage has compromised the surface or concealed cavity. A careful assessment protects the finish you see and the structure behind it.
After a water heater leak, visible cleanup is only part of the job. Water can travel behind baseboards, beneath flooring, and into wall cavities long before stains surface. At MrWalls Drywall & Painting, we encourage homeowners to treat water damage from hot water tank leak issues as time-sensitive: stop the source, document the damage, dry the area thoroughly, and repair materials only once they are stable.
If it is safe to do so, begin by shutting off the water supply to the heater. Then switch off power at the breaker for an electric unit, or follow the manufacturer’s shutoff guidance for a gas unit. Move belongings away from the affected area. Photograph the leak, appliance, standing water, and every impacted surface. These images, along with invoices for emergency plumbing or mitigation work, can support your case if you need to file a claim for property damage.
Insurance coverage depends on both your policy and the cause of the loss. A sudden tank failure or burst supply line may be handled differently than a slow leak that was left unaddressed. Contact your insurer promptly, but do not wait for an adjuster before taking reasonable measures to prevent further water damage. Save damaged materials when practical, keep a written record of conversations, and ask your contractor for a clear scope covering moisture-related drywall, plaster, insulation, trim, or ceiling repairs.
Thorough drying is essential. Patching too soon can trap moisture in the assembly, creating more extensive problems later. Soft drywall, swollen baseboards, sagging ceiling sections, and compromised insulation typically require removal rather than cosmetic covering. Once the area is dry, MrWalls Drywall & Painting can restore crisp wall and ceiling lines with drywall or plaster repairs that blend naturally with the surrounding finish instead of merely concealing the evidence of a leak.
Prevention begins with catching small issues early. Check around the tank each month for rust, dampness, mineral buildup, or a wet drain pan. Have aging supply connectors, pressure-relief components, and the unit inspected by a qualified plumber. A drain pan with a properly routed line, leak alarm, or automatic shutoff device can help limit future damage. Replacing a water heater before it reaches the end of its expected service life is often far less disruptive than repairing a damaged room after a failure.
Prioritize safety. Stay clear of standing water near outlets, appliances, or electrical panels. If safe, shut off the cold-water supply to the heater. Turn off the breaker for an electric unit; for a gas unit, follow the manufacturer’s shutoff instructions. Leave immediately and contact the gas utility or emergency services if you smell gas.
Yes. Water can spread beneath flooring, behind baseboards, into insulation, and through wall or ceiling cavities. Even when the surface looks dry, moisture may remain trapped and cause swollen materials, stains, odors, weakened drywall or plaster, and microbial growth. A professional moisture assessment can identify affected areas.
It depends on the condition of the material and whether it has dried completely. Drywall that is soft, bowed, crumbling, stained, or affected by prolonged moisture often needs removal. Sound material may be saved after proper drying. Repairs should not begin until moisture readings show that the wall or ceiling assembly is dry.
Only after electrical safety has been confirmed. Do not operate fans, vacuums, or other plugged-in equipment around standing water or wet electrical outlets. Once the area is safe, ventilation and professional drying equipment can help remove moisture from materials that cannot dry adequately with surface cleanup alone.
Coverage depends on the policy and the cause of the leak. Sudden failures, such as a burst tank or supply line, may be treated differently than a long-term leak or maintenance issue. Photograph the leak and all damaged areas, save invoices, document conversations, and contact your insurer promptly while taking reasonable steps to prevent further damage.
Inspect the area around the water heater regularly for rust, dampness, mineral buildup, and worn connectors. Have aging components checked by a licensed plumber. A drain pan with a properly routed drain line, leak alarm, or automatic shutoff device can reduce the extent of water damage if a future leak occurs.