
Mastering Drywall Repair: The Ultimate Guide to Spackle Use
Achieving smooth, flawless drywall is within reach! Dive into our ultimate guide to spackle use and discover expert tips for mastering drywall repair.
PLASTER REPAIRDRYWALL REPAIRCEILING REPAIR
Mastering Drywall Repair: The Ultimate Guide to Spackle Use
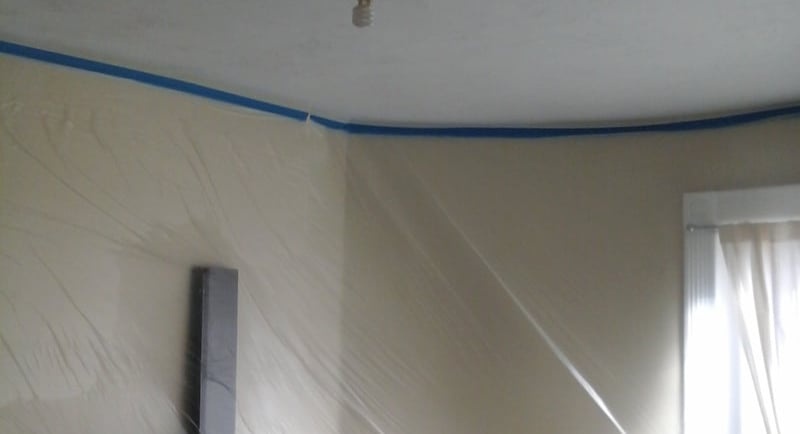
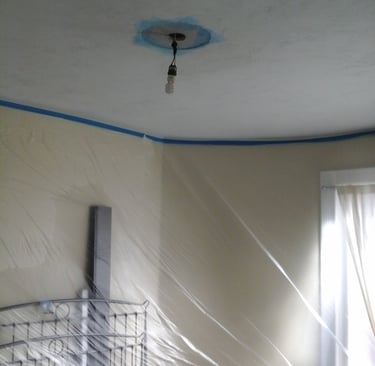
Nothing ruins the look of a crisp, freshly painted room quite like the ghost of a removed picture frame or a stray doorknob dent. While drywall repair might seem like a chore reserved for the pros, spackle is the DIYer's secret weapon for restoring surfaces to their former glory.
But don’t just grab a tub and start slabbing it on. Achieving a seamless, "invisible" repair requires the right technique. Here is everything you need to know to master the art of spackling.
1. Prep Like a Pro
The biggest mistake people make is applying spackle to a dirty or jagged surface. Spackle needs a clean, stable "host" to bond correctly.
Clear the Burrs: Use your putty knife to scrape away any loose paint or protruding drywall paper. If the hole has "crumbs," it’s not ready.
The "Dimple" Trick: For nail holes, use the handle of your screwdriver to gently tap the edges of the hole inward. This creates a small crater, ensuring the spackle sits flush with or slightly below the wall surface rather than creating a bump.
Dust it Off: Wipe the area with a damp cloth. Dust is the enemy of adhesion.
2. Choosing Your Weapon: Lightweight vs. Vinyl
Not all spackle is created equal.
Lightweight Spackle: This has a marshmallow-like consistency. It’s perfect for small nail holes because it dries incredibly fast (often in 30 minutes) and barely shrinks.
Vinyl (All-Purpose) Spackle: This is heavier and more durable. It’s better for slightly larger dents or cracks where you need a bit more structural integrity. It takes longer to dry but is easier to sand to a glass-smooth finish.
3. The Application: Less is More
When you’re ready to fill, follow the 45-90 Rule:
The Fill (45°): Load a small amount of spackle onto a 2-inch putty knife. Hold the knife at a 45-degree angle and swipe over the hole. Press firmly to force the material deep into the cavity.
The Clear (90°): Immediately turn your knife to a 90-degree angle (perpendicular to the wall) and scrape across the repair. This removes the excess material, leaving the spackle only where it's needed.
Pro Tip: It is always better to apply two thin coats than one thick, globby one. Thick layers of spackle are prone to cracking (crazing) as they dry.
4. The Finish: Sanding and Priming
Once the spackle is bone dry—it should turn from an off-white or pink to a bright, chalky white—it’s time to blend.
Light Touch: Use a fine-grit sanding sponge (220-grit). Sand in a light, circular motion. You aren’t trying to "level" the spackle; you’re trying to "feather" the edges so you can't feel the transition between the wall and the patch.
Don't Skip Primer: Spackle is incredibly porous. If you paint directly over it, the patch will "suck" the moisture out of the paint, leaving a dull, flat spot known as "flashing." A quick dab of primer ensures the sheen matches the rest of the wall perfectly.
FAQ: Your Drywall Dilemmas Solved
Q1: How long does spackle actually take to dry? It depends on the depth and the humidity. Lightweight spackle in a small nail hole can dry in 15–30 minutes. Deeper repairs or vinyl-based spackles can take 1 to 4 hours. If it feels cool to the touch, it’s still wet.
Q2: Can I use spackle for a hole the size of a doorknob? Technically, no. Spackle is designed for holes under 1 inch. For anything larger, the material will shrink and crack. Use a mesh patch kit or a "California patch" with joint compound for larger repairs.
Q3: Why did my spackle crack after it dried? This usually happens if the layer was too thick or the room was too cold/humid. If it cracks, don't panic. Sand down the ridges and apply a second, thinner "skim coat" over the top.
Q4: Do I really need a putty knife? Can’t I just use my finger? For a tiny nail hole, a fingertip works in a pinch, but it often leaves a slight mound. A putty knife provides the flat edge necessary to "shear" the excess off, saving you a massive amount of sanding time later.
Q5: Is spackle the same thing as joint compound? No. Spackle is thicker and dries faster, making it ideal for spot repairs. Joint compound (or "mud") is thinner and meant for taping large seams or skim-coating entire walls. Think of spackle as the "emergency kit" and joint compound as the "construction tool."
How large is the area you're planning to repair?
Home | Contact | Offices | Faq | Service Area | Blog | Drywall Finishing | Drywall Taping | Drywall Repair | Plaster Repair | Ceiling Repair | Wall Repair | Drywall Installation | Drywall Hanging | Popcorn Ceiling Repair | Hole in Ceiling | Fix Hole In The Wall | Interior Painting | Knockdown Texture | Water Damage Repair | Drywall Bathroom | Drywall Ceiling | Soundboard | Drywall Patch | Ice Dam Roof Leak | Drywall over Plaster | Drywall Over Popcorn | Skim Coat Level 5 | Popcorn Texture Removal | Drywall Finish Levels | | Refund Policy | Privacy Policy | Terms and Conditions


600 East Main St Chicopee, MA, 01020
203 Circuit Ave n39, West Springfield, MA 01089

