


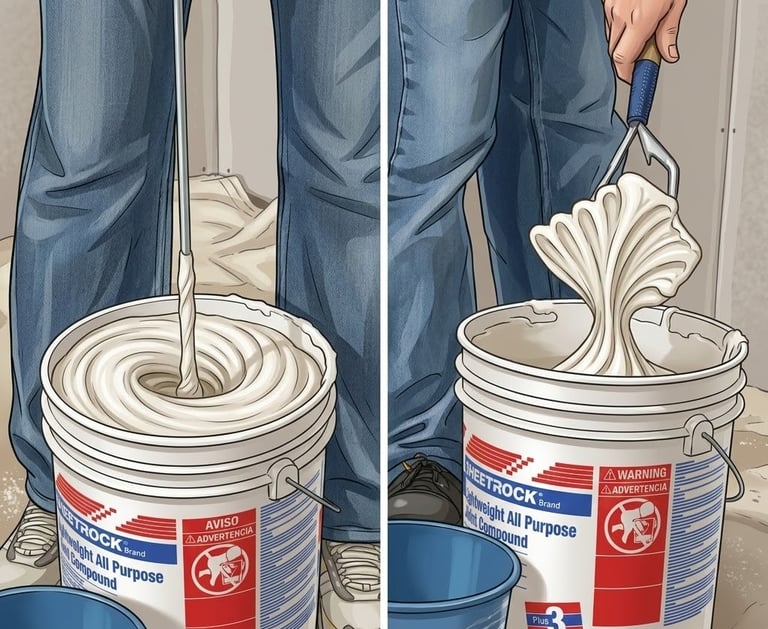
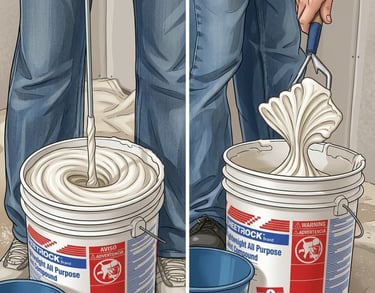
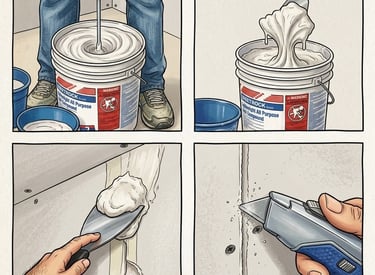
Mix The Joint Compound
Always invest in a mixing paddle to loosen up the joint compound before trying to use it. If you have a 1/2" hammer drill that will work on low gear, pros have a special 1/2" low-speed mud mixing drill that is made for the job. When applying tape, thin down the compound with a little water. Start with around 20 ounces of water and mix it well. If you need more, add a little more. Thinning the taping mud will allow it to spread out behind the tape when you are wiping down the tape and eliminate a lot of air pockets. On the second and final coat, I usually mix the mud, but I don't need to add any water to it.
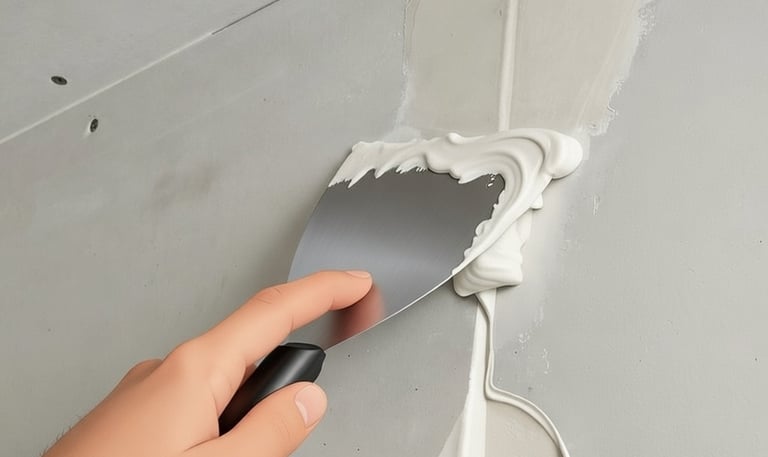
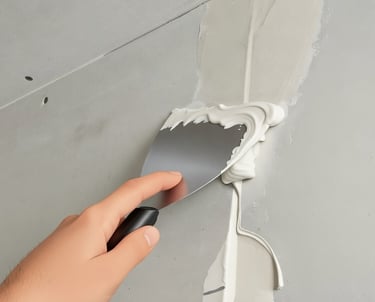
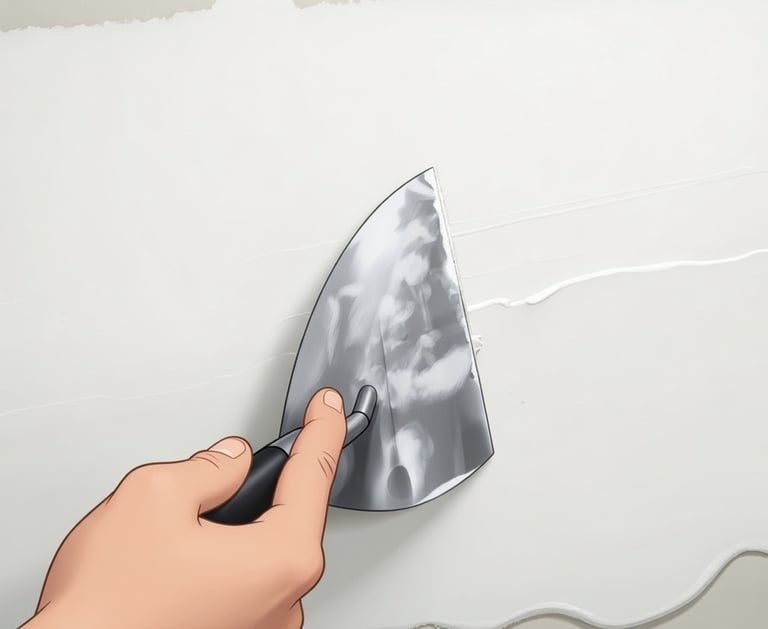
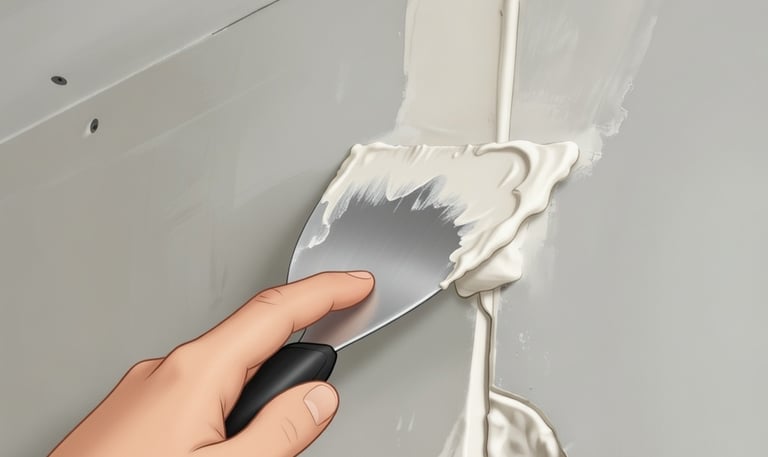
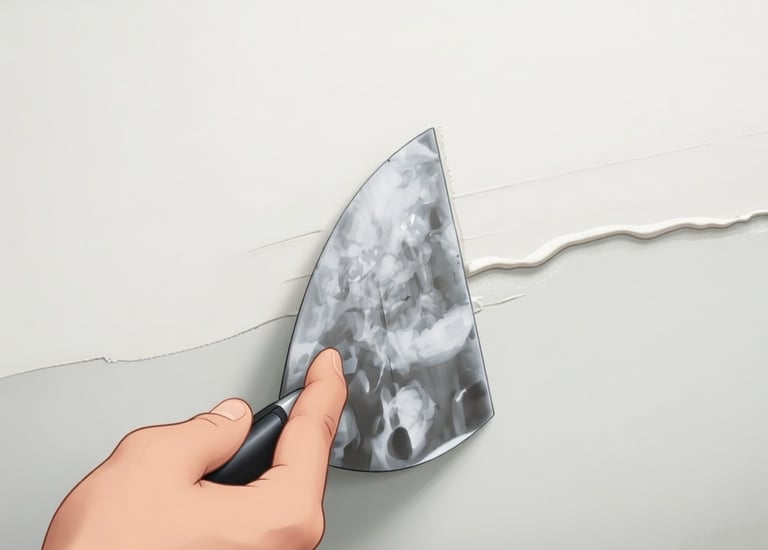
Prefill Gaps With Compound
This picture shows the consistency joint compound should be at to tape. You can see the mud on his knife isn't chunky at all its ready to flow, but not too thin. Always fill in gaps completely with joint compound. If the gap is bigger than 1/4", prefill it and wait for the prefill to harden or dry before taping it. The tape needs 100% coverage on the back; any dry spots will bubble when you prime the drywall, so avoid trying to bridge holes by applying mud to the tape and hoping it will be ok. Better to prefill and give the tape a solid surface to bond to.
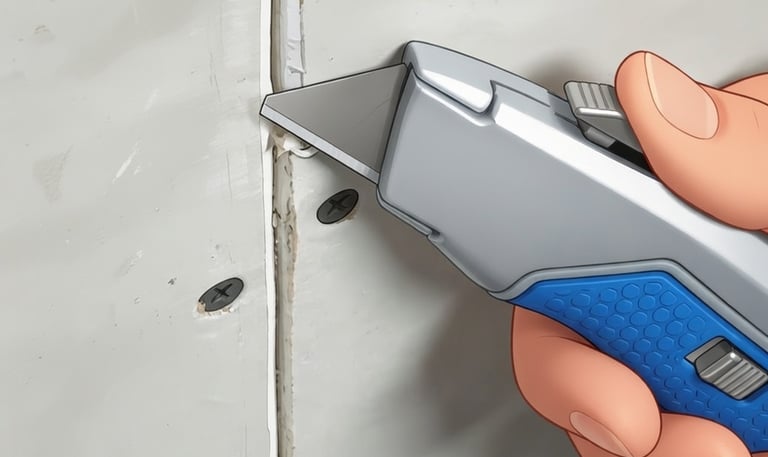
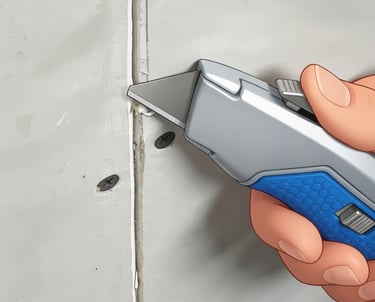
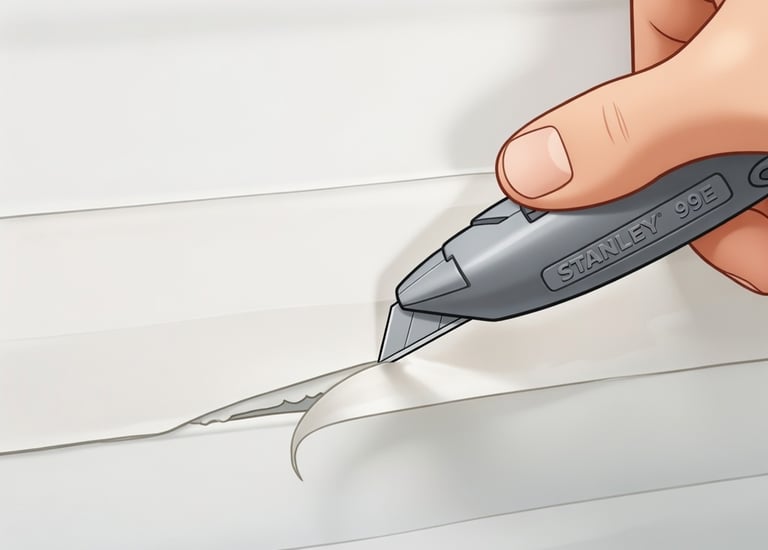
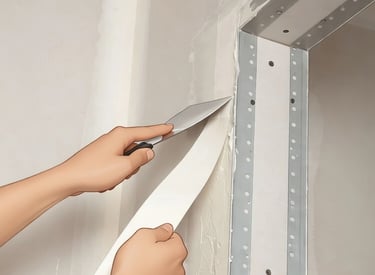
Cut "V" Grooves In The Butt Joints
Where two drywall boards come together and there is no recess for the tape is called a butt joint. They got the nickname for being a pain in the butt to finish. The paper at the edge often isn't glued to the core the last 1/8". To avoid having an ugly bubble when you paint that you can't get rid of, "v" cut the edge of the drywall paper along both sides of the butt joint to avoid any chance of that bubble happening.
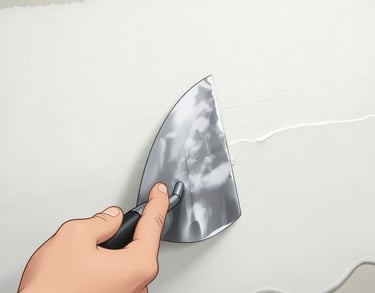
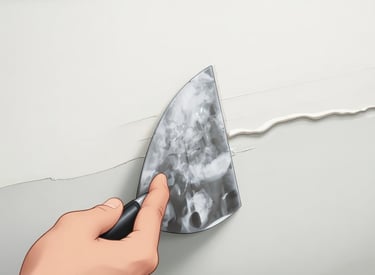
Scrape Ridges And Bumps Between Coats
After each coat is dry glide your knife over any ridges or bumps, scraping them off before the next coat. Your next coat will come out better and require less sanding at the end. Instead of trying to sand edges that are thick, apply a tight coat of compound, bringing the area out a little further and eliminating any edge. For small jobs, you don't need a pro drywall sander. A 6" random orbit palm sander with 220 grit works just as well, just takes a little longer. Make sure to pick up a 3m sanding sponge for the inside corners. The style with an angle works best to clean them.
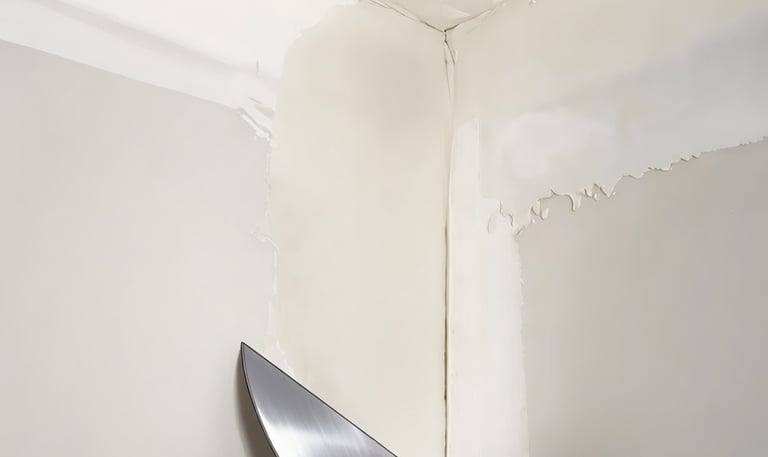
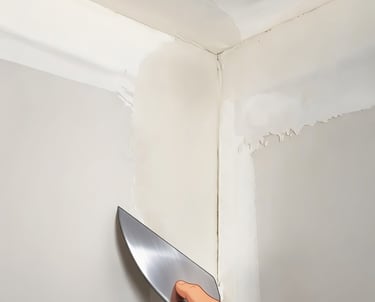
Only Coat One Side Of The Corner AT A Time
Professional drywall finishers only coat one side of the corner at a time. After the first side is dry, they coat the opposite side. When installing tape in the corners, the compound doesn't have to come out the full width of your knife to lay the tape. Try to get mud on the end of the blade and glide it up the corner like you see a pro coating screws. Another trick is to use a wool mud roller available from the local drywall supply or online. The roller applies the compound much faster than you can by hand.
Don't Leave Dry Spots Under Tape
Prefill gaps and holes where the board was damaged. Cut out any area where the core of the drywall is crushed and fill with joint compound. When applying taping mud, lay it down in an even layer with no visible board showing through. Then lay the tape over the seam, splitting it in half on each side of the joint. Now wipe excess compound out from under the tape. I like to prefill as I am hanging, but if you are taping the same day as you prefill, then use setting type joint compound.
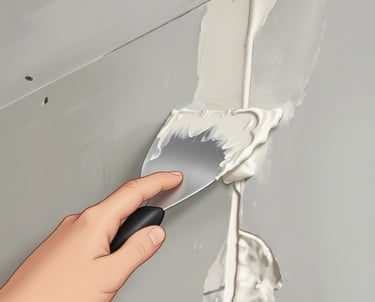
Wipe The Tape Into The Compound Completely
Apply the taping mud evenly and lay your tape down tight without any wrinkles. Wipe from the center outwards towards the corner, pressing out any bubbles and firmly embedding the tape.

Cut Out Any Bubbles In The Tape
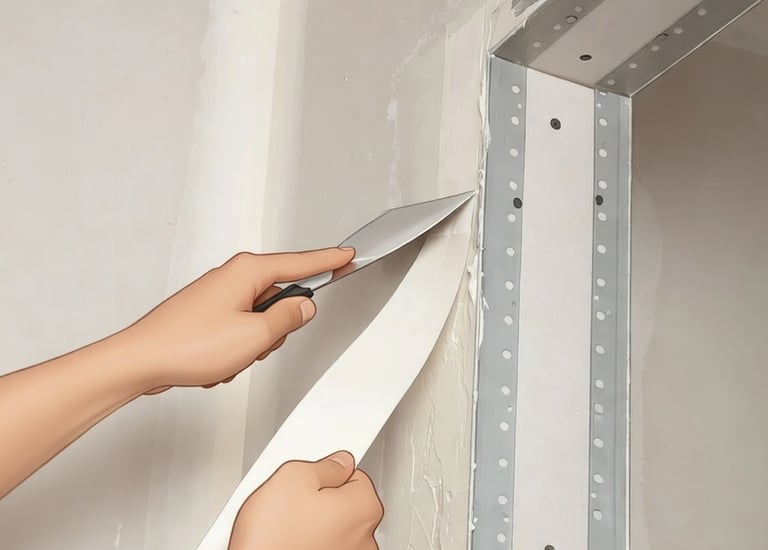

Tape The Corner Bead Flanges
Cracking along the edge of outside corner beads is a common problem. It doesn’t usually happen for a few years, so repairing the crack means repainting the wall! There are a couple of solutions. Professional finishers use a special corner bead with a plastic core and secured in place with joint compound rather than nails. No-Coat makes one version. Straight flex makes another version. They are similar in design and price and usually run around $10 per eight-foot stick.
If you want to save on material cost, use a regular metal corner bead, and to avoid future cracking, apply paper tape over the metal edge after you’ve fastened the bead. Embed the tape just as you would on any joint. Then fill the corner as usual.
Press the outside edge of the knife against the drywall to create a feathered edge that won’t require much sanding. Always fill corner beads with at least an 8” knife or trowel.
Use Green Lid To Tape Blue Lid To Coat
The green lid USG is best for taping because it contains more glue to secure the tapes. Blue lightweight compound shrinks less and sands easier, and is better for the second and finish coat.
Even if you’re careful about embedding the tape into the compound, you'll run into an area that forms a bubble or comes loose on the edge. Don’t try to cover the problem with more compound. It’ll just come back later when you paint. Instead, cut around the bubbled area with a blade utility knife and remove the tape. Avoid a divot in this spot by filling the recess with joint compound and letting it dry before applying another coat.
Home | Contact | Offices | Faq | Service Area | Blog | Drywall Finishing | Drywall Taping | Drywall Repair | Plaster Repair | Ceiling Repair | Wall Repair | Drywall Installation | Drywall Hanging | Popcorn Ceiling Repair | Hole in Ceiling | Fix Hole In The Wall | Interior Painting | Knockdown Texture | Water Damage Repair | Drywall Bathroom | Drywall Ceiling | Soundboard | Drywall Patch | Ice Dam Roof Leak | Drywall over Plaster | Drywall Over Popcorn | Skim Coat Level 5 | Popcorn Texture Removal | Drywall Finish Levels | | Refund Policy | Privacy Policy | Terms and Conditions


600 East Main St Chicopee, MA, 01020
203 Circuit Ave n39, West Springfield, MA 01089

