


Priming After Removing Popcorn Texture
Priming after removing popcorn texture is one of the most important steps that decides how the ceiling will look after paint, and if the paint job will last. Once the texture comes down, the ceiling surface usually has a layer of powder leftover and sanding dust.
POPCORN TEXTURECOMMON QUESTIONSCEILING REPAIR
Priming After Removing Popcorn Texture
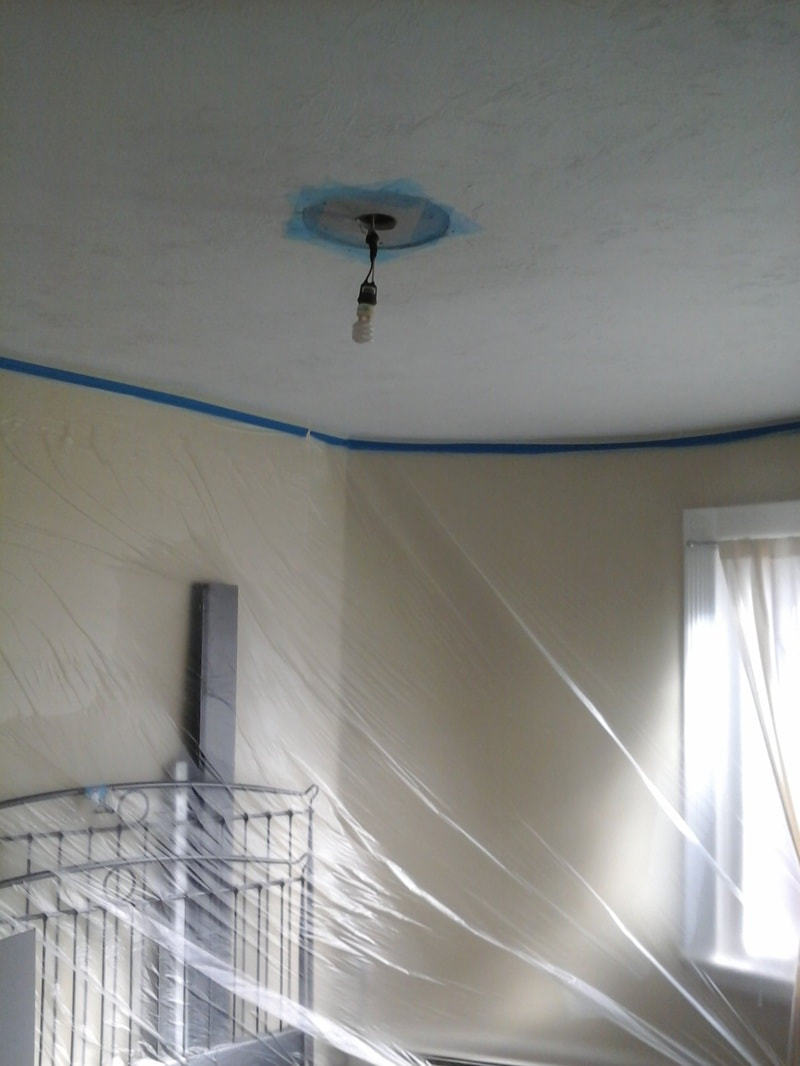
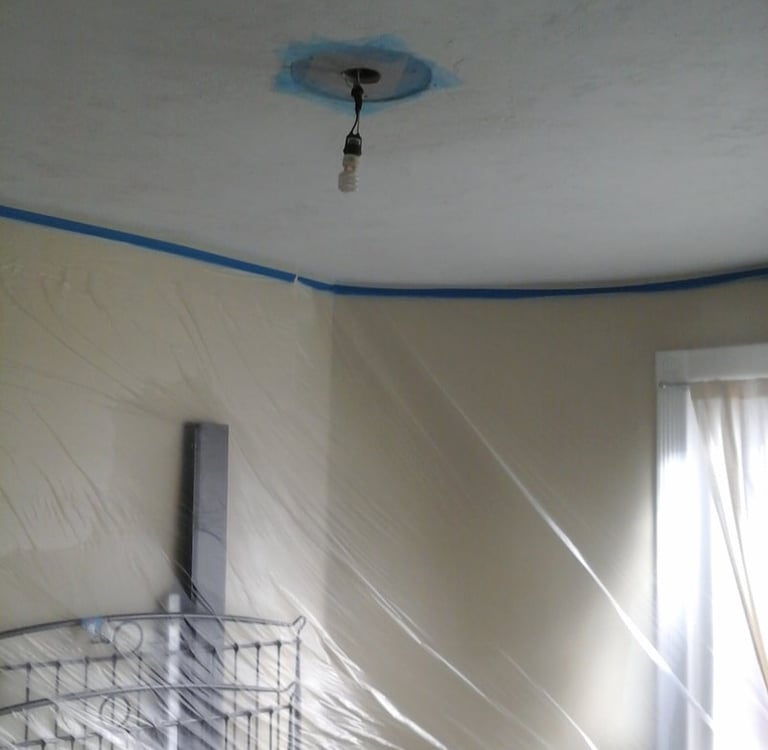
You finally finished scraping that dated popcorn texture off your ceiling. It feels like a victory until you look up and see the carnage left behind. The drywall is likely scuffed and thirsty. If you try to roll on a coat of standard ceiling paint now, the finish will look blotchy and amateur. You need to prime first.
Scraped drywall is incredibly porous. The brown paper backing is often exposed in patches. Standard latex paint contains a lot of water. When that water hits raw drywall paper, the paper swells and creates bubbles. A dedicated primer seals the surface so the paint can sit on top instead of soaking in.
Pick the Right Product
Don't grab the cheapest bucket at the hardware store. You want an oil-based primer or a special penetrating acrylic drywall sealer. Oil-based primers are great because they block stains and prevent the paper from bubbling. They smell terrible and require mineral spirits for cleanup, but they work.
Specialty clear sealers are a water-based alternative. These are designed to fill in the penetrate the drywall paper bonding it back to the core. They help level out the surface poracity. If your ceiling looks gouged up from scraping or you don't have a power sander to get the powdery last bit of texture off, go with the specialty sealer or oil based primer.
Prep Before the Roller
You can't skip the cleanup. Sand the entire surface with a fine-grit sanding pole or you can rent a vacuumed attached power sander from home Depot. Wipe away every bit of white dust with a tack cloth or a damp sponge if not using a vacuumed attached sander. Primer will not stick to dust. It will just peel off in sheets when you start painting.
Apply the primer in long and steady strokes. Work in small sections to keep a wet edge. If you see a drip, fix it immediately. Once the primer dries, it's a lot harder to sand down than joint compound.
Let the ceiling dry for a full day. The paper needs time to stabilize after being hit with the moisture from the sealer. If you see any rough spots after the first coat, sand them lightly and hit them again. This is your last chance to make the ceiling look flat before the final color goes on. Stop when it looks uniform. If you need help we are available at MrWalls Drywall & Painting to provide a free estimate (413)302-0640
Home | Contact | Offices | Faq | Service Area | Blog | Drywall Finishing | Drywall Taping | Drywall Repair | Plaster Repair | Ceiling Repair | Wall Repair | Drywall Installation | Drywall Hanging | Popcorn Ceiling Repair | Hole in Ceiling | Fix Hole In The Wall | Interior Painting | Knockdown Texture | Water Damage Repair | Drywall Bathroom | Drywall Ceiling | Soundboard | Drywall Patch | Ice Dam Roof Leak | Drywall over Plaster | Drywall Over Popcorn | Skim Coat Level 5 | Popcorn Texture Removal | Drywall Finish Levels | | Refund Policy | Privacy Policy | Terms and Conditions


600 East Main St Chicopee, MA, 01020
203 Circuit Ave n39, West Springfield, MA 01089

