
Tips for a Flawless Drywall Patch
Achieving a flawless drywall patch at home is easier than you think. Discover essential tips and techniques that ensure smooth, professional results every time!
PATCHINGDRYWALL REPAIRFIXING A HOLE
Tips for a Flawless Drywall Patch
There’s a specific kind of frustration that comes with staring at a hole in your drywall. Whether it was a wayward doorknob, a relocated TV mount, or an "accident" involving a kid and a hockey stick, that gaping wound in your wall is all you see when you walk into the room.
Patching drywall is one of those skills that looks easy on YouTube but often ends up looking like a lumpy mess in reality. If you want a repair that truly disappears, you have to move past the "just slap some mud on it" phase. Here is how to get a flawless, professional-grade finish.
1. Clean the Wound
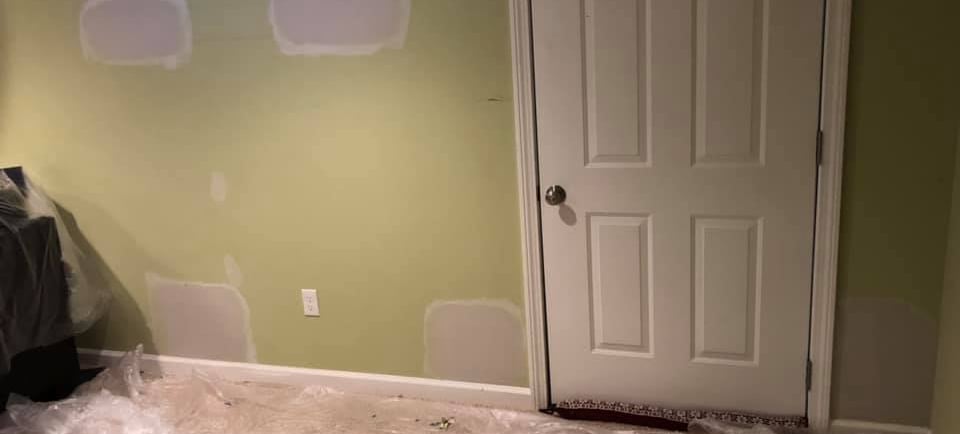
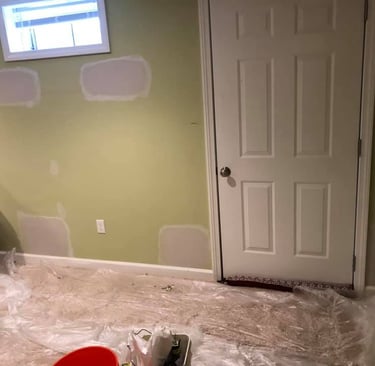
A patch is only as strong as the surface it clings to. If you have "blowout" (the ragged chunks of gypsum and paper hanging off the back or front of the hole), the patch will never sit flush.
The Bevel Cut: Use a utility knife to cut away any loose paper or crumbling drywall bits.
The Square-Off: For medium-sized holes, it’s actually easier to cut the hole into a perfect square or rectangle using a drywall saw. It sounds counterintuitive to make the hole bigger, but a square hole is much easier to fit with a replacement piece than an irregular jagged mess.
2. Support is Everything
You can’t just float a piece of drywall in mid-air.
For Small Holes: Use a self-adhesive mesh patch. It provides the "skeleton" the compound needs to bridge the gap.
For Larger Holes: Screw "cleats" (small strips of scrap wood or plywood) behind the existing drywall so you have something to screw your new patch into. If the patch moves even a millimeter, the joint will eventually crack.
3. The Secret of the "Feather"
The biggest giveaway of a DIY patch is a visible hump on the wall. To avoid this, you need to feather your joint compound.
Wide Birth: If your hole is 4 inches wide, your final coat of mud should be at least 12 inches wide.
Pressure Control: When pulling your taping knife, apply more pressure to the outer edge of the blade. This thins the compound out to almost nothing as it moves away from the patch, blending it into the existing wall texture.
4. Don’t Over-Sand
Many homeowners try to sand the wall into submission. If you applied your mud correctly, you should only be "scuff sanding."
Use a sanding sponge rather than a block for better contouring.
Light Test: Hold a flashlight or work lamp flat against the wall. The "raking light" will highlight any shadows (high spots) or pits that need more attention. If you see a shadow, you aren't done.
FAQ: Perfecting Your Patch
Q1: Why can I still see the outline of my patch after painting? This is usually caused by "flashing." Drywall compound is more porous than the rest of the wall and absorbs paint differently. You must use a dedicated primer on the patch before applying your finish coat to seal the surface.
Q2: Should I use mesh tape or paper tape? For small, non-structural patches, self-adhesive mesh is much easier for beginners. However, for larger patches or corners, paper tape is stronger and less likely to crack over time.
Q3: My wall has a "knockdown" or "orange peel" texture. How do I match that? Don't leave the patch smooth if the rest of the wall isn't. You can buy aerosol texture spray at most hardware stores. Practice on a piece of cardboard first to match the "heaviness" of your wall's texture before spraying the patch.
Q4: How many coats of compound do I really need? Standard practice is three. The first to "set" the patch, the second to "fill" and level, and the third (the skim coat) to "feather" the edges into the wall. Trying to do it in one coat leads to shrinking and cracking.
Q5: Can I use a hairdryer to speed up the drying time? It’s tempting, but be careful. If you dry the surface too fast while the inside is still wet, the patch can shrink unevenly and pull away from the edges. Natural airflow from a box fan is a safer bet.
Are you dealing with a small puncture or a larger "oops" that needs a structural backup?
Home | Contact | Offices | Faq | Service Area | Blog | Drywall Finishing | Drywall Taping | Drywall Repair | Plaster Repair | Ceiling Repair | Wall Repair | Drywall Installation | Drywall Hanging | Popcorn Ceiling Repair | Hole in Ceiling | Fix Hole In The Wall | Interior Painting | Knockdown Texture | Water Damage Repair | Drywall Bathroom | Drywall Ceiling | Soundboard | Drywall Patch | Ice Dam Roof Leak | Drywall over Plaster | Drywall Over Popcorn | Skim Coat Level 5 | Popcorn Texture Removal | Drywall Finish Levels | | Refund Policy | Privacy Policy | Terms and Conditions


600 East Main St Chicopee, MA, 01020
203 Circuit Ave n39, West Springfield, MA 01089

